

Joshdashef
-
Content Count
18 -
Joined
-
Last visited
Posts posted by Joshdashef
-
-
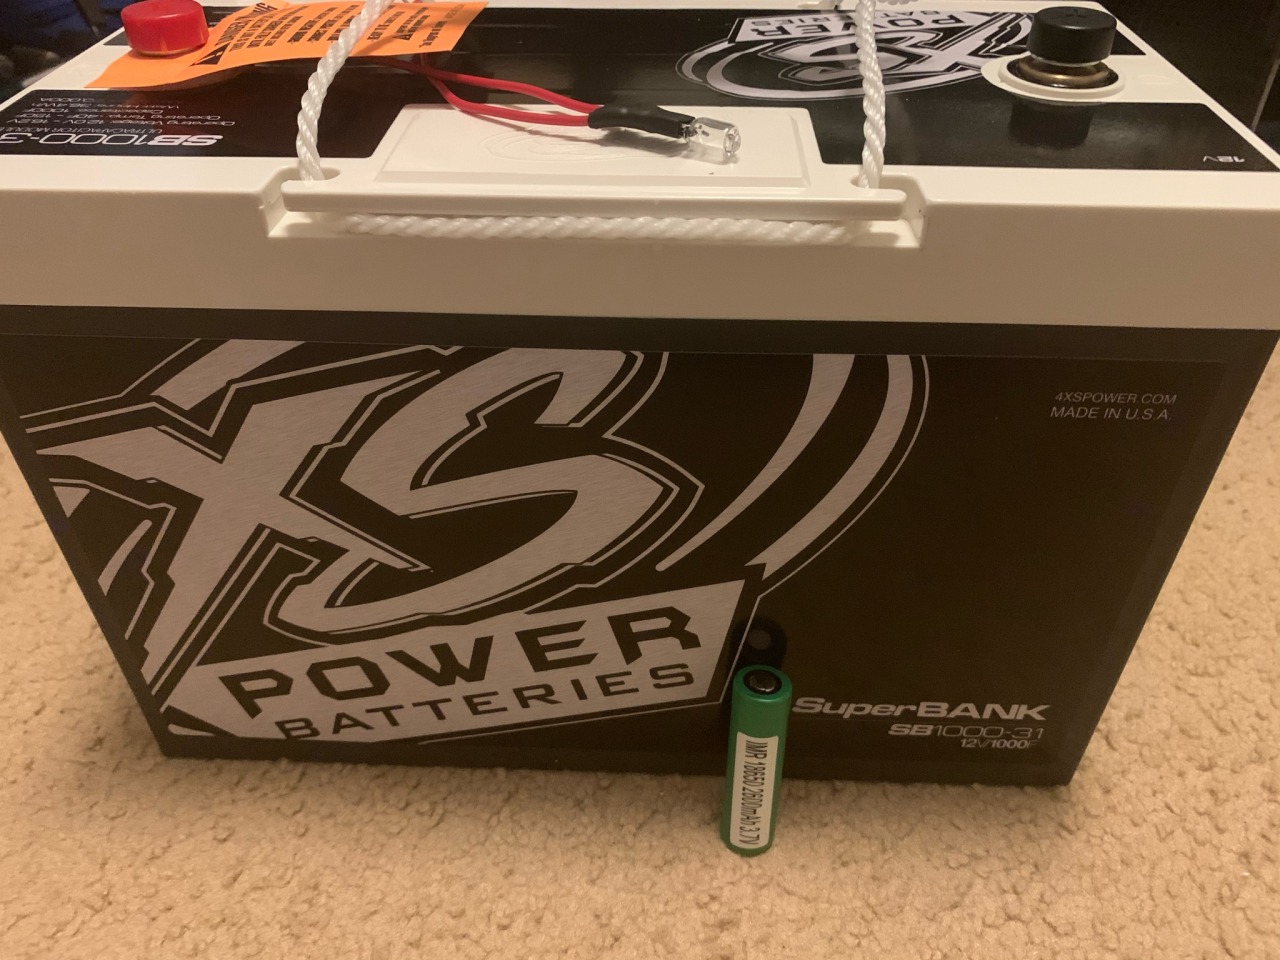
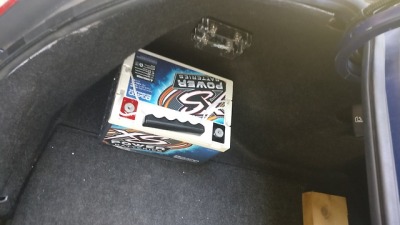
XS SuperBank came in from SSA store today, look at the size compared to that 18650! Just waiting for my 2k to be shipped now.
- New electrical will be much of the same; Mechman 240a / dual 1/0 runs / D5100R underhood / SB1000-31 / and either a D3400 or I'll switch over to XP3000 or two.
 0
0 -
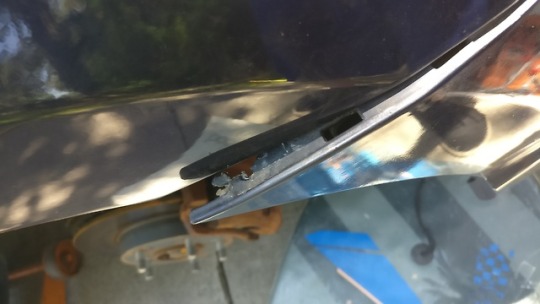
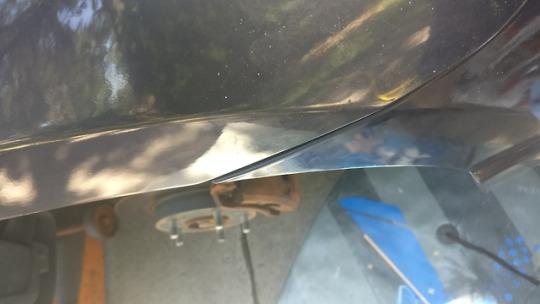
Just found a video about this. Welding with some body filler would maintain a factory look but this method might get you close enough if you matched paint to factory.
Apply a sealant under the aluminum panel between the factory hood and panel, then apply some kind of sealant on the inside of the car as well. Apply deadener all around the piece, making sure to overlap the factory hood and aftermarket panel. Should get you pretty close to a perfect seal without welding. Lots of time and labor though...
0 -
3 hours ago, Gunk said:Thanks for sharing.
Ive been looking at the SP4 as well. What made you choose that over the BTL?
Honestly, the hugely positive reviews of it. I’m sure the BTL is just as good but if I’m remembering right each serves a purpose. I decided the v2+ after discussing it with some other users seeing as it offers higher motor force (Better for ported enclosures).
I planned on getting a driver orientated towards daily driving with great output 30-40hz. I am still juggling whether to go for a tuning of 28 or 30-32. SP4 fit the bill.
4 inch coil is less efficient perhaps but I think extra thermal capacity is a nice trade off. My commutes an hour to and an hour back so plenty of time to get her moving
0 -
2 hours ago, Tirefryr said:Sweet build!
Thanks man, I can't wait to start grinding out the rebuild.
0 -
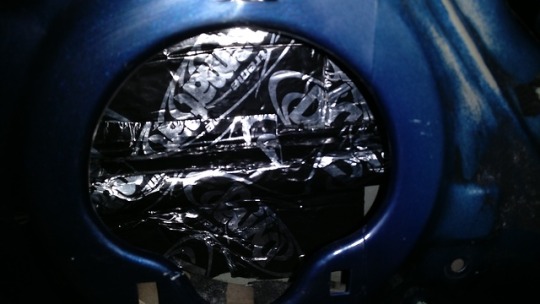
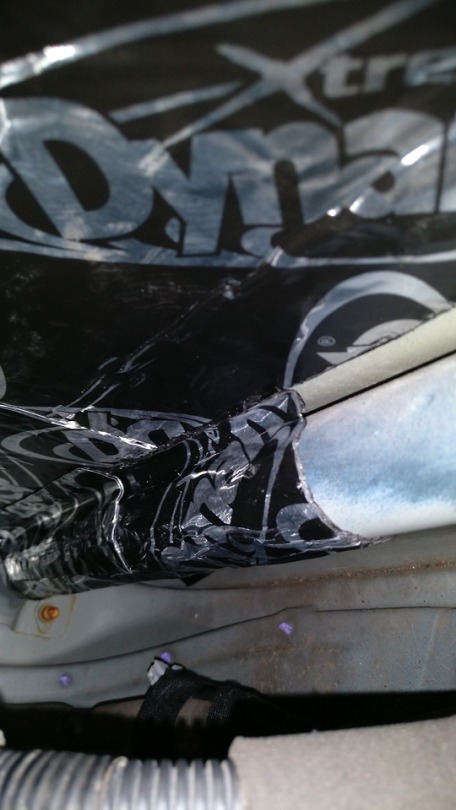
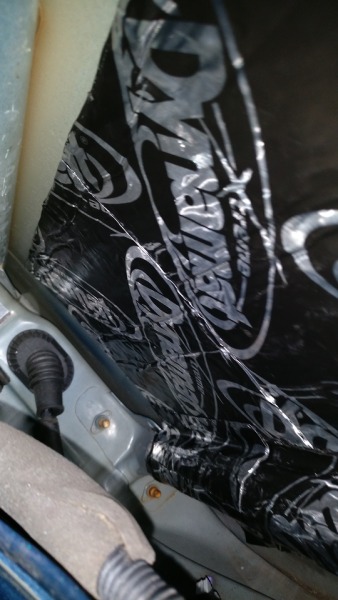
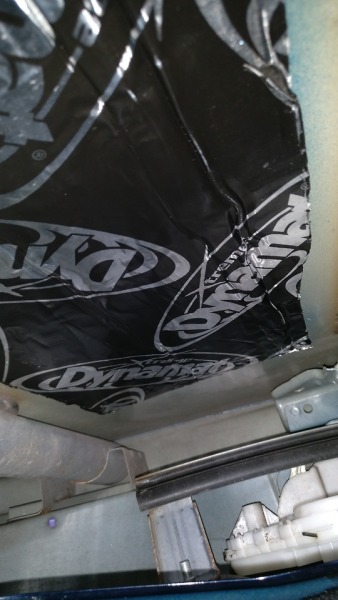
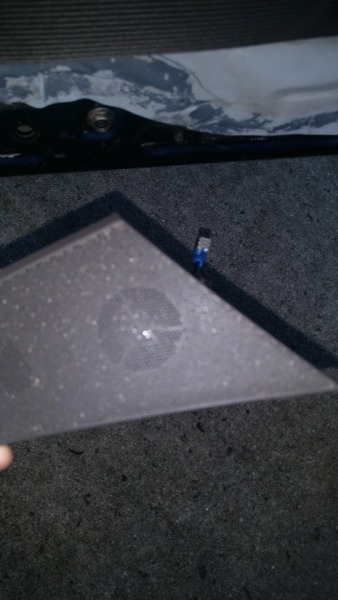
On 12/11/2019 at 10:17 AM, Second Skin said:@Joshdashef Yes, fill the entire outline of the sunroof with high-quality butyl rope. Then apply the sheets of butyl with foil on top of that with half of the sheet going over the metal area and half the sheet on the sunroof glass. Damplifier products will stick to glass, I don't know if other products do as well, but they should if they have good bonding properties.
 0
0 -
2 hours ago, jcarter1885 said:Welcome to the forum man. I think it has to do with image size but im not completely sure. I tried to change my profile picture with not too much success either.
Thank man. I was looking at another post from 2017 and saw this; seems I just have to post 25 times
On 1/25/2017 at 11:14 AM, Aaron Clinton said:You can link to your FB or wait until your 25 post minimum.
0 -
When you tuned with your DD-1 where did you have your bass knob set to? I keep mine in the middle so I can have adjustment either up or down.
Also possible this is a bad knob. With the car off, unplug the bass knob and plug it back in. Then try tuning again with bass knob set to middle of the road, use either 0db or -5db for conservative.
Doesn't hurt to double check wiring to sub, make sure your subs reading the right resistance (probably 1 ohm - disconnect from amp to test).
How does it fare after all that? If you still have issues I'd contact Skar to see if they will warranty fulfill a replacement knob, if not they are 20$ on their site: https://www.skaraudio.com/collections/replacement-bass-knobs?gclid=CjwKCAiAob3vBRAUEiwAIbs5TrgMxVpiNtnGPGDy5msmP8K4yzvO1lev4R4LOdmvk5LLKk-Lme7xrBoCR2oQAvD_BwE
Another option is to ditch the factory knob and switch to a RCA knob like this: https://www.amazon.com/PAC-LC-1-Remote-Amplifier-Controller/dp/B0002J226O
0 -
The Rebuild 2019/2020
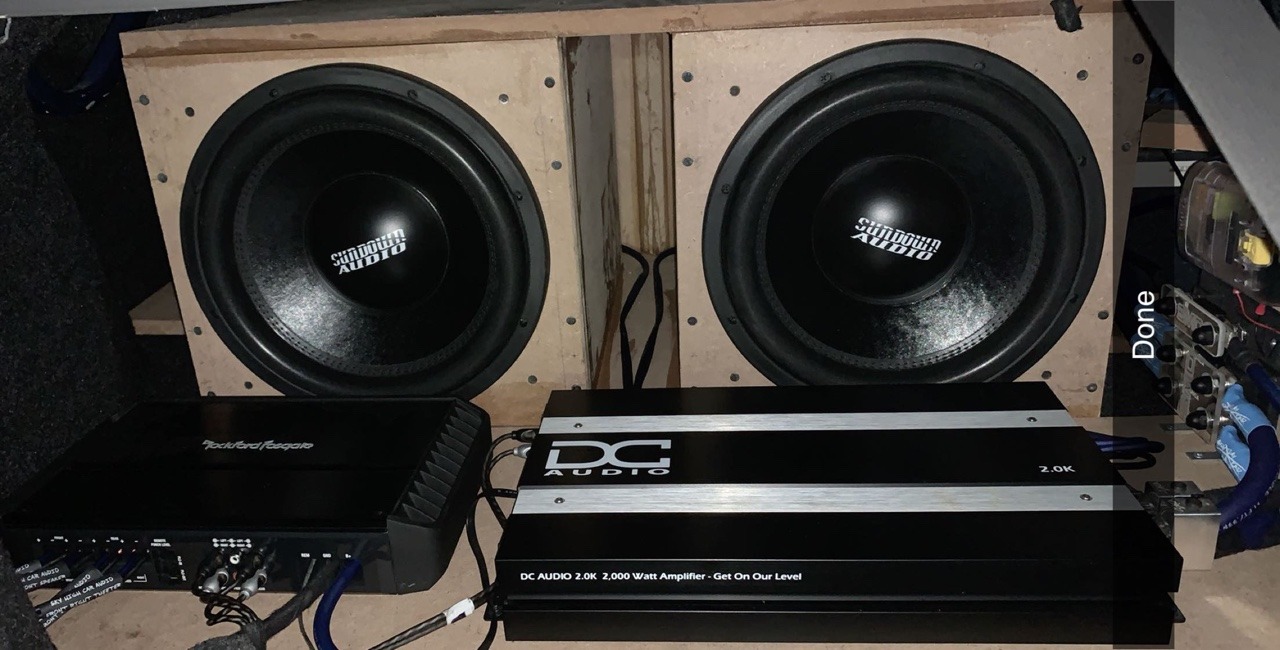
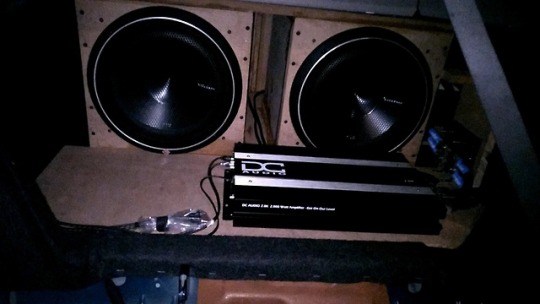
Finally have reached the point I want to redesign everything. I'll be tearing out everything in the trunk and redesigning the box for a single 15, two DC 2ks, same 4 channel amp, and better electrical. So far I have ordered a 1000 Farad XS power superbank, but I think I will end up replacing the D3400 with a XP 3000 or two.
Wanna drop a plug to the https://store.soundsolutionsaudio.com/ for their excellent customer service and extended Black Friday deal on both my second DC 2k and XS SB1000-31. Thanks Guys!
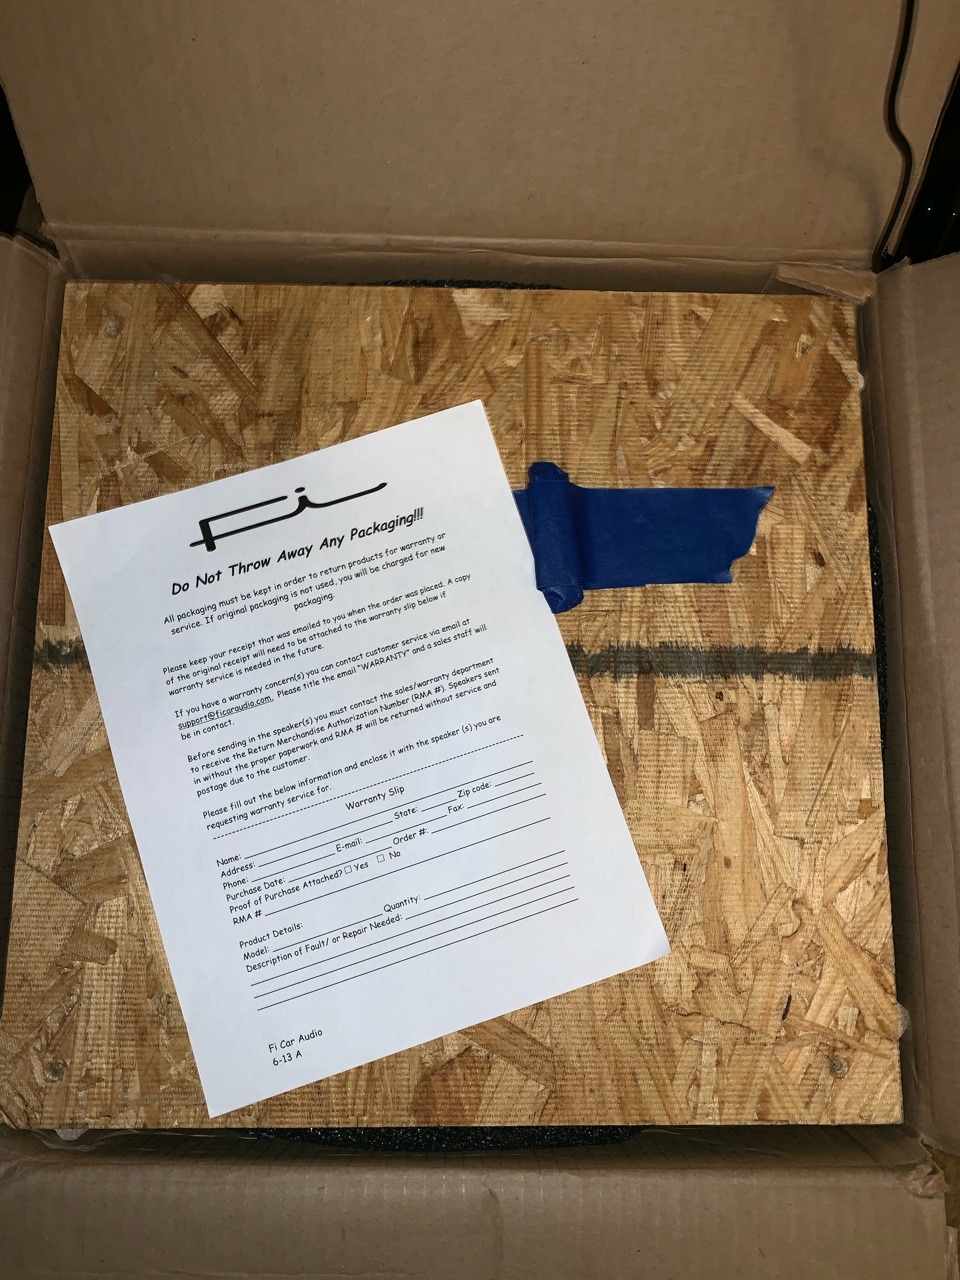
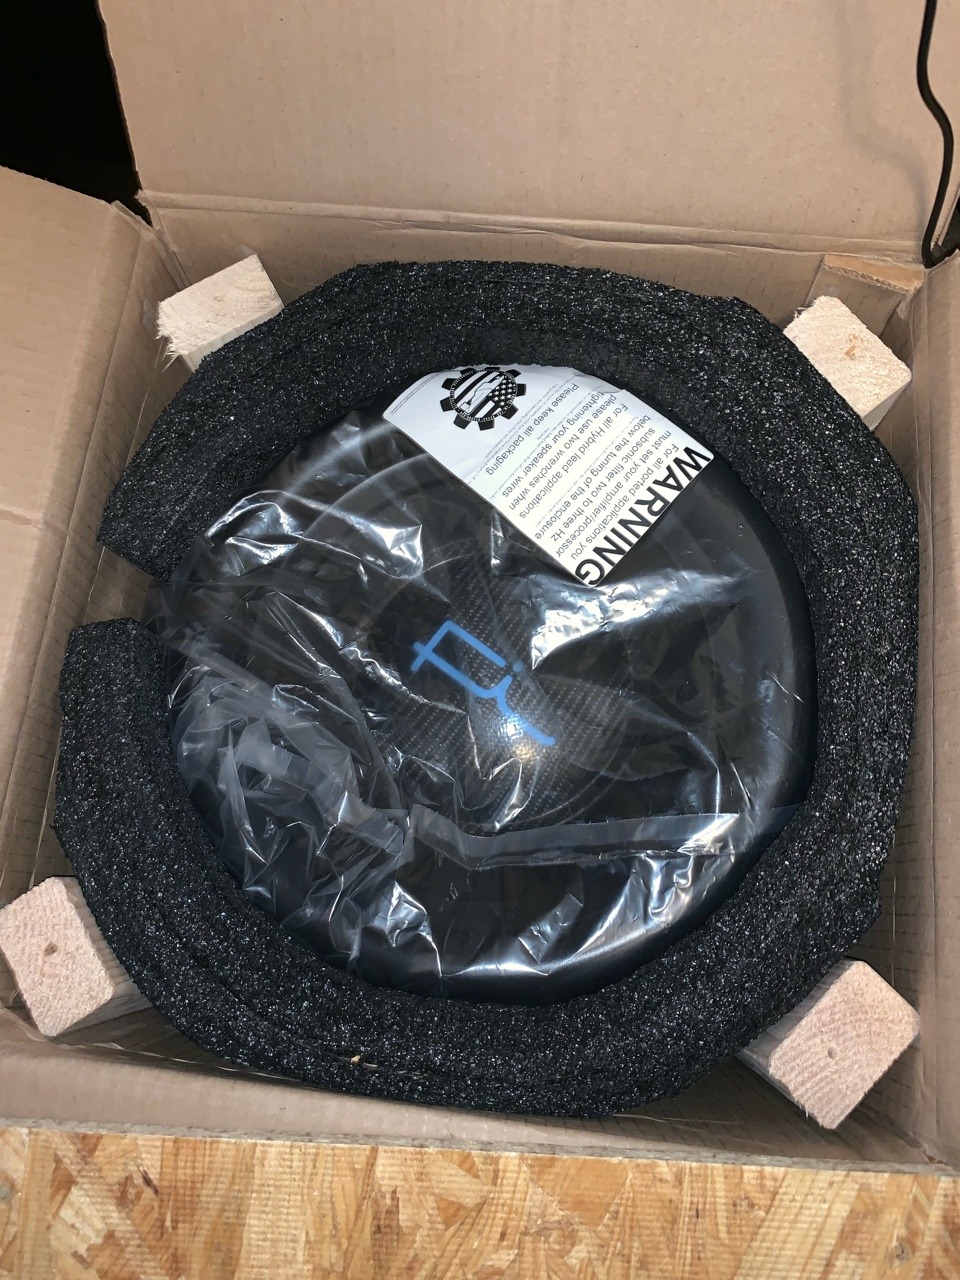
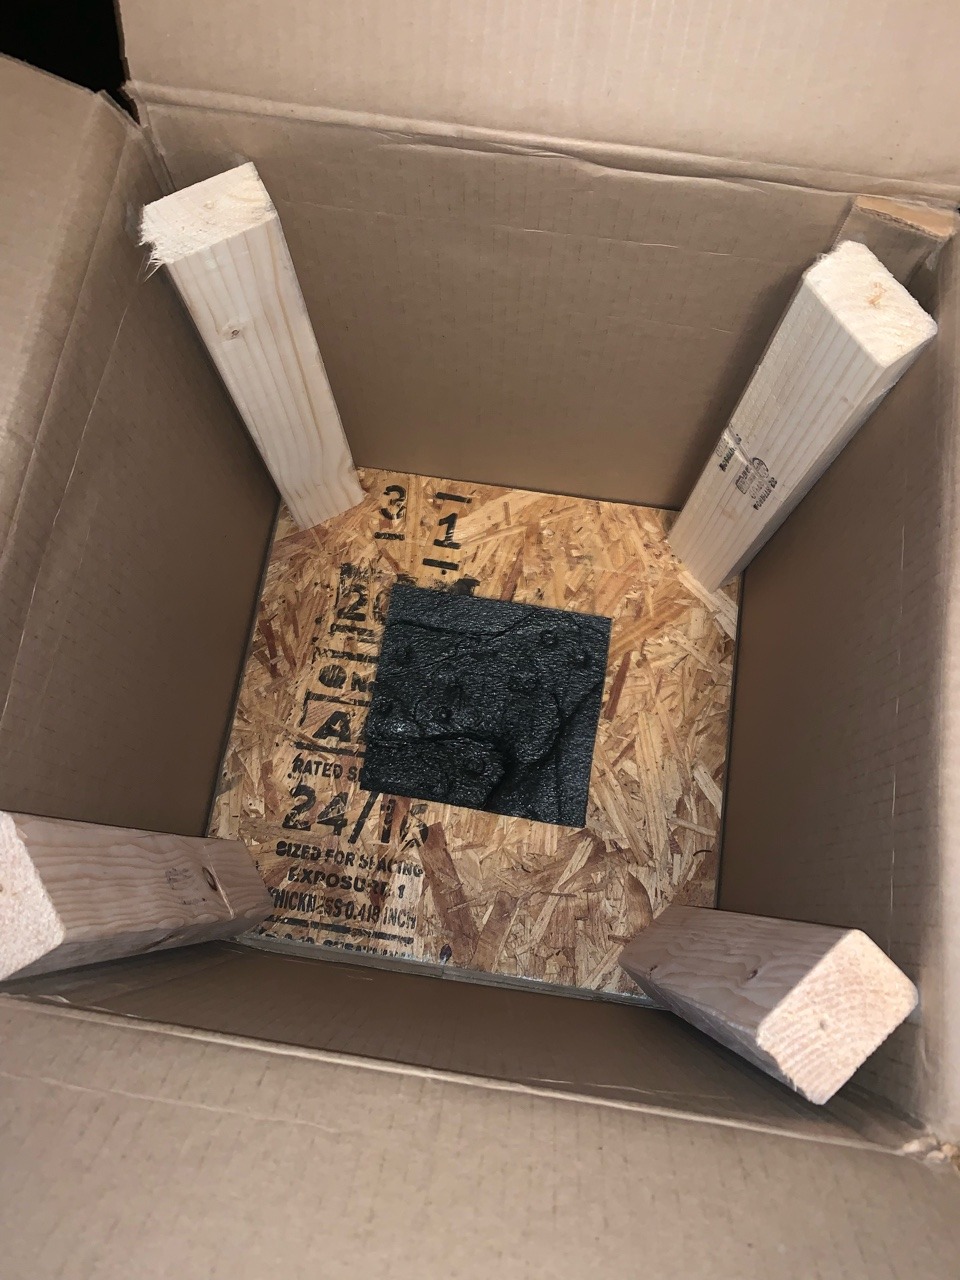
SP4 v2+ 15" Dual 1 ohm | 7" Gloss Carbon (Ice Blue) | 4 spiders | Cooling | Hybrid Leads |
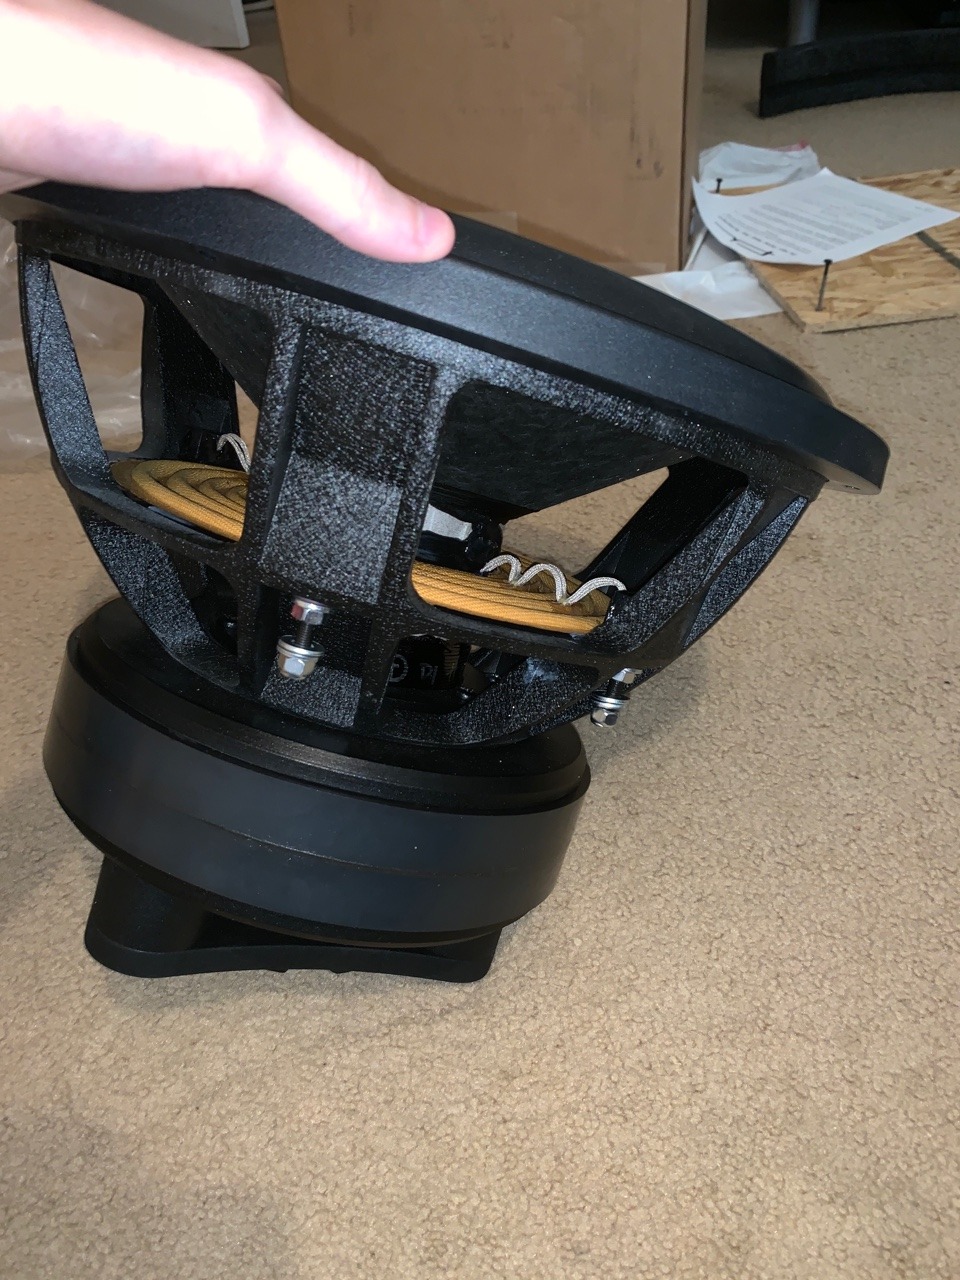
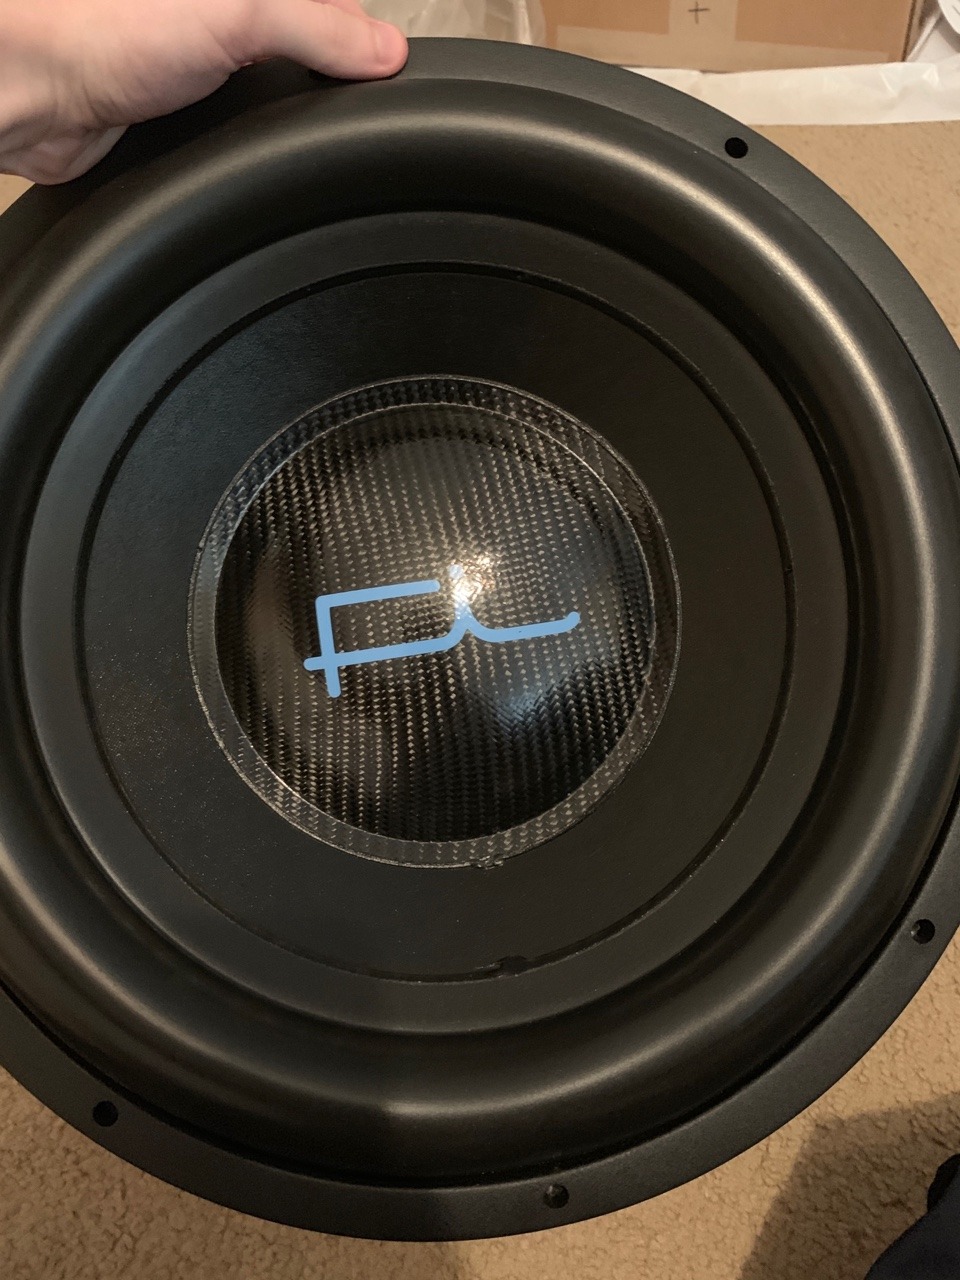
Packaging is 11/10, also heavy AF
 0
0 -
Work to get to current build: (a lot from 2018)4
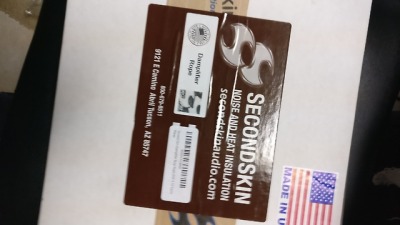
Adding some Dynamat to the doors and behind speakers, thinking of comparing this stuff to some SecondSkin deadener on the rebuild.

Trying to stop some plastic rattle with Tesa Tape

Ran speaker wire to rear
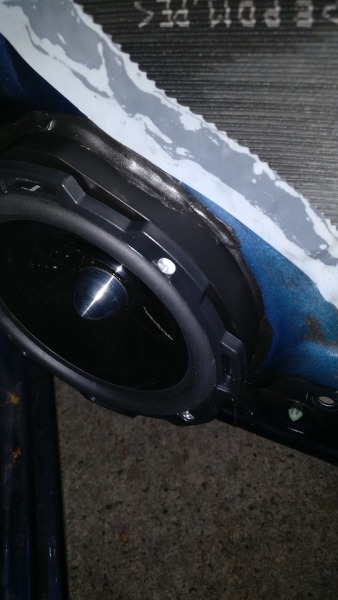
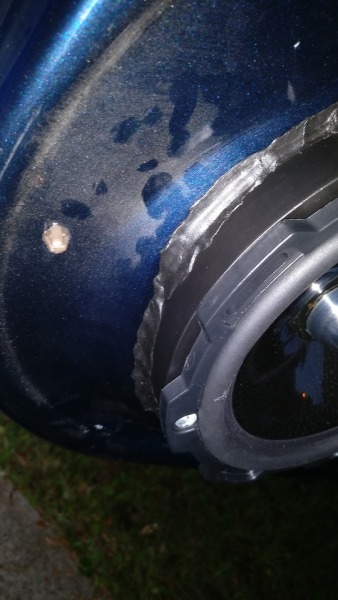
Old Tweeter mount, Florida = melted glue whoops. Should have used some JB weld instead...
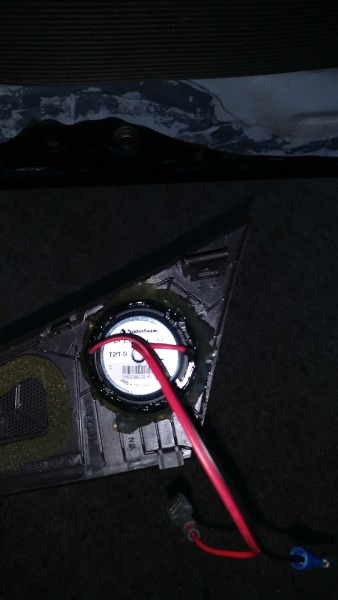
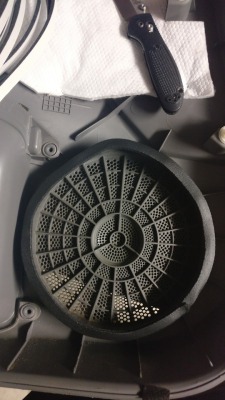
Noticed the plastic rings on the inside of the panel were not able to be seated all the way back because of the adapter mount. Decided to cut it shorter and apply some foam tape.
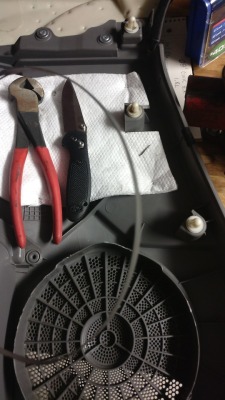
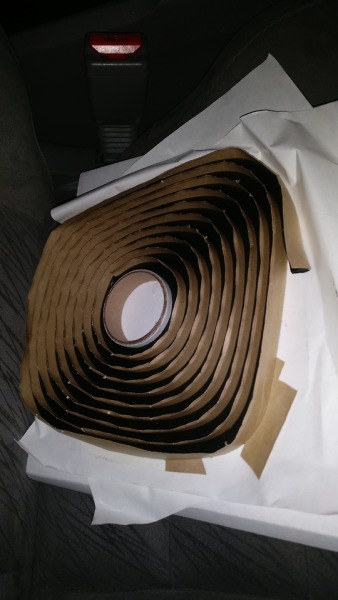
Applying some SS damp rope. I definitely want to redo this mounting bracket with some ABS plastic and some deadener.
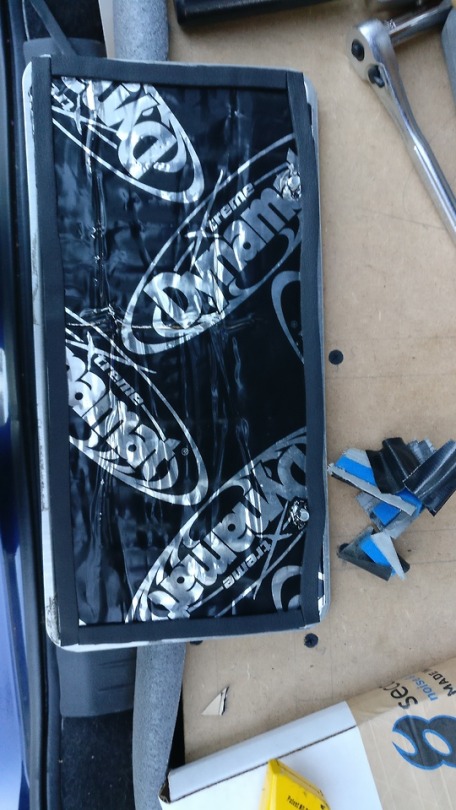
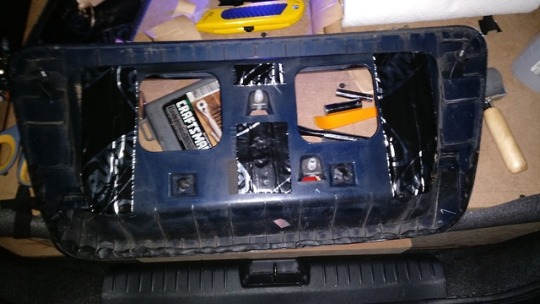
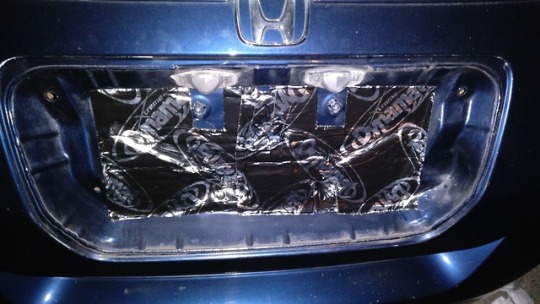
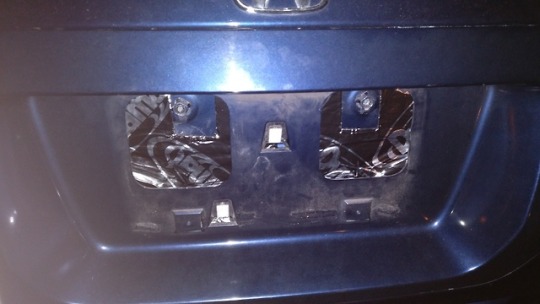
Deadening license plate and trunk lid pieces
Fixing a side panel with zip ties and a drill
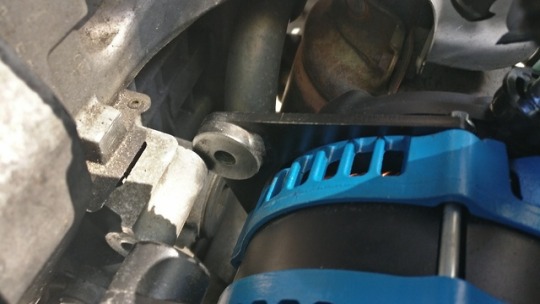
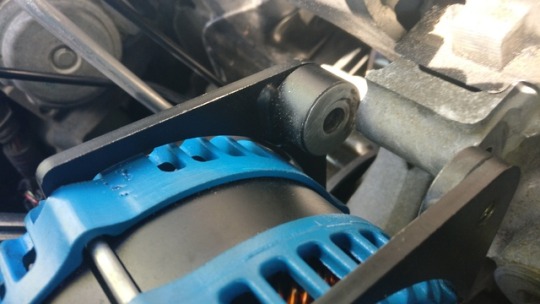
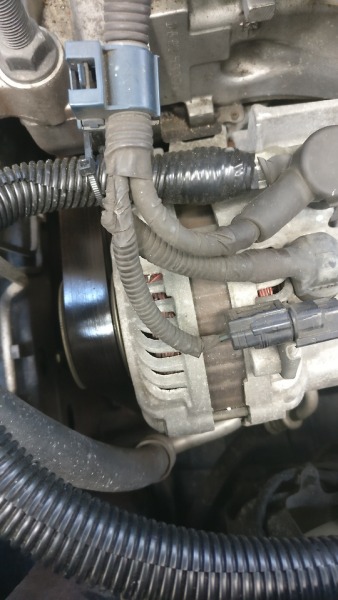
Went back and sanded alternator connection
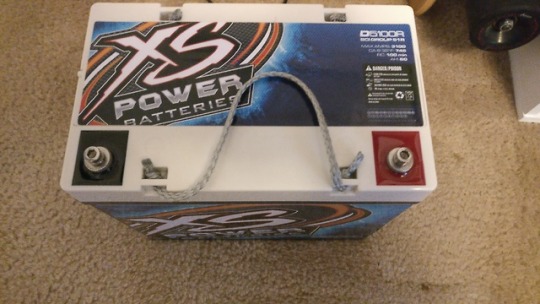
Replaced cracked wally world battery with XS D5100R
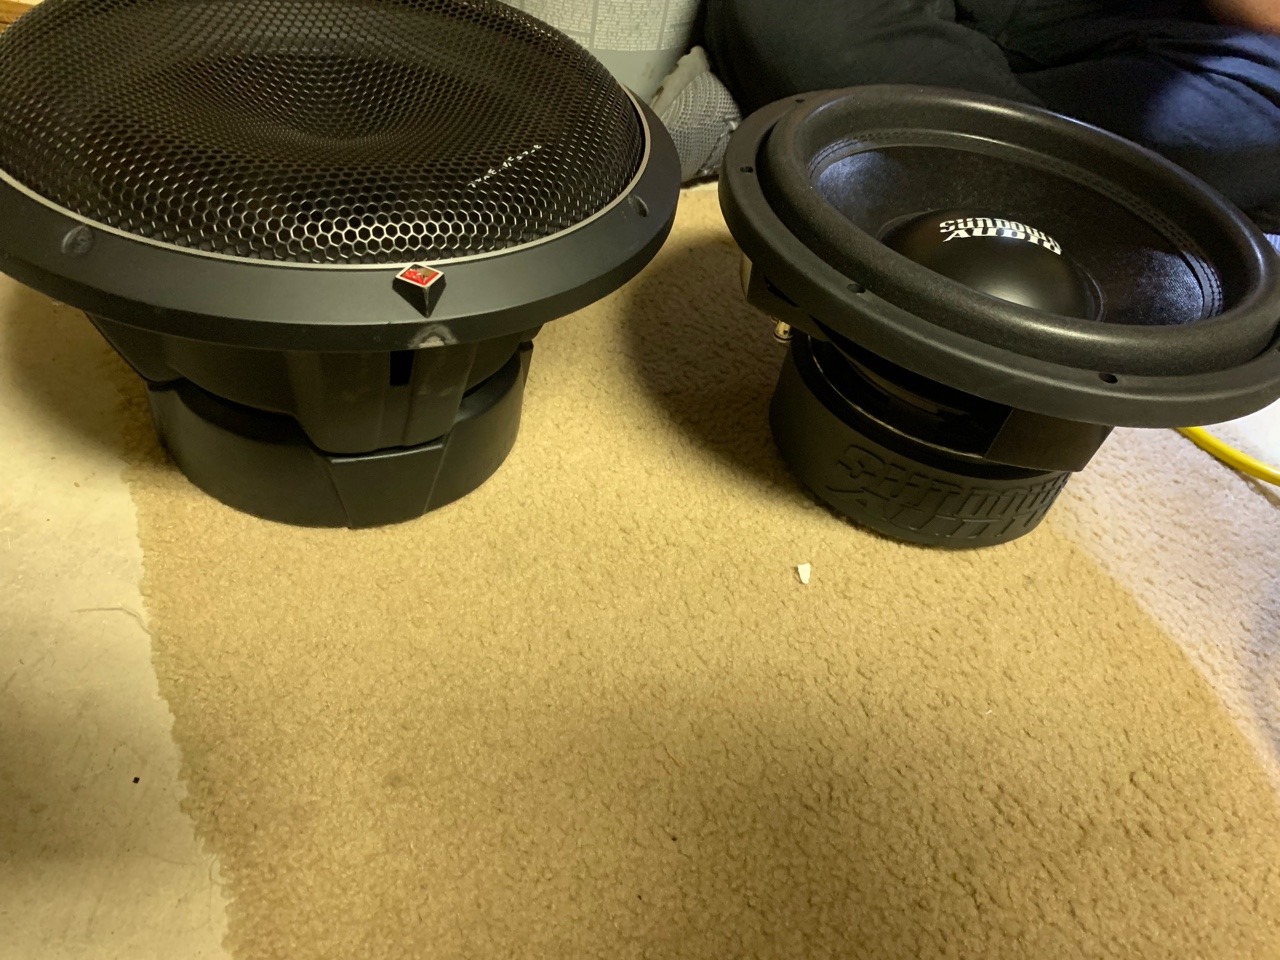
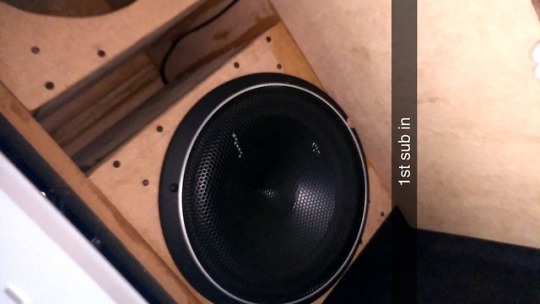
Switch to SA 12s from P3s
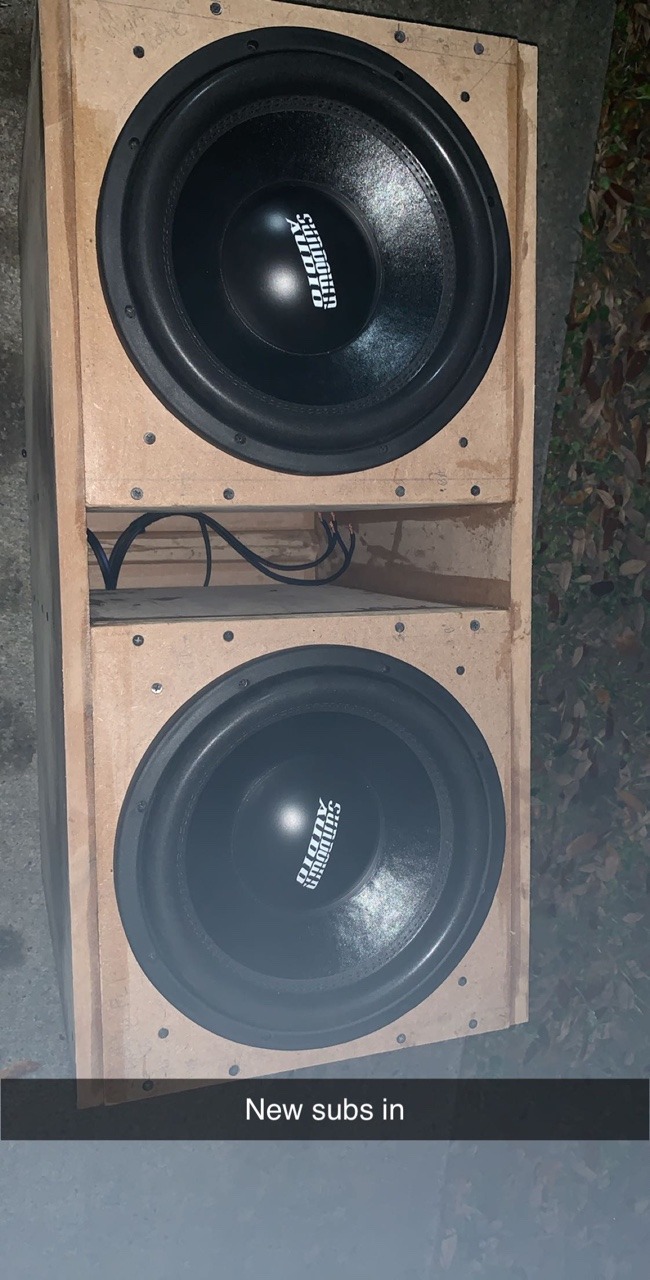
Yes I never finished this box, but I never planned on keeping it. I think if I take it out i'll sand down the imperfections, and wrap in some carpet. Might end up putting it in my friends car too

 0
0 -
@Second Skin Could he seal off the glass with some butyl rope then reinforce everything with deadener or another product? As in around the perimeter and onto the glass?
0 -
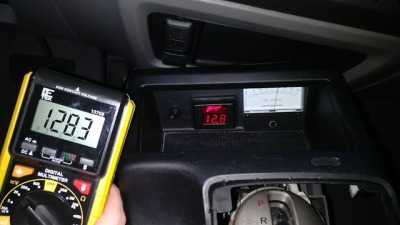
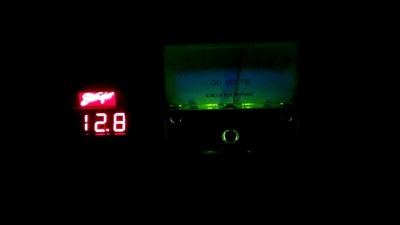
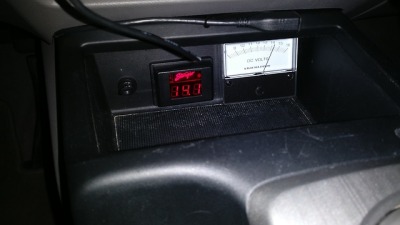
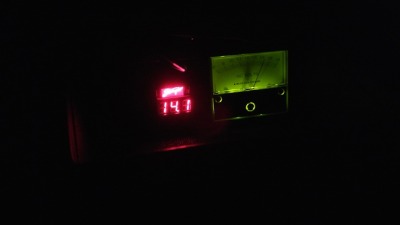
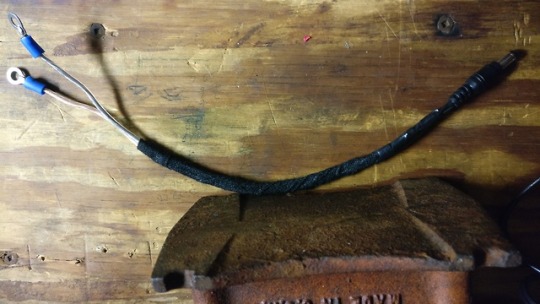
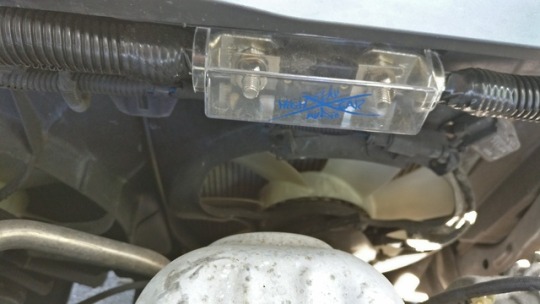
My Volt Meters:
Stinger Digital Volt Meter - quick glances
Blue Seas Analog Volt Meter - shows dips in voltage that Stinger doesn't display
Back
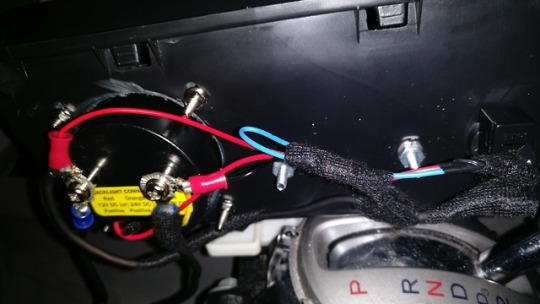
Diagram

Calibrated with DMM
 0
0 -
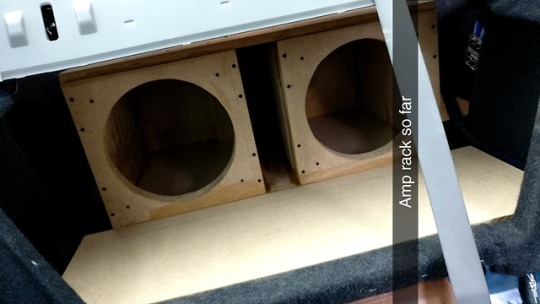
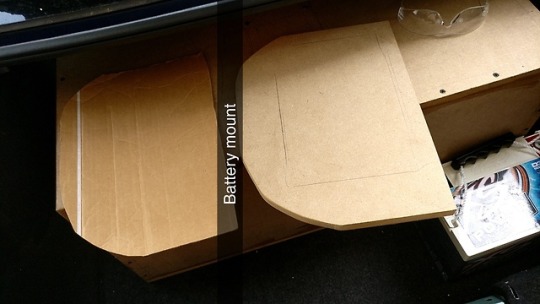
Work to get to current build: (a lot from 2018)3
Start on amp rack and battery mount with scrap MDF and some cardboard cut to fit on driver side little cubby.
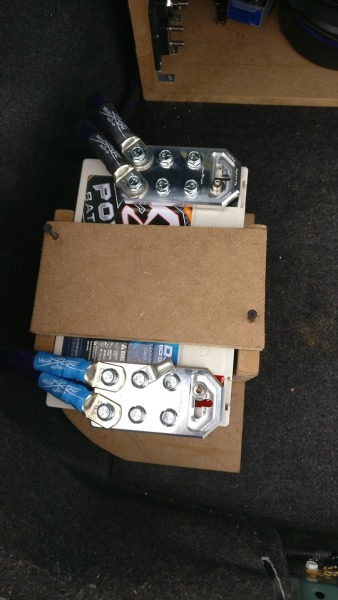
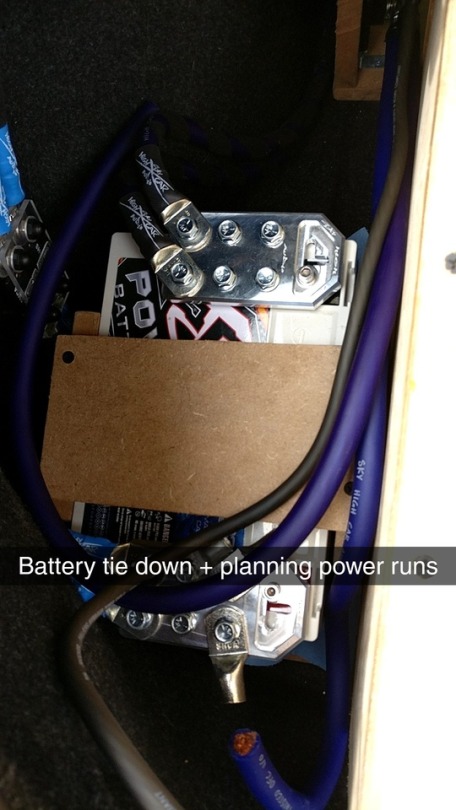
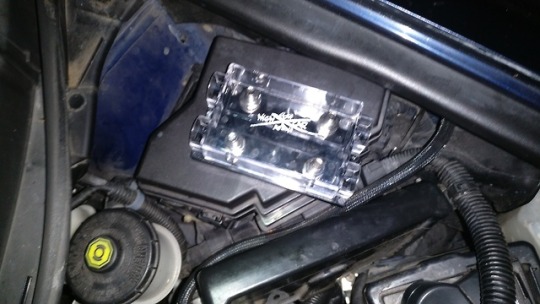
Hooked up battery fuse holder to main runs. Hate myself for this fuse holder placement without reinforcement!
My little MDF box for a D3400 and some shiny aluminum bussing. Enclosure was glued then has two screws for removing the battery.

Planning power runs for amps
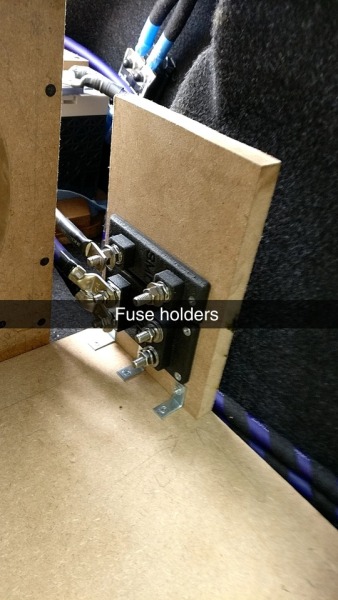
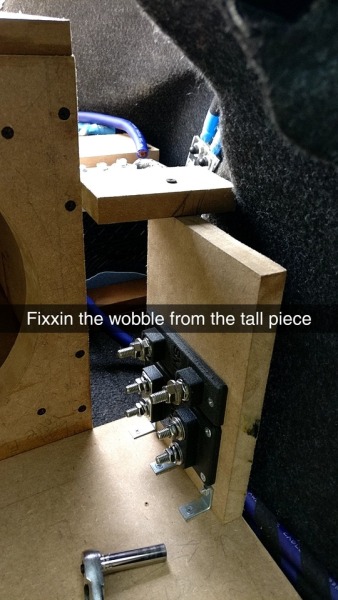
Another idea that works but could stand a redesign. Horizontal fuse mount. At first it had tons of play in it but after adding the top piece that held it upright, it mostly stays as is.
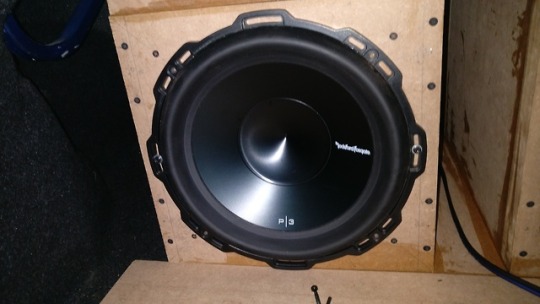
Wiring P3D4 12s. 10 gauge sky high wire
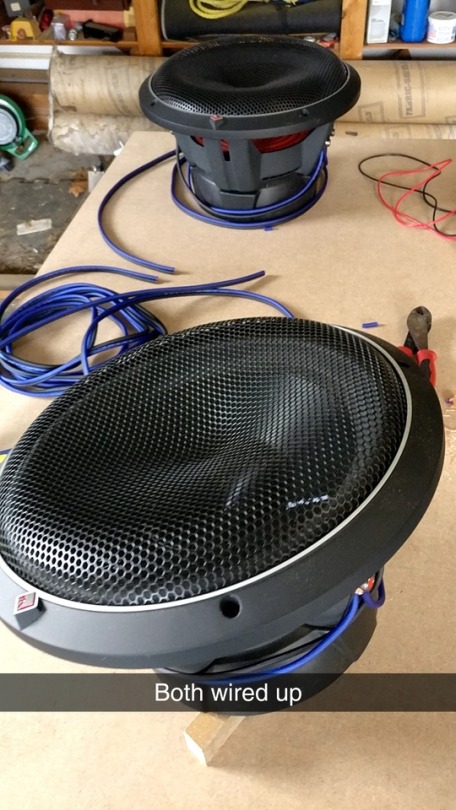
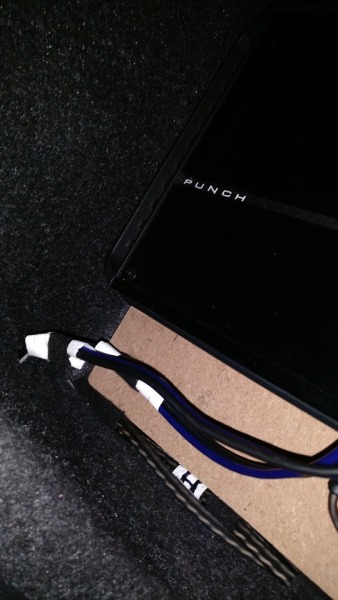
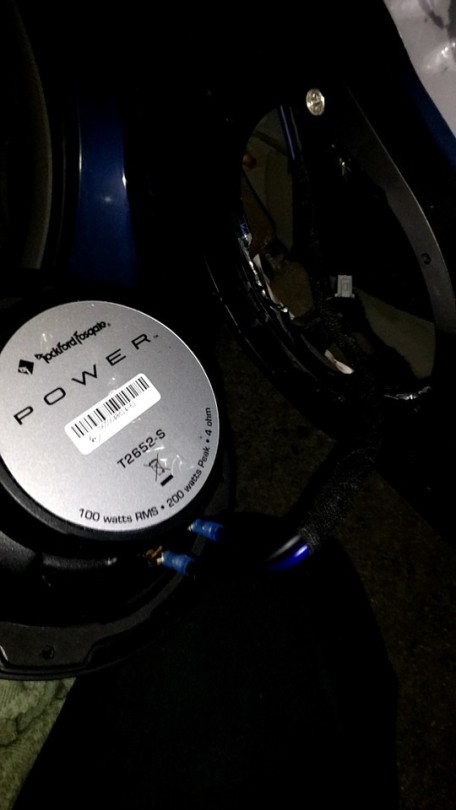
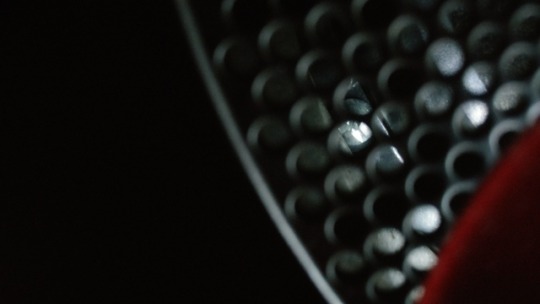
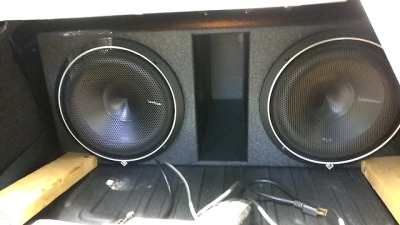
Loved these grills that Rockford has
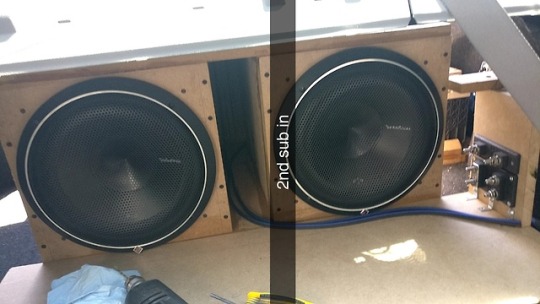
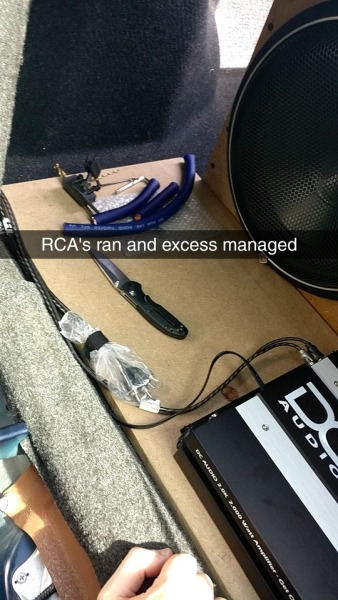
RCAs ran to rear. Ended up with a lot of excess cabling.
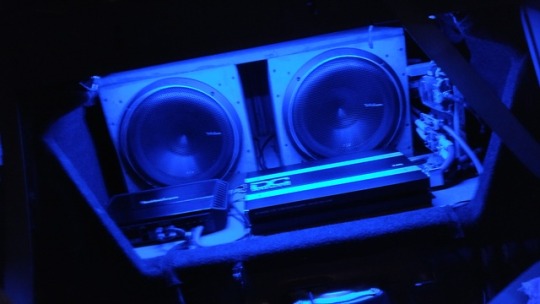
Finally. The moment I had been looking forward to for days after days of work
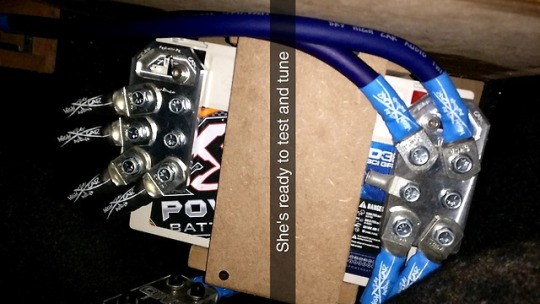
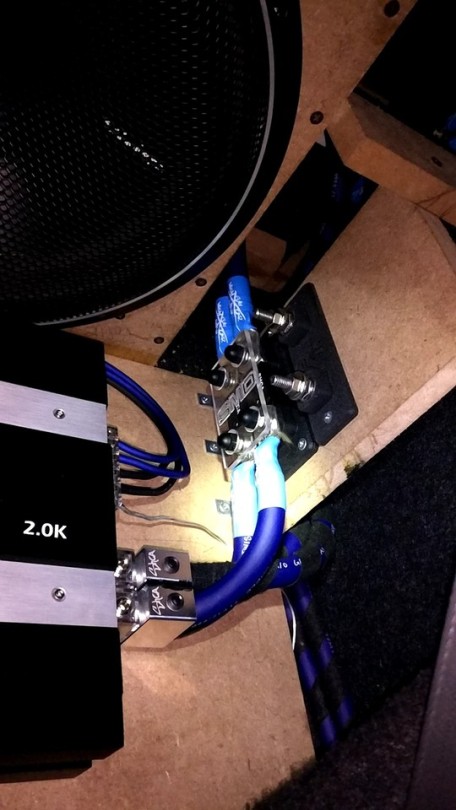
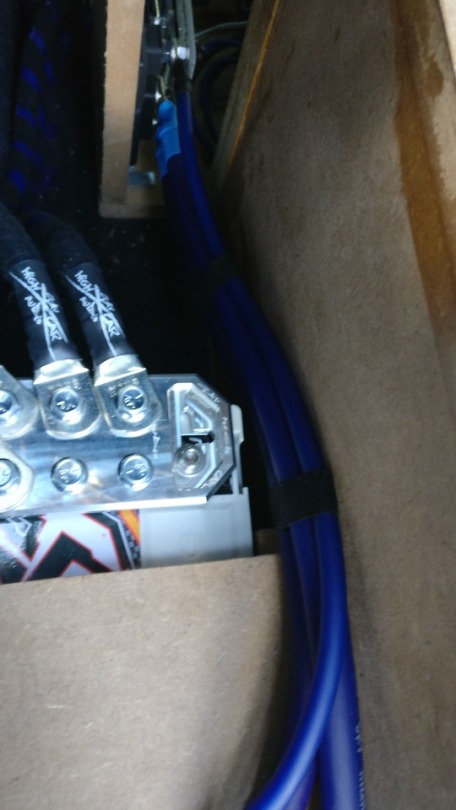
Electrical tape for the sides that are closest to each other at the amp terminals. Both + and -
The setup v1
While tuning and testing this I ran into a voltage problem, low 13s. I decided to fix it
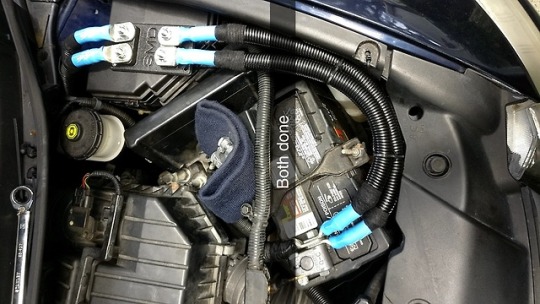
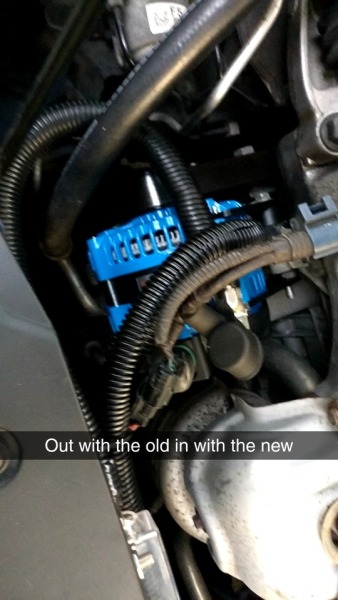
Mechman 240A Alternator in Blue!
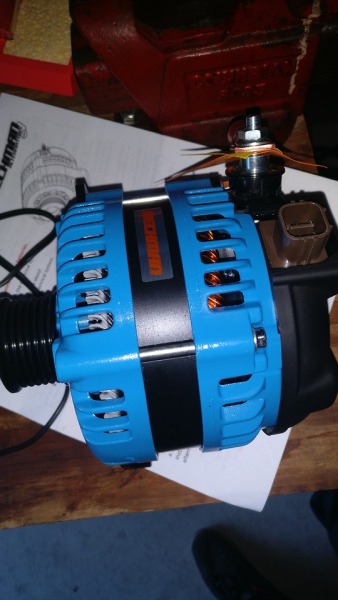
Heres a side to side for laughs
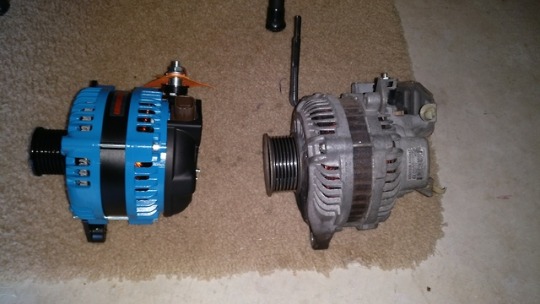
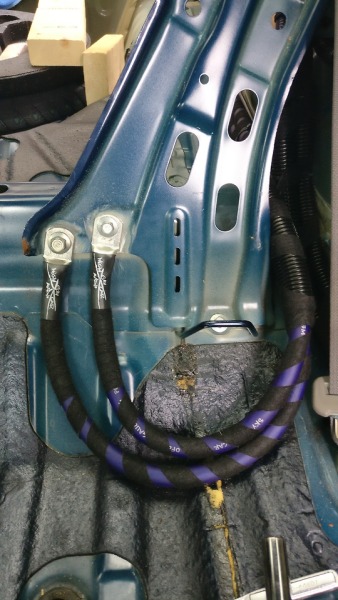
Old versus new. 1/0 ran from alternator + to battery (fused), and alternator - to battery negative. Whoop Whoop!
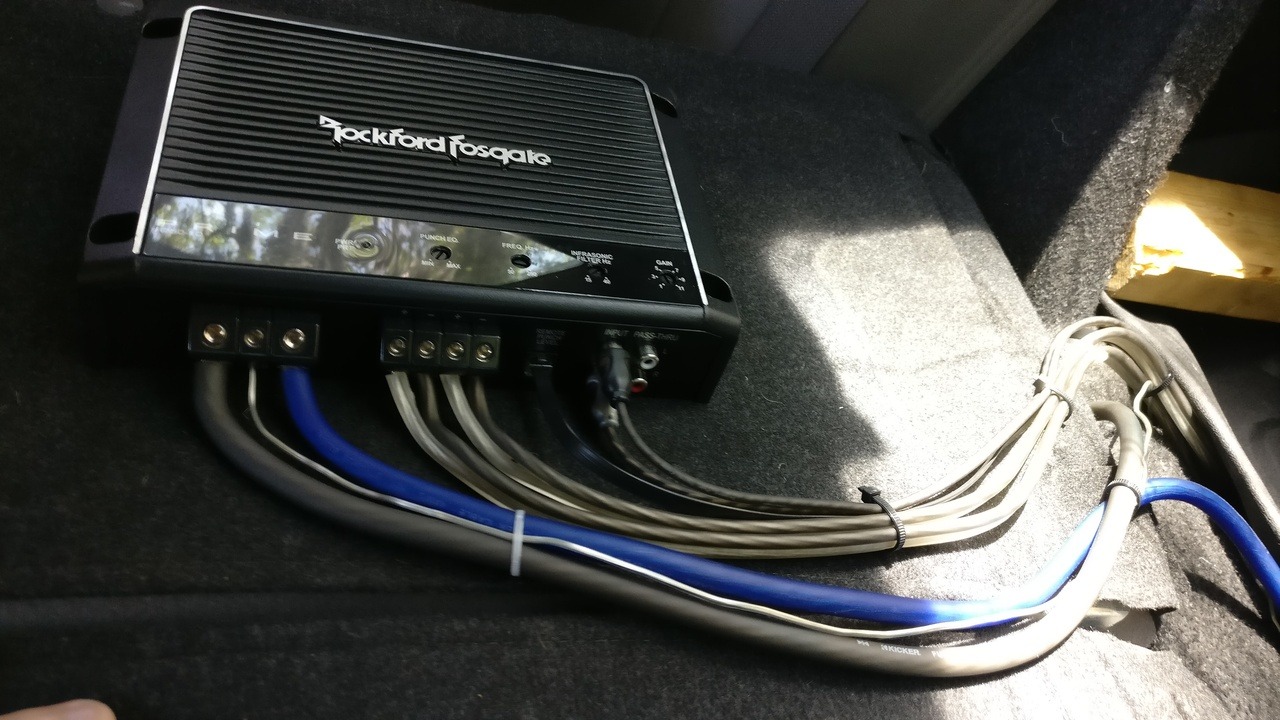
Installed 4 channel, RF P600x4. Front speakers not hooked up yet.

Connecting up some LED's off amazon by soldering on some wire and terminal for my Blue Seas System Fusing: https://www.amazon.com/Blue-Sea-Systems-Blade-Block/dp/B001P6FTHC/ref=asc_df_B001P6FTHC/?tag=hyprod-20&linkCode=df0&hvadid=312128389336&hvpos=1o1&hvnetw=g&hvrand=16344823841222530695&hvpone=&hvptwo=&hvqmt=&hvdev=c&hvdvcmdl=&hvlocint=&hvlocphy=9011457&hvtargid=pla-383472770805&psc=1
LED's for fun
 0
0 -
Building my first ever box:
My designs came from JeepandBass: https://www.jeepandbass.com/box-designs
If you are just getting into the game then I recommend having someone else design your box. Then design your second box like I am doing!
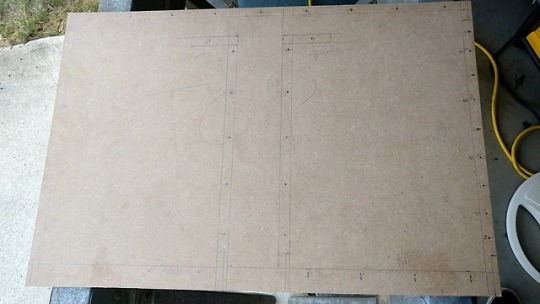
Bought two sheets of MDF
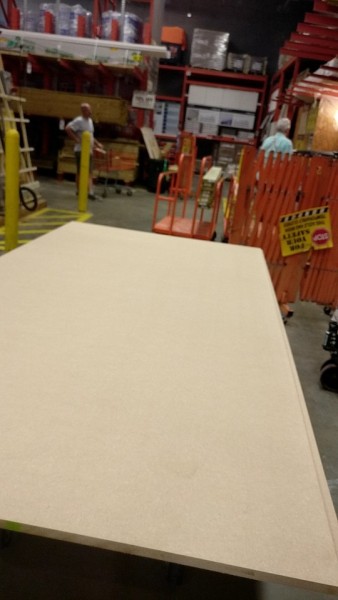
Portable table saw for long cuts
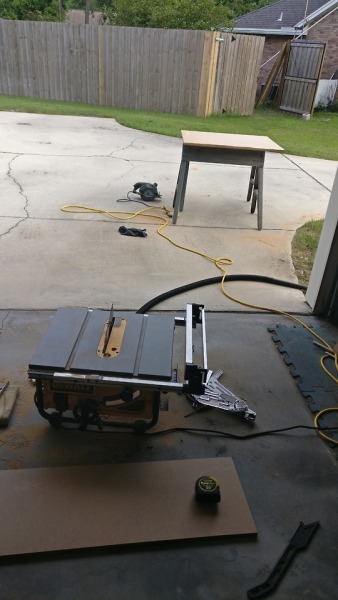
Wear protection! No jokes this stuff is not good for your lungs or eyes, so gear up and clean up.
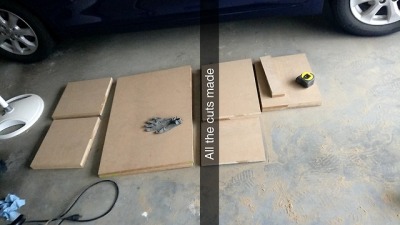
All cut out
My Hardware: Brad Nails to assist with holding pieces for follow up coarse threaded screws
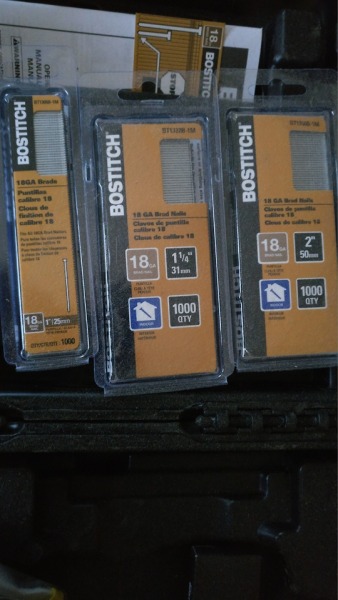
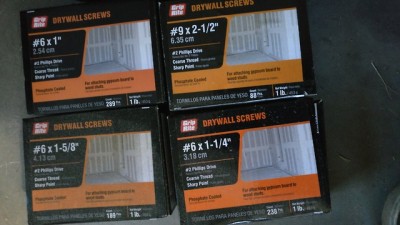
1" screws and brads | 45s
1 1/4" screws and 1 1/4" brads | Baffles connection between layers
1 5/8" screws and 1 1/4" brads | Most joints for the box excluding the connection between the baffles and sides/port
2 1/2" screws and 2" brads | Baffles connection to sides walls/port walls
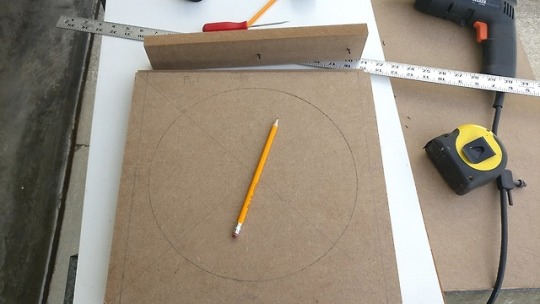
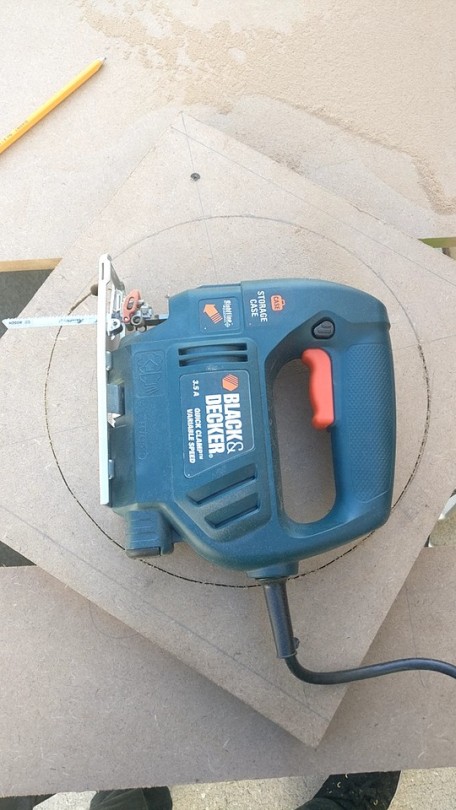
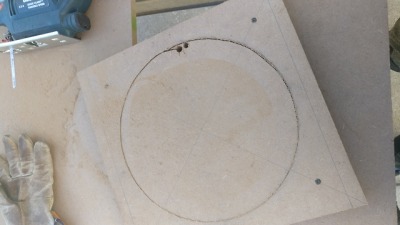
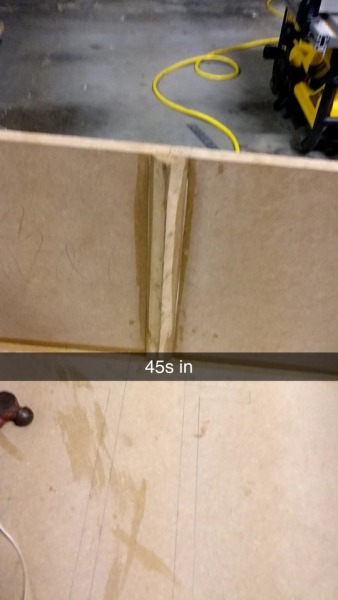
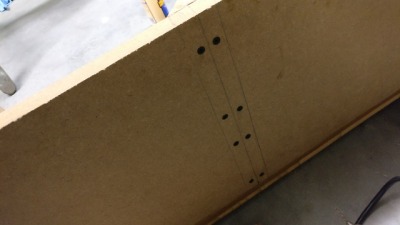
Tip for cutting circles in a MDF!
Screw into a scrap length of wood the size of your subwoofer diameter plus some. Then mark out your cutout diameter by using a ruler to mark where your next screw will go. After that you now have a template you can use to score into any wood for a speaker of the same cutout diameter!
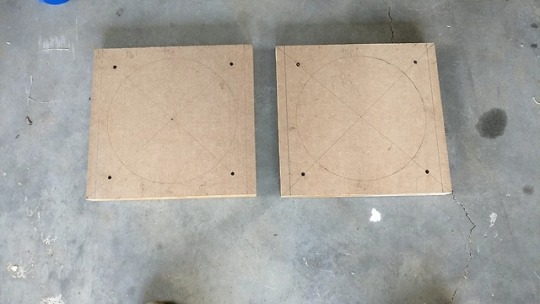
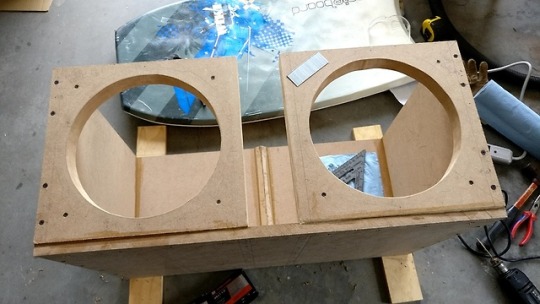
After doing this I glued on the second layer behind each side and screwed it in to let dry over night.
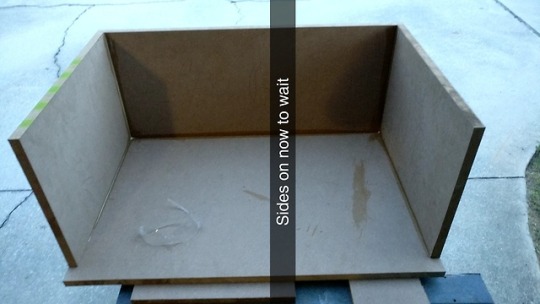
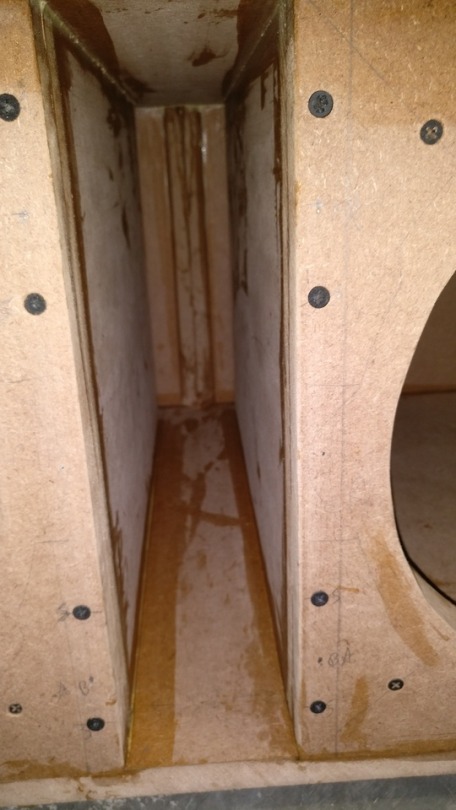
Put together the sides of the box and back wall
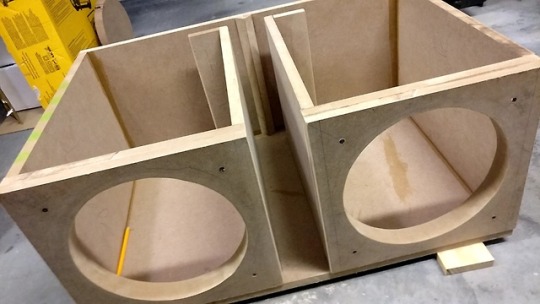
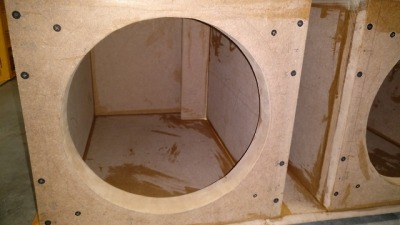
After the baffles glue had dried (23 hours). Cut out the scored circle with a jig saw (router would be much nicer and easier, but more expensive for entry level)
Smooth with sandpaper
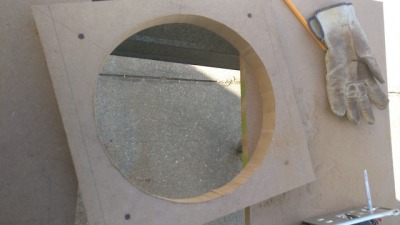
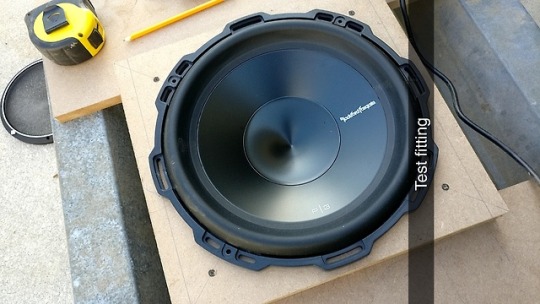
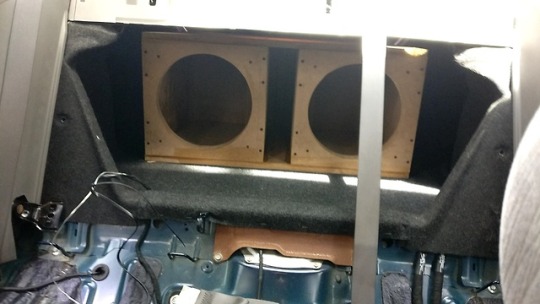
Test fit
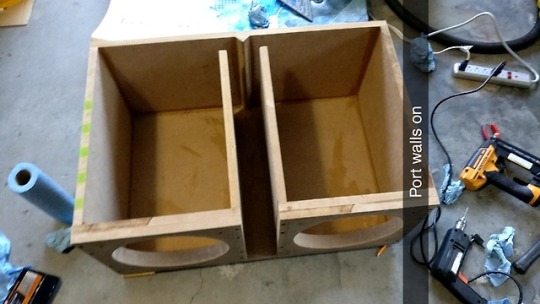
Planning:
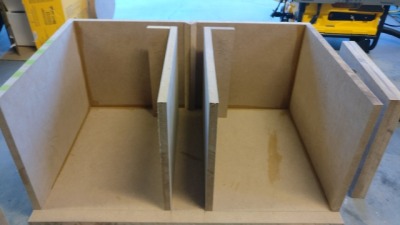

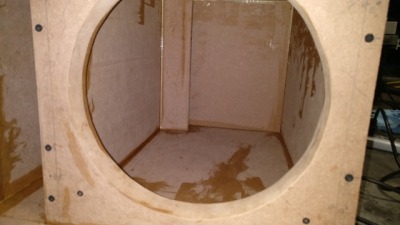
Some sanding on inner port wall to knock off hard edges
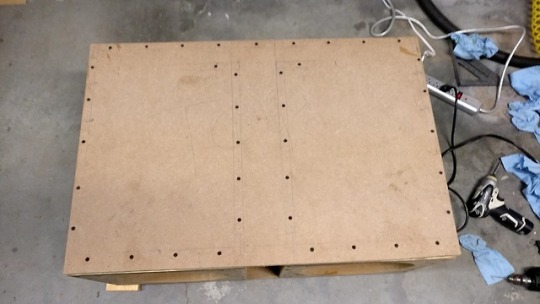
Planning out screw placement and panel placement on top piece
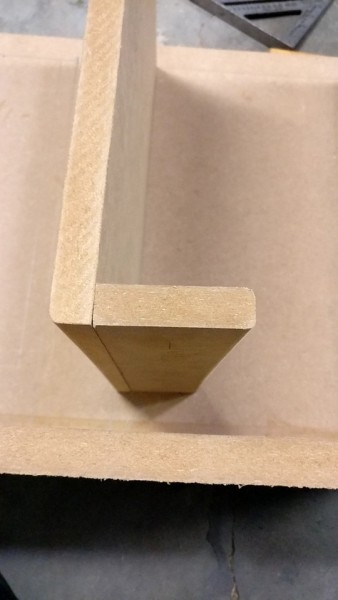
Notice the overhanging baffles. Yeah someone fucked up! I decided to leave them since I was dying to hear it, but could have just as easily sanded them down.
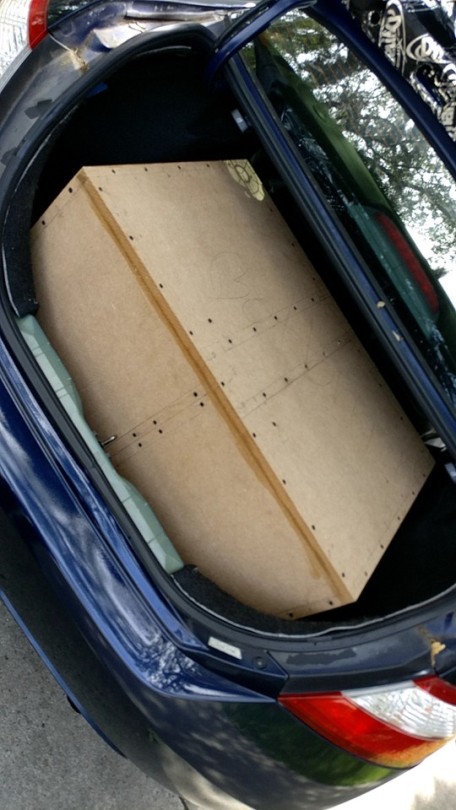
Final Product:
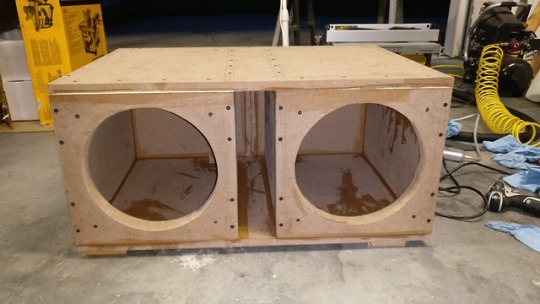
Now thats a big ass box... This required a lot of coaxing to fit, but after turning it then putting it in... she fit.
0 -
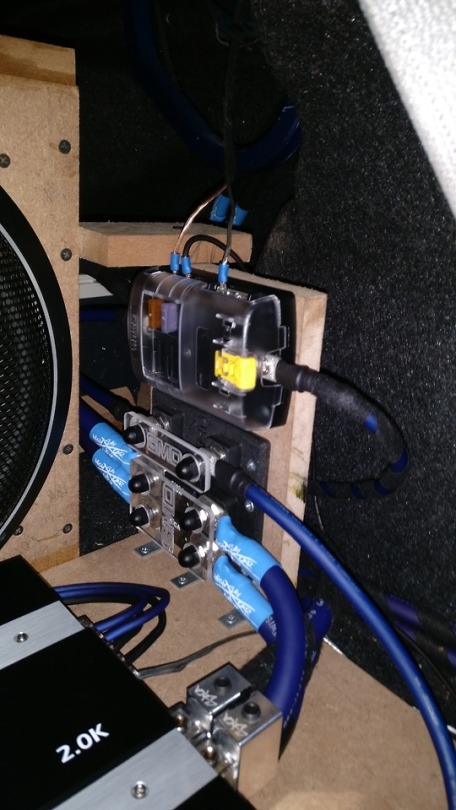
Work to get to current build: (a lot from 2018)2
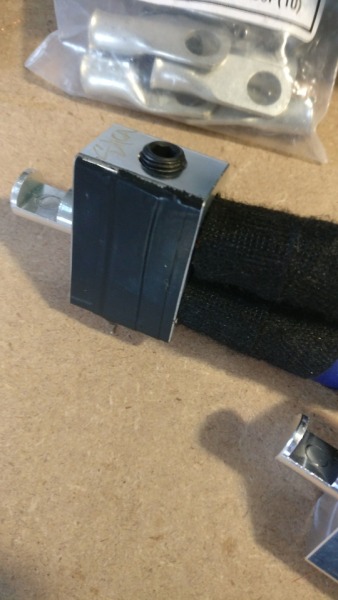
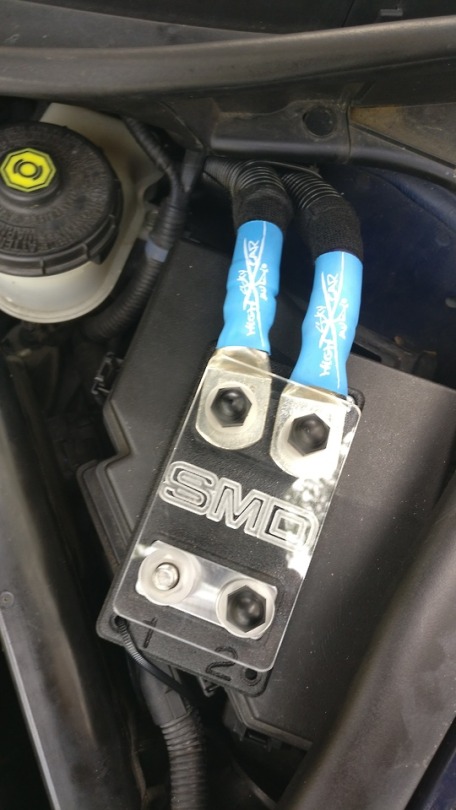
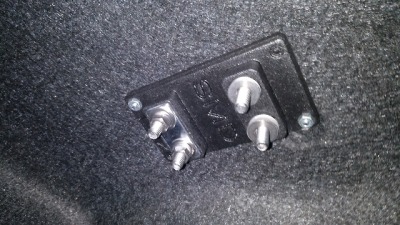
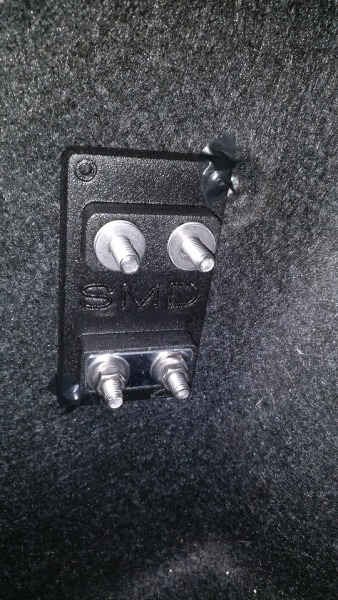
The switch to SMD fuse holders. I love these things. Absolutely worth spending the extra cash for each of these!
Also the dealer I bought them off of, AudioFanaticz, threw in some goodies!

Great Fuse holders, but bad mounting on my part... Definitely will address this issue this month!
Rear Fuses for reserve battery
Mounted to side wall, then insulated with some tape just in case.
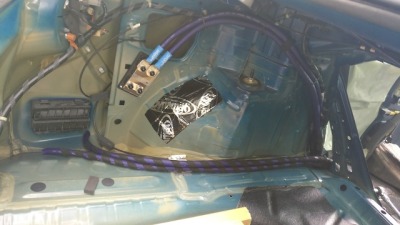
Grounds color coded with tesa tape. Used a DMM for finding a suitable grounding location. This spot surprisingly had low resistance!

 0
0 -
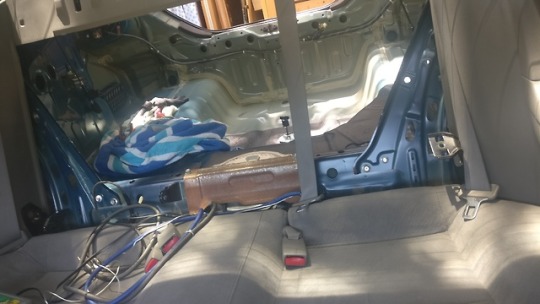
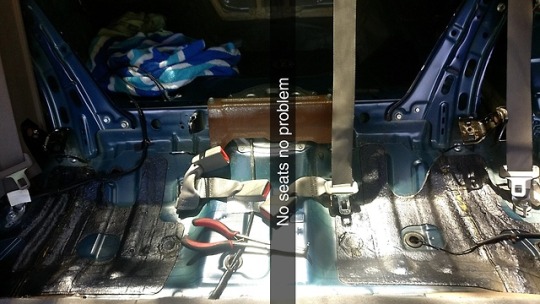
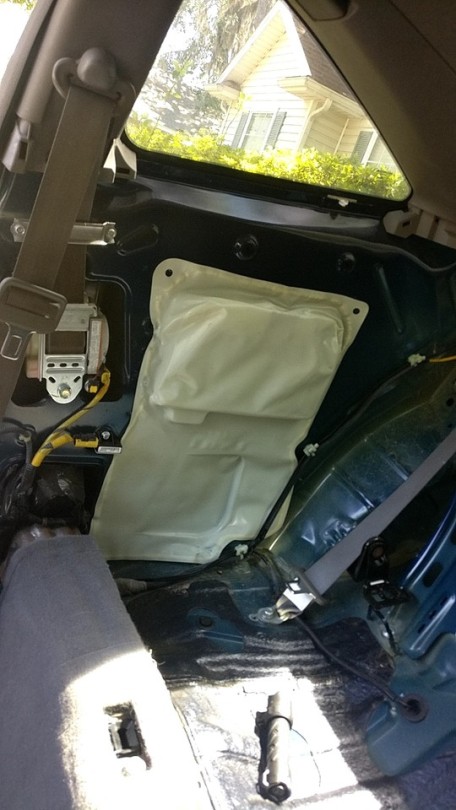
Work to get to current build: (a lot from 2018)
Day 1: Stripper Time
Looming RCAs (Rockford 20ft or 16ft twisted with some Tesa Tape):
My tip for those doing anything similar is to utilize a loose zip tie as a tool to control the unwrapped RCA cables
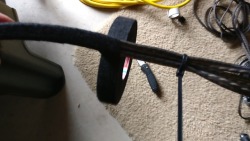
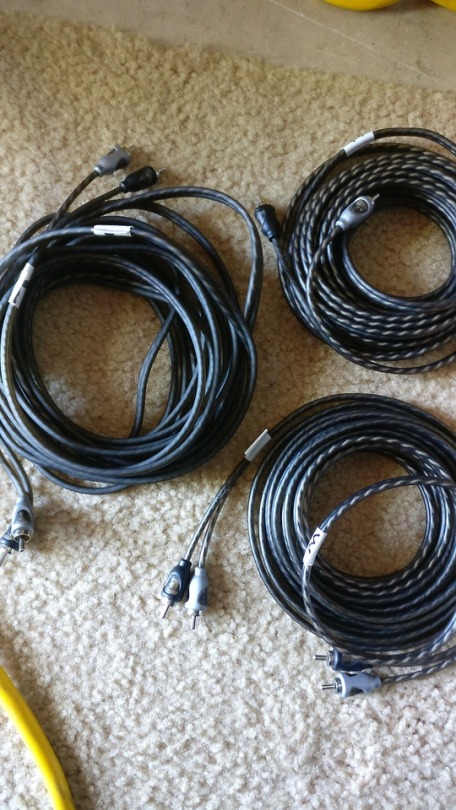
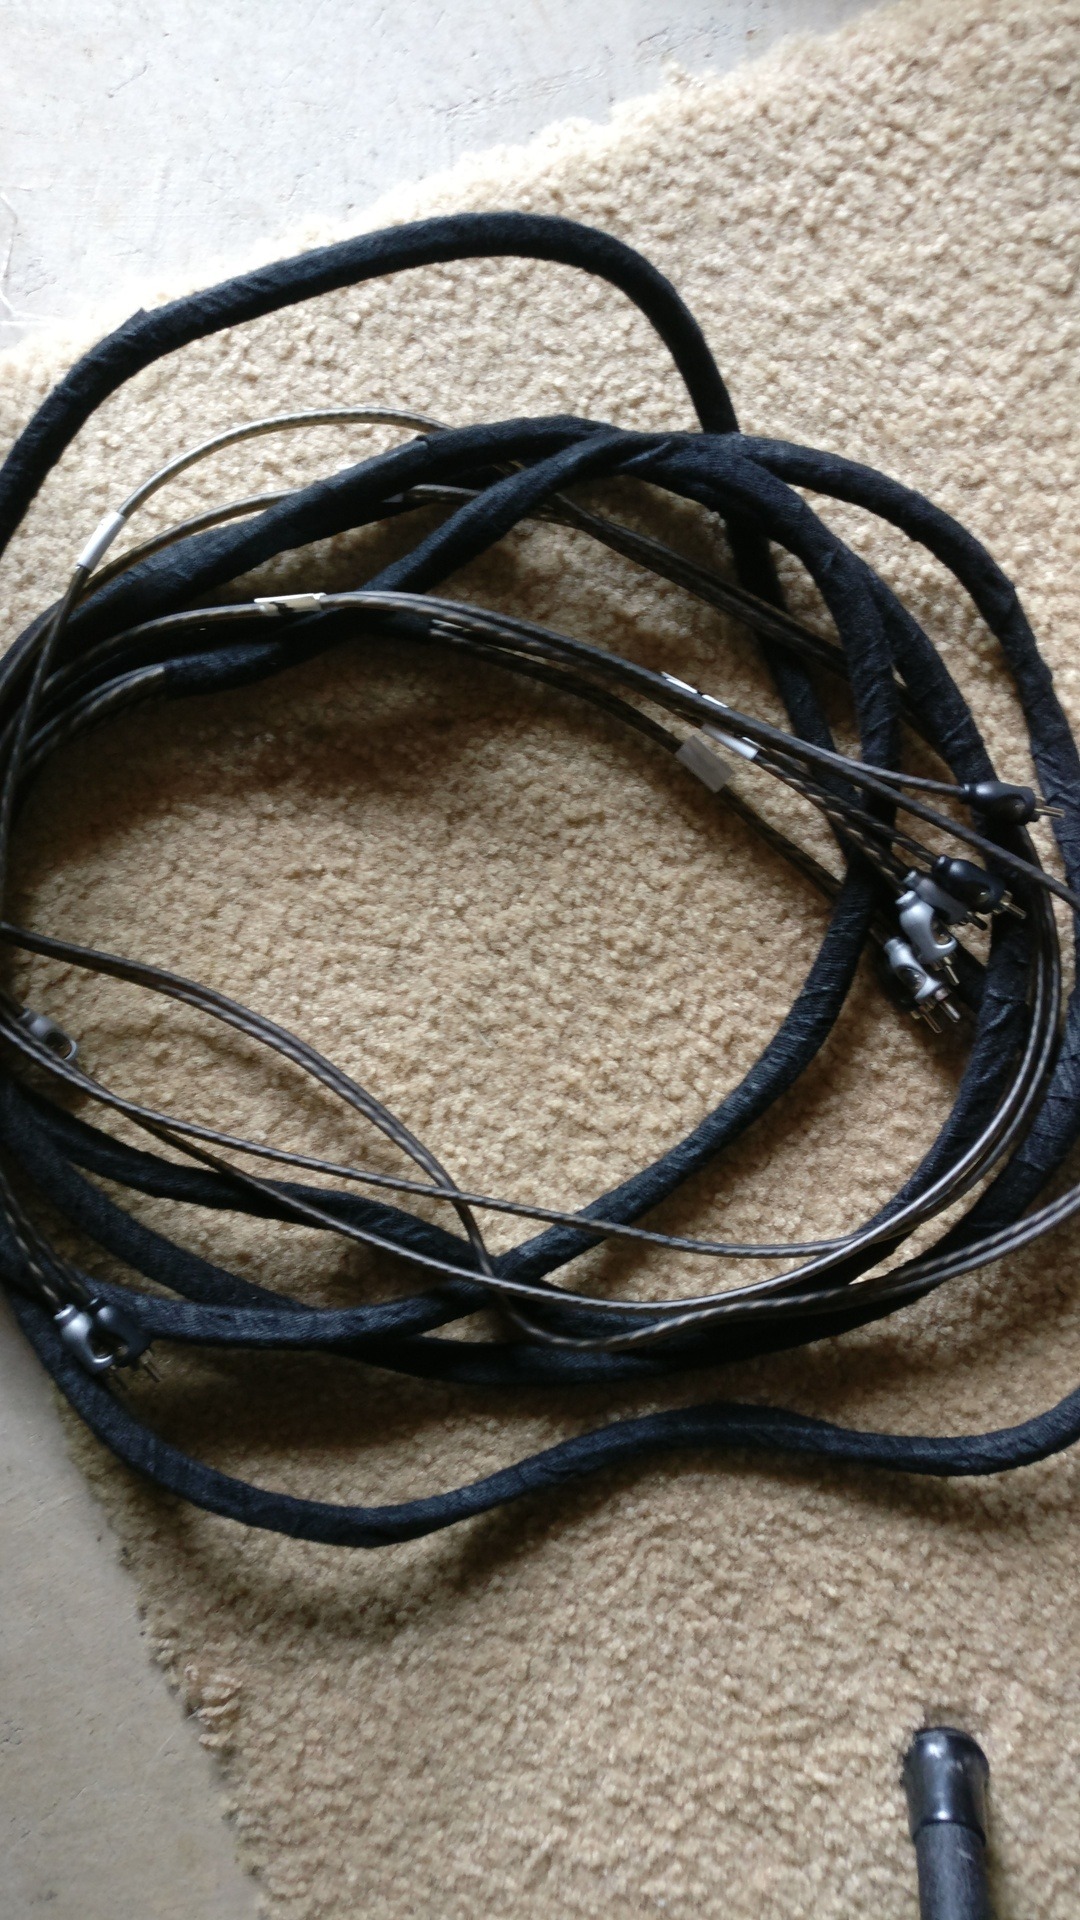
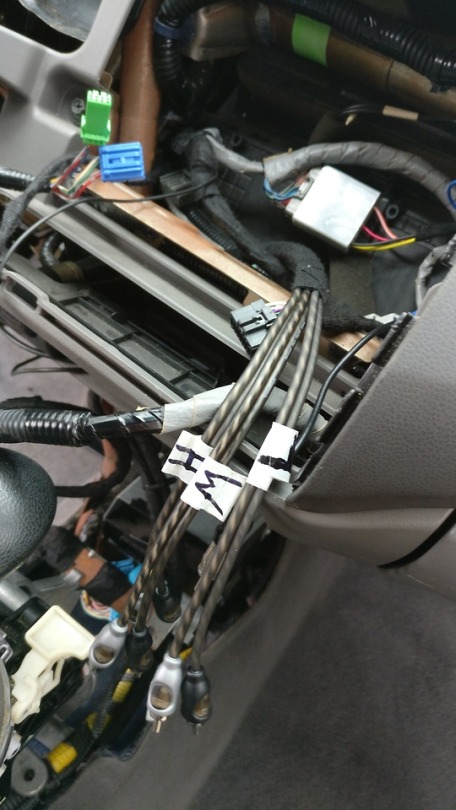
I also recommend marking your RCAs so you can distinguish between them on the other side!!
Sky high dual fuse holder (doesn't fit larger gauge wire easily...
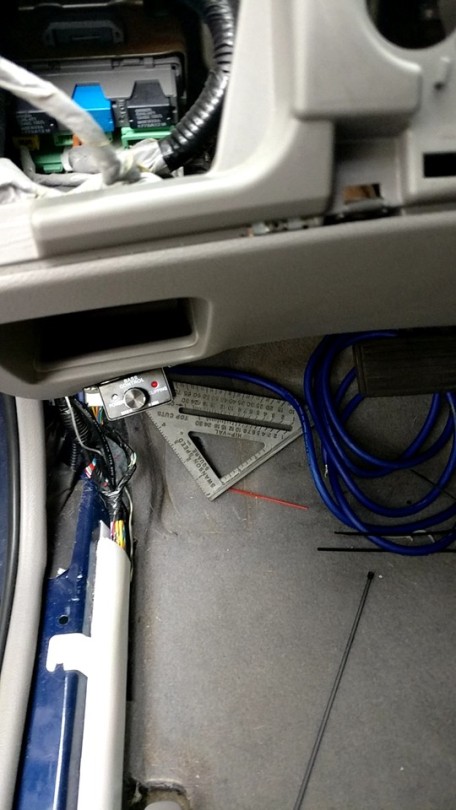
Bass Knob Mounted by driver side knees.
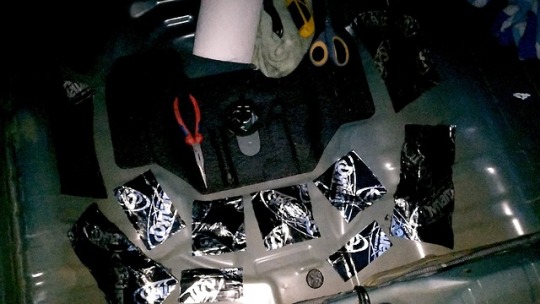
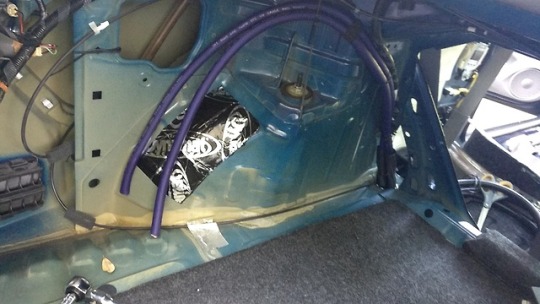
Sound Deadening, going for some resistance to rattles here:
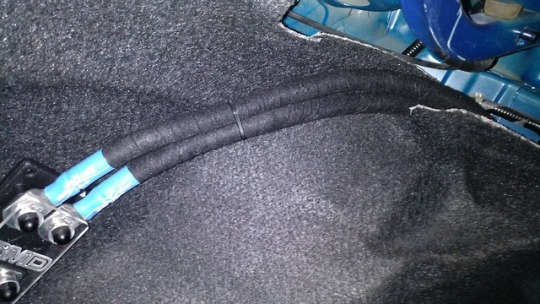
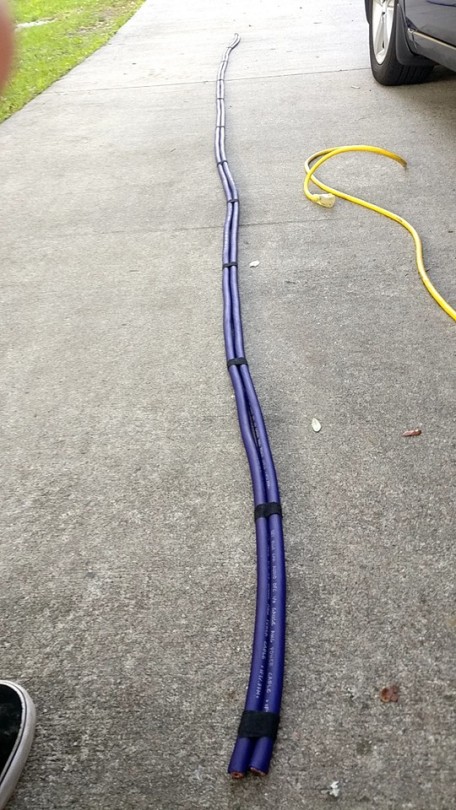
Dual run of Sky High 1/0 OFC. Flexible to a point wire, but very over-sized so be careful with what termination you buy!
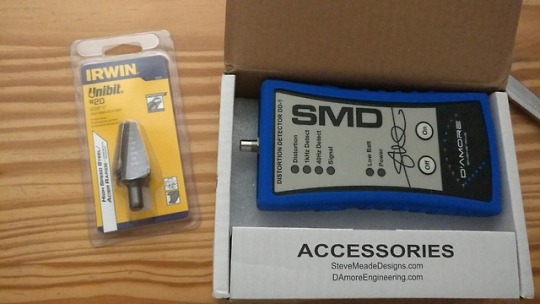
Best damn tool I have ever bought for getting through a firewall.... Unibit buy it. (comes in different sizes!)
Also DD-1, can be found here:
If you plan on setting gains, get one of these (or an oscilloscope)
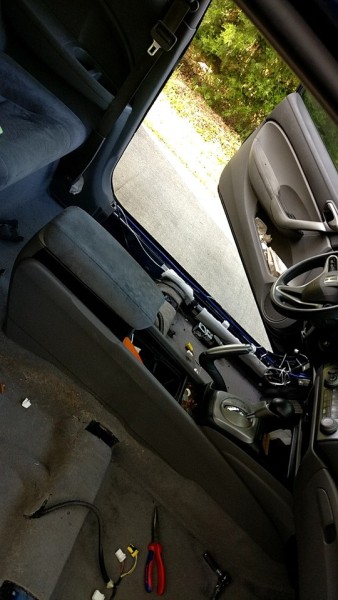
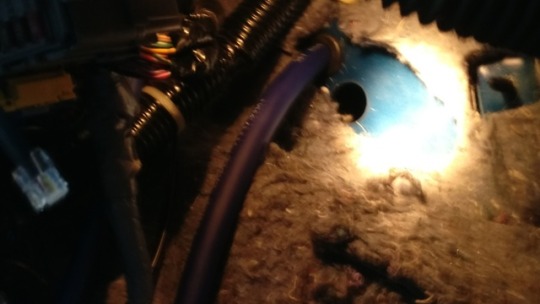
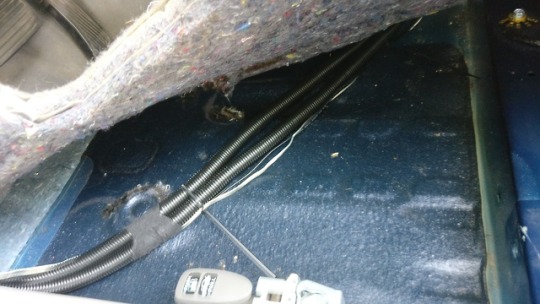
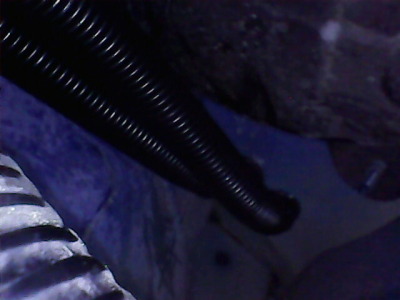
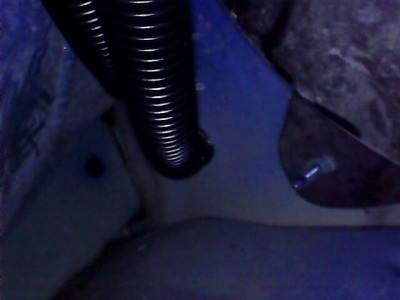
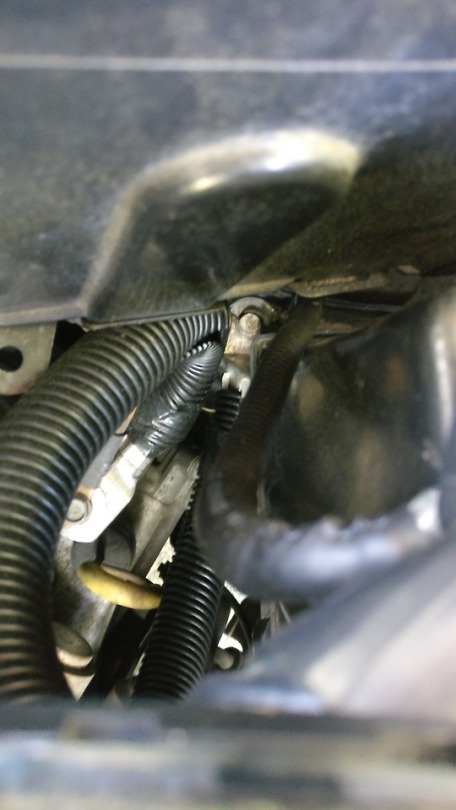
Drilled basically where the clutch would be if I had standard trans. Added rubber grommets off amazon, use a little petroleum jelly to help coax the wire through if you have trouble.
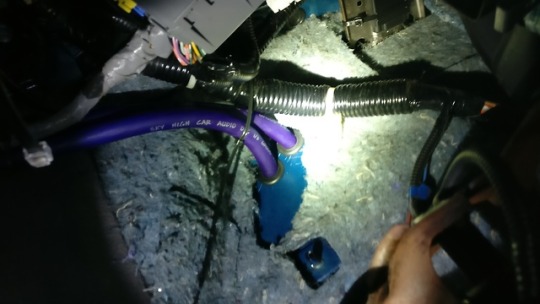

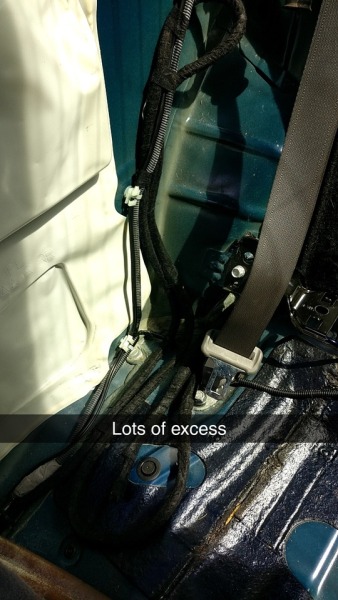
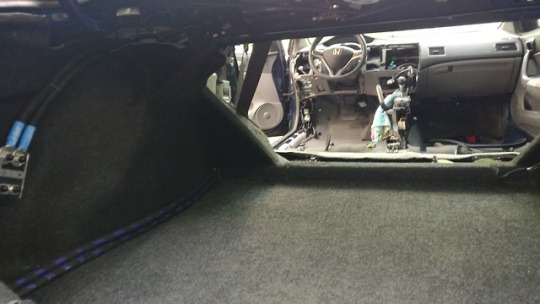
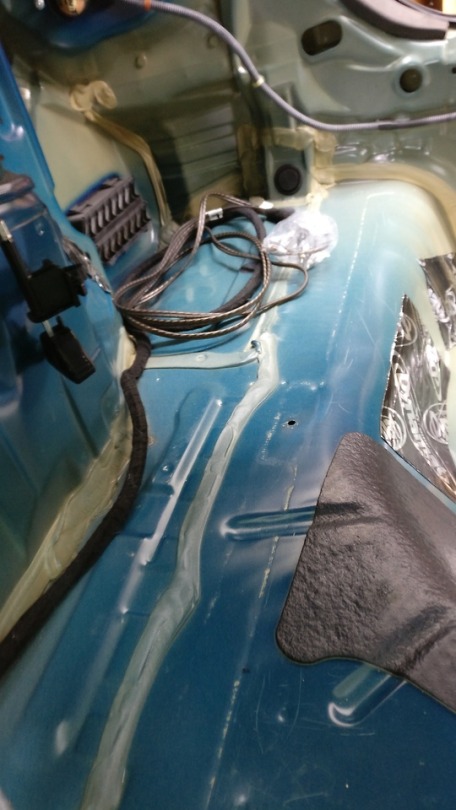
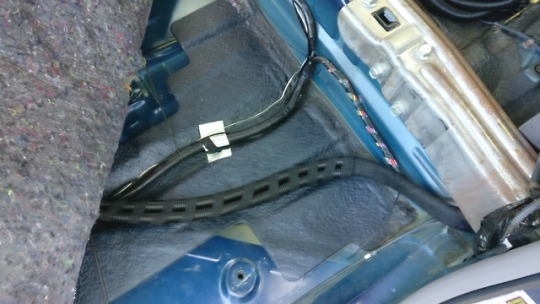
Planning Wire run to rear: Loomed in same 1/2" loom and some zip ties/tesa tape when needed.
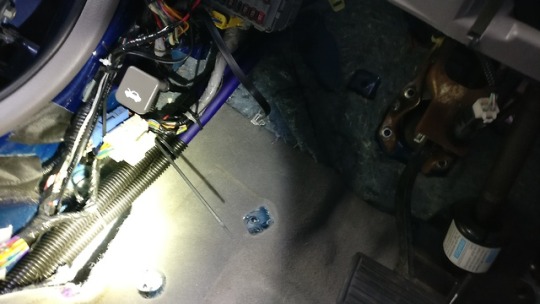
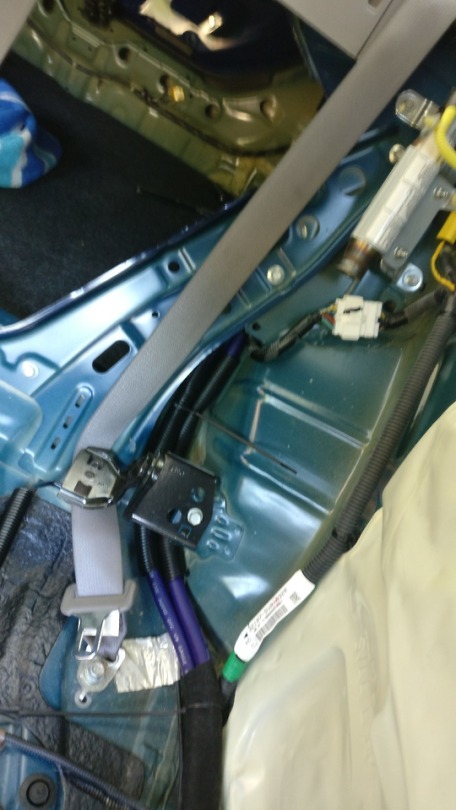
Crossing into middle of car under drivers feet. Yes I can feel the bump, but it is no where close to where I rest my foot daily driving. Also ran from near center console to driver side rear seats, eventually into trunk on driver side.
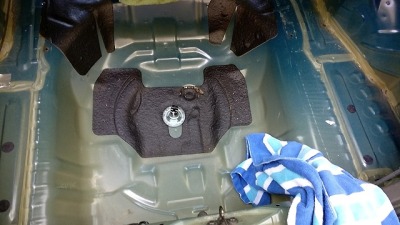
Planning out battery location. XS Power D3400
Picture of the god awful moxel plugs using a tiny wire camera.
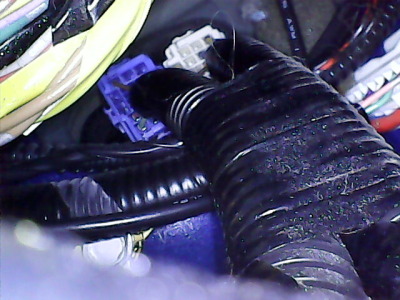
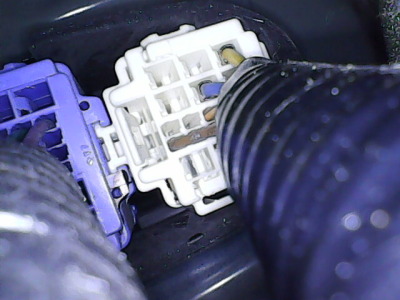
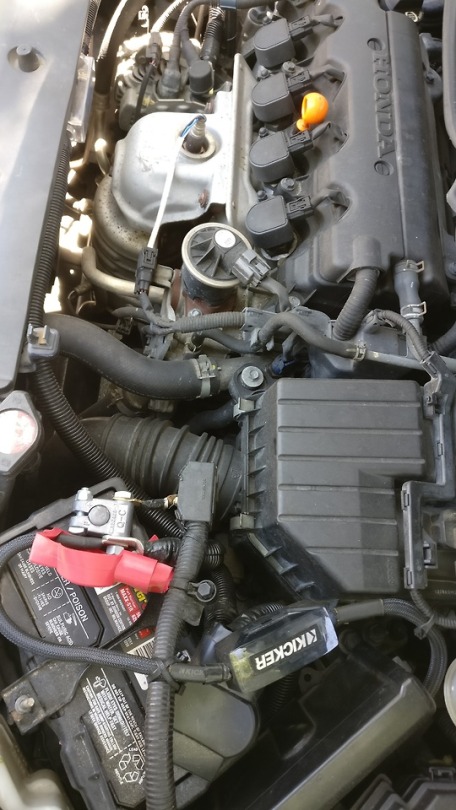
Pics on engine bay side of wiring through firewall
 0
0 -
Hello and welcome to my daily headaches! I'll start this build log off with my past setup, my current, and finally update throughout December as I work on probably the furthest this little Civic will let me go.
My instagram: https://www.instagram.com/joshdashef1/
The Past Build:
Head unit: Pioneer 80 PRS
Mono Amp: Rockford Fosgate Prime 750.1
Subwoofers: Rockford Fosgate P3D4 12" (two)
Kicker 4 gauge amp kit OFC
Stock Electrical (alternator included)
Did do the big three sometime between here and current build
Prefab Box: Q-Power Box (Dual 12s)
Tips: Tesa taping RCA's, Marking RCA's Low/Mid/High or similar,

Big Three with loom. Wire was Sky High 1/0 OFC with some 1/2" loom I believe. Old military style terminals (DO NOT USE THESE) they cracked my battery eventually.
 0
0 -
Hey guys. Wanted to go ahead and start posting some of my old build log from the original stage to current, so I can upload the rebuild this month. I'll link my build log once I set it up (
You can find me on instagram at: @joshdashef1 as well as some other forums.
In the mean time... can someone tell me how I can change my profile picture ? It wont let me edit my profile
 0
0
Help with trunk wall design for SP4 v2+15 on two DC 2ks
in Subwoofers / Speakers
Posted · Edited by Joshdashef
Lots of info in this post, but I will bold the important bits and questions I have. Feel free to read it all but my main questions stem from box design perspectives. I can create another thread about electrical if needed so try to limit the discourse to enclosure related topics, cheers!!
After much trial and error the only reasonable design choice left is to go for a slot port. I have tried and tried to fit an aero port however I have come across two problems. 1. I have to make my box far too large for my power >5 cubes net or 2. my port becomes feasibly too long to fit inside my box or outside (>28") along with airspeed issues with an 8 inch port (50 ish square inches of port area).
On the other hand after dicking around in WinISD and Excel I have come across what I feel is a good starting point I can work with and shrink down as necessary albeit at the expense of port area.
Background Information:
Summary so you can skip the lower half if you want
Any opinions on the box design so far? My aim is for a daily build, not a SPL hunter so I suppose bandwidth would be better than a higher peak but I think a hybrid approach might be beneficial for my case. Bandwidth and Peak.
Rest is just pics of my excel sheet and WinISD graphs
-----------------------------------------------------------------------------------------------------------------------------------------------------------------------------------------------------------
Volume Calculations
WinISD Graphs:
Any opinions on the box design so far? My aim is for a daily build, not a SPL hunter so I suppose bandwidth would be better than a higher peak but I think a hybrid approach might be beneficial for my case. Bandwidth and Peak.
I would set an infrasonic filter at 27 hz to avoid any loss of cone control on lower songs.