Leaderboard
-
onebadmonte
SSA Regular4Points1,823Posts -
frogcase2002
SSA Regular3Points2,134Posts -
Tirefryr
Super Moderators3Points30,516Posts -
Penguin4x4
SSA Regular3Points19,468Posts


Popular Content
Showing content with the highest reputation on 08/28/2013 in Posts
-
2 pointsThe 3M shit is the best shit, IMO. Don't over-do it. A lot of people think more is better, but a small bead of sealant is best. Too much and you will have more flex due to more surface area contact of the adhesive versus. Basically, all you want to do is bond the glass to the metal and make them as one. A larger bead acts as a cushion of sorts and allows more movement or flex of the window.2 points
-
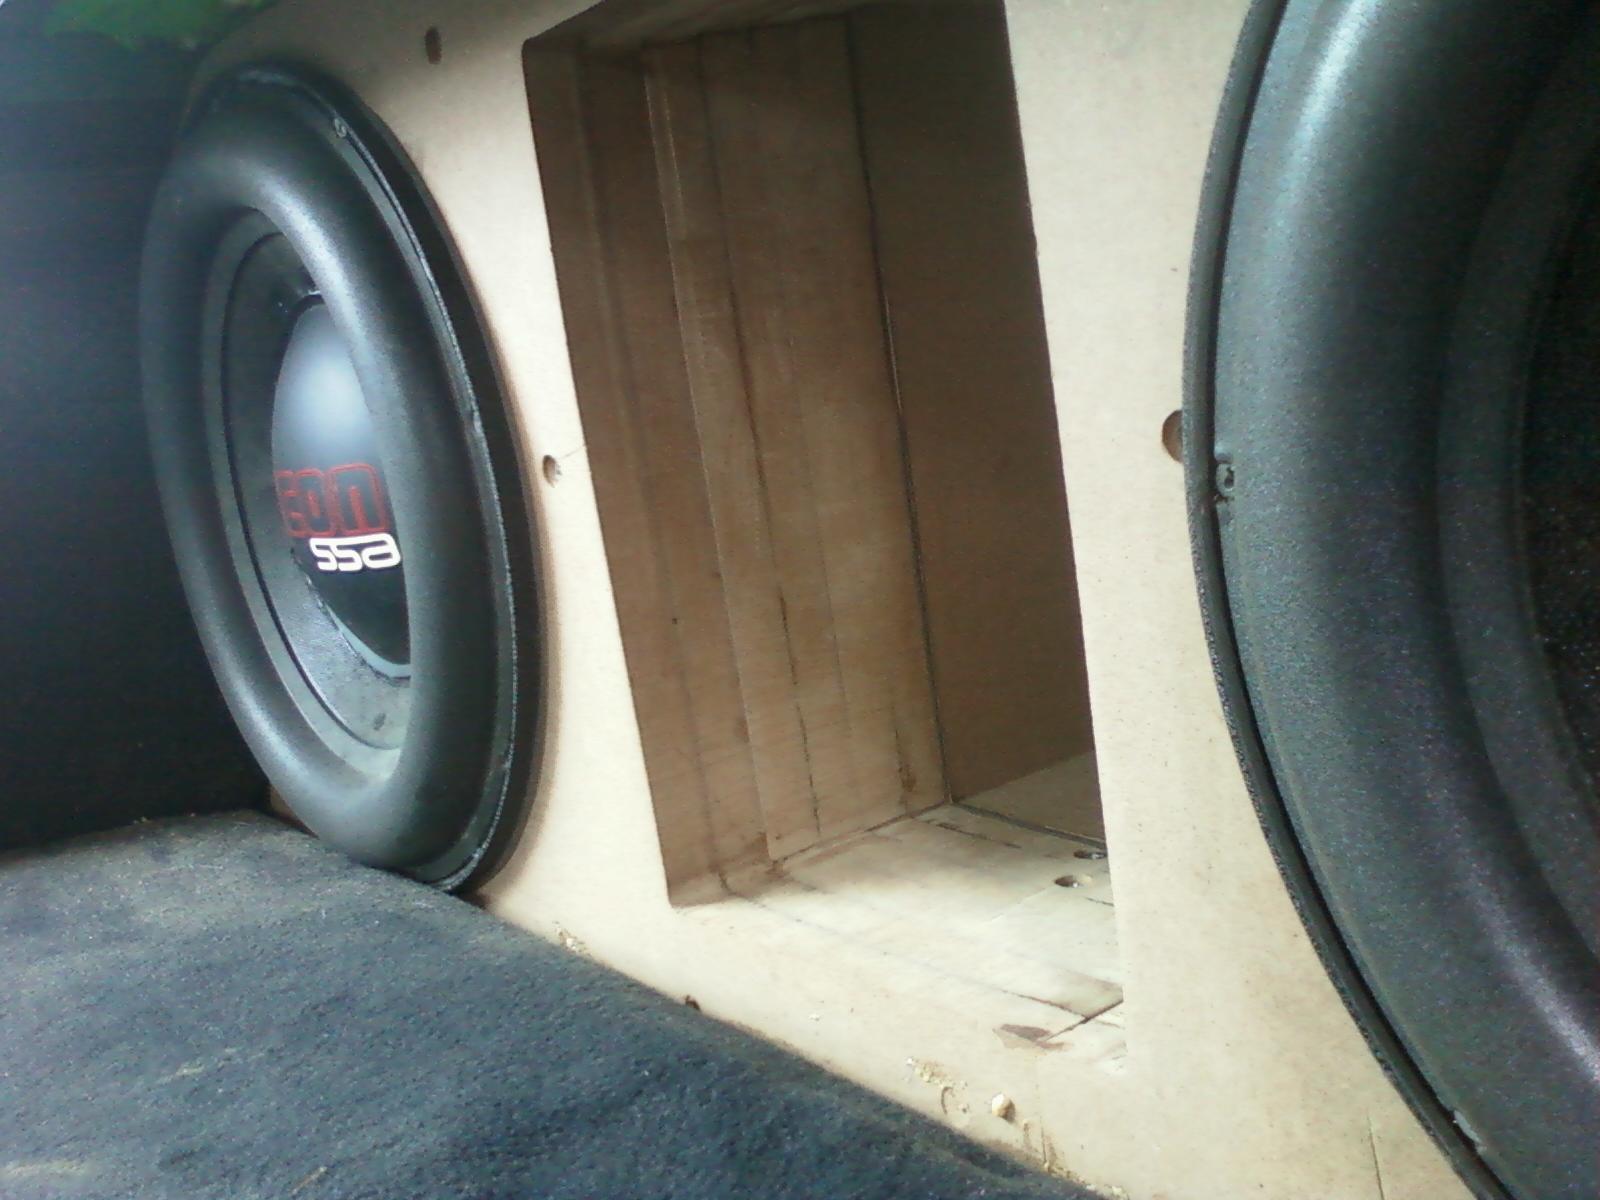
2 pointsHere is a little update of my shenanigans. A quick mock up of my high tech bracing. [ I figured I use a nice $2 terminal cup I picked up at the local Radio Shack on clearance on these speakers. In similar fashion to the cut outs for the baffle I started off with some pilot holes. Since this time around I made a steel template at work to guide around the router. This is the "before" routing. "After" routing. With the rear panel done and glued in place I trued up all the edges using the same bit as on the router table, now just on a hand held router. Here is the box ready for a little trimming. The end result, some crisp edges. Although the sharp edges are nice I'm more of a round over kinda guy.2 points
-
1 pointWhat's up homies? It's been a while since I've posted anything meaningful. Here is my latest audio venture. It's the Zephyr kit by the latest audio start-up, DIY Soundgroup. A little history/search words about this kit. It's fashioned around the Econowave style, although there is nothing econo about this kit. It was designed by Jeff Bagby. And that's about all I know. My goals: 1. To have a reference sound system so I know what to listen for when tuning my auto sound system. 2. Be able to achieve nutty ass rock concert levels. 3. Finally be effing cool. Here is my start, wood! Box sides coming together. The kit came with a pre-cut baffle. The design calls for a double front baffle, so that meant I needed to cut a second baffle with matching holes. I started off by gluing gluing the second baffle on to the pre-cut baffle. To keep everything lined up I opted to dowel the two baffles together using my trusty but useless drill guide. With the baffles glued I drilled some pilot holes for the jig saw. My work with a jigsaw. :-0 A close up of my fine craftsmanship. You didn't really think that was it, did you? Time to clean up the carnage from the jigsaw. Viola, finished baffles. A couple of close up shots. More on the way.1 point
-
1 pointHere I start tackling the crossovers. Not sure about what best practices really are for these things. I've heard here and there that it's best to place inductors as far apart and have the axis of them perpendicular to each other. Like all things audio there are compromises to be made, available space being one of them. Manufacturability (is that even a word?) being another. Since I am not constrained by either, here is what I came up with. I was able to snag some abs scraps from work as the foundation for my crossovers. Here I turn round scraps to nice rectangular boards. Not much to show off in the assembly of the crossovers but I will mention that I opted for a steampunk / old school vacuum tube amp style point to point soldering technique. Finished crossovers. The compression driver crossover. The woofer crossover. Tata for now, exit stage right.1 point
-
1 point
-
1 point
-
1 point
-
1 pointHe said he's gonna toss in a free powder coat!! That's badass right there. I should've just went with him in the first place...1 point
-
1 pointthe older one is helping me build a box currently. This one wants to help, but is just a tad small yet to actually help. Give him another couple years though, and he'll be working on enclosures with his big brother and I. If I don't teach them the finer things in life who will? It's my job as a father.1 point
-
1 pointSenchez just keeps buying factory rebuilts to burn up.....lol!! Good choice going with Singer in my opinion.1 point
-
1 pointDef. wasn't thinking that this would be your logic for using a 20 htz tune ... Cool looking enclosure though ...1 point
-
When I click on the link you provided, it shows the item as being sold by ASA Performance, not SSA.1 point
-
1 point1 point1 pointThese zcons are insane. My car is taking a beating. And my head lol1 point1 pointI try lol. I show everyone my zcons and there the most impressive subs anyone has heard, couldn't ask for a better 121 point