-
Content Count
250 -
Joined
-
Last visited
-
Days Won
1
Posts posted by mklett33
-
-
Beautiful....
Thank you
0 -
And as always I edited every single step of the process to help you guys learn how you to can build like this:
If you would like to see the full series check out the video playlist here:
0 -
-
-
-
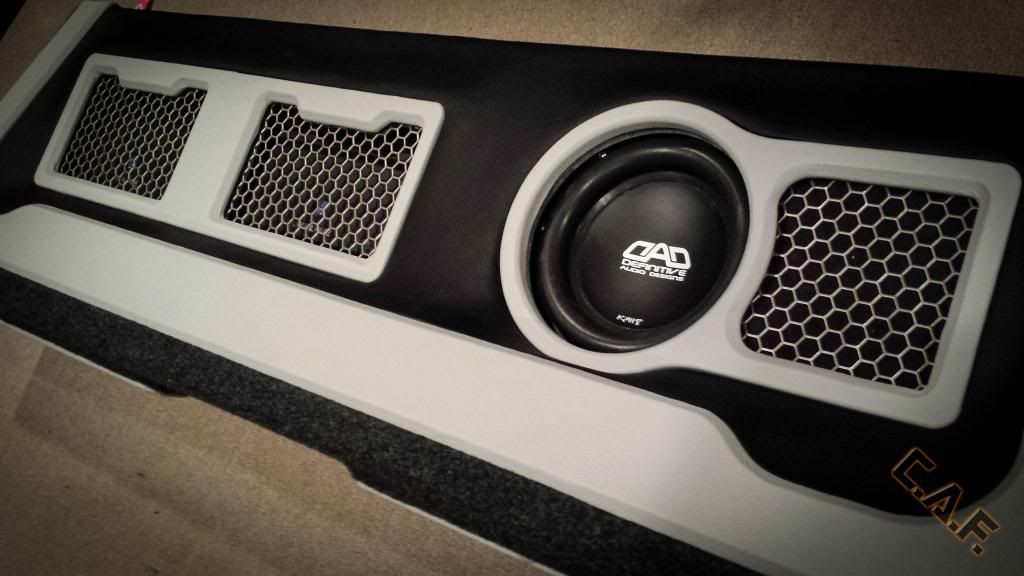
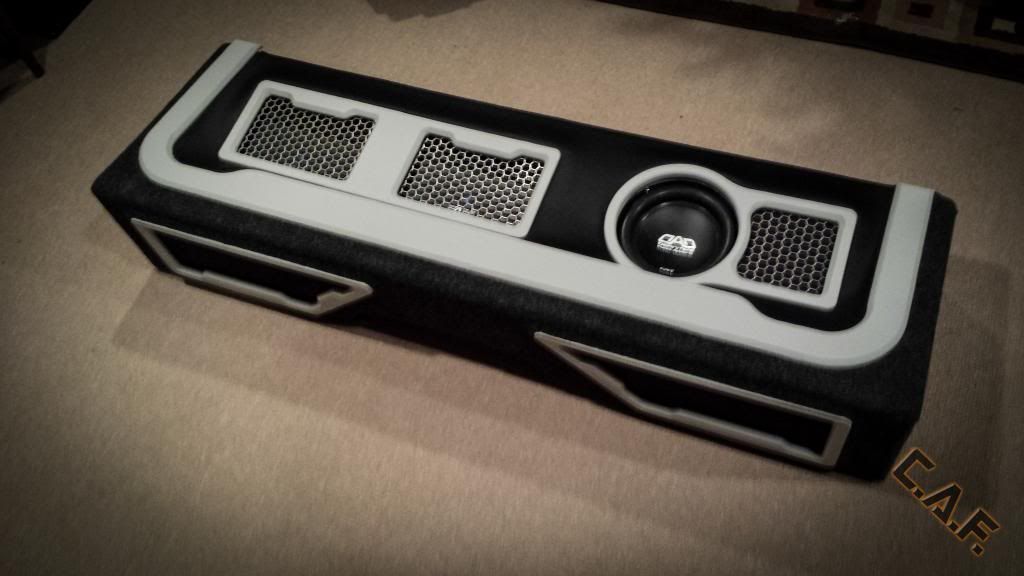
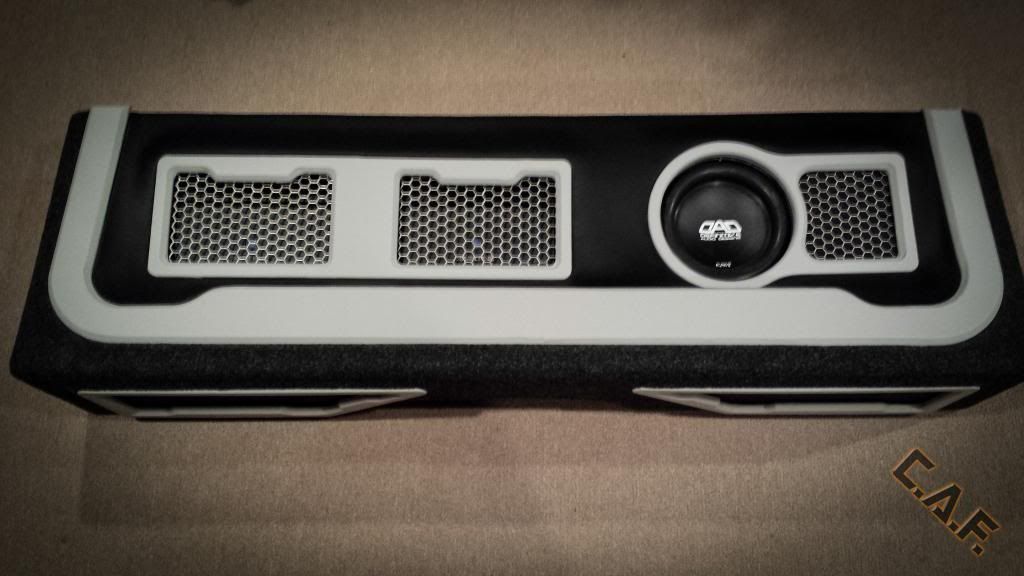
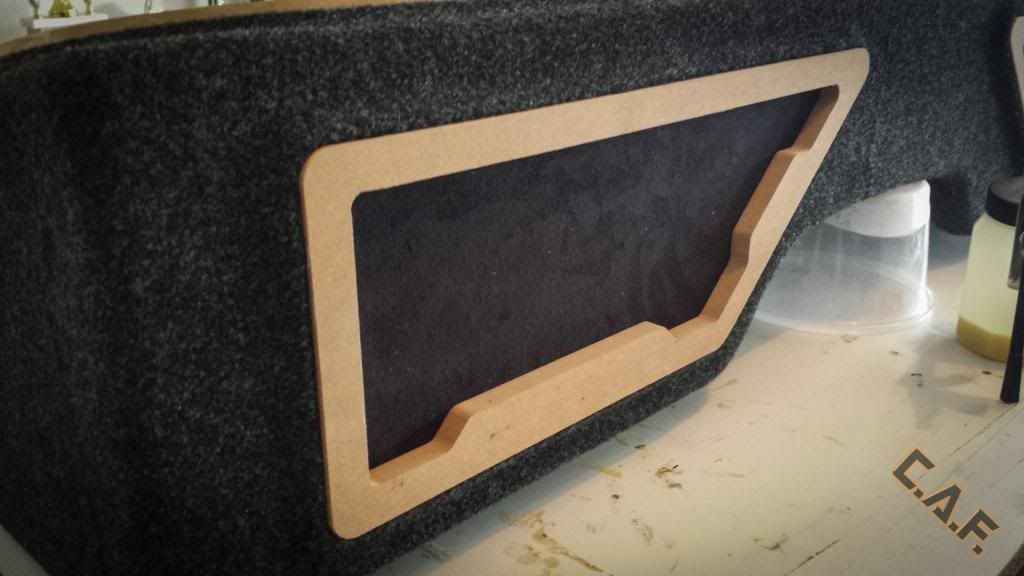
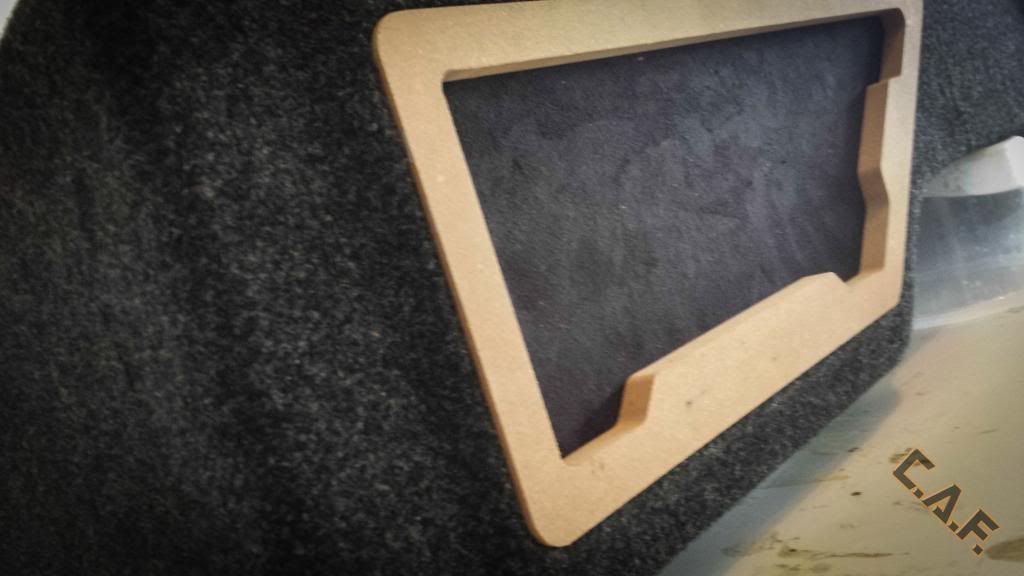
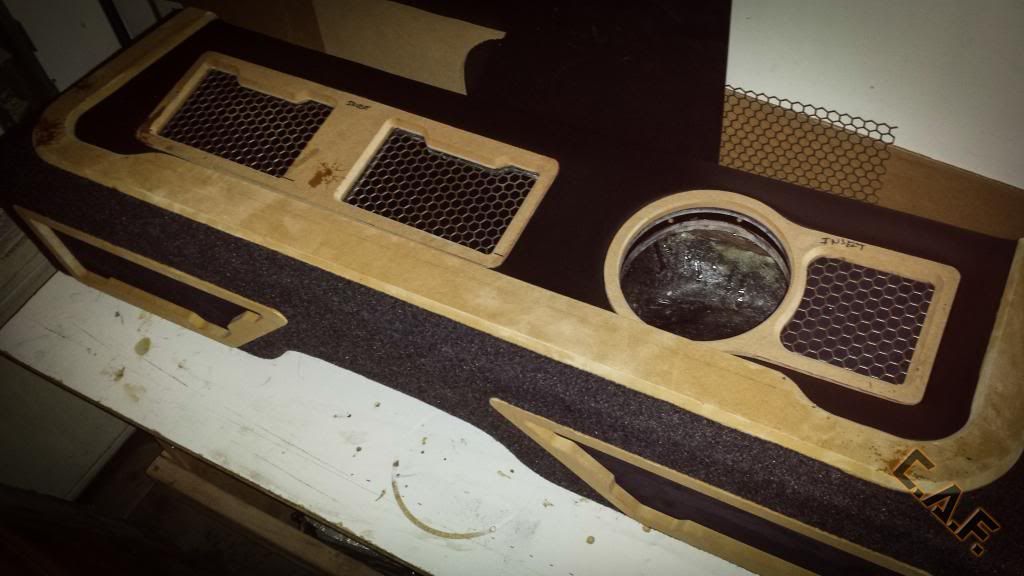
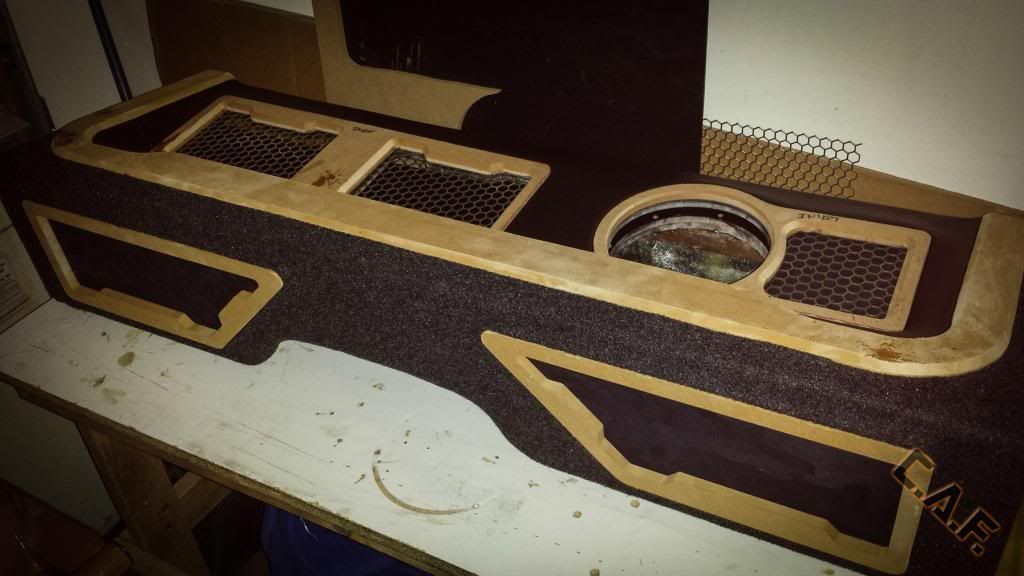
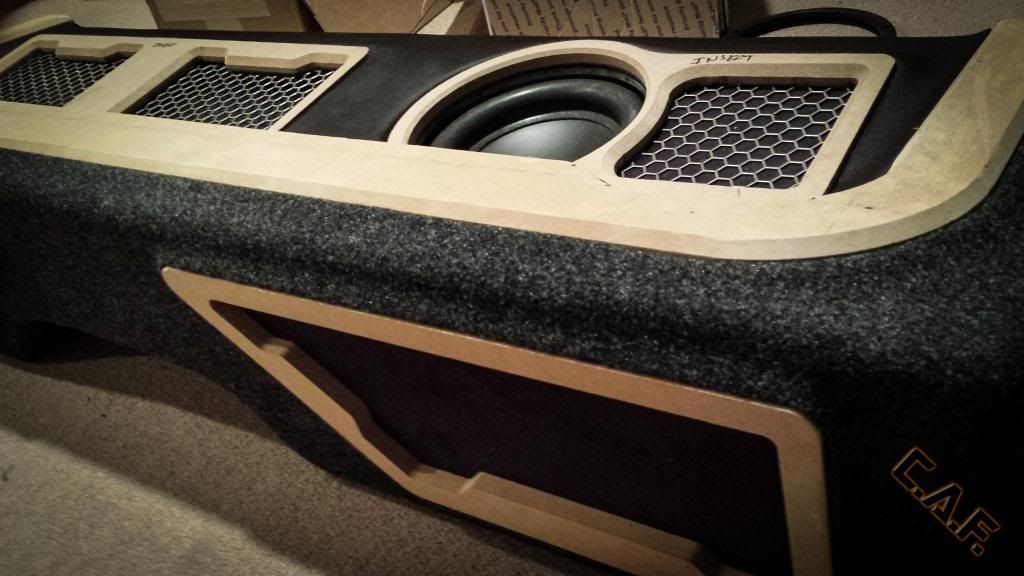
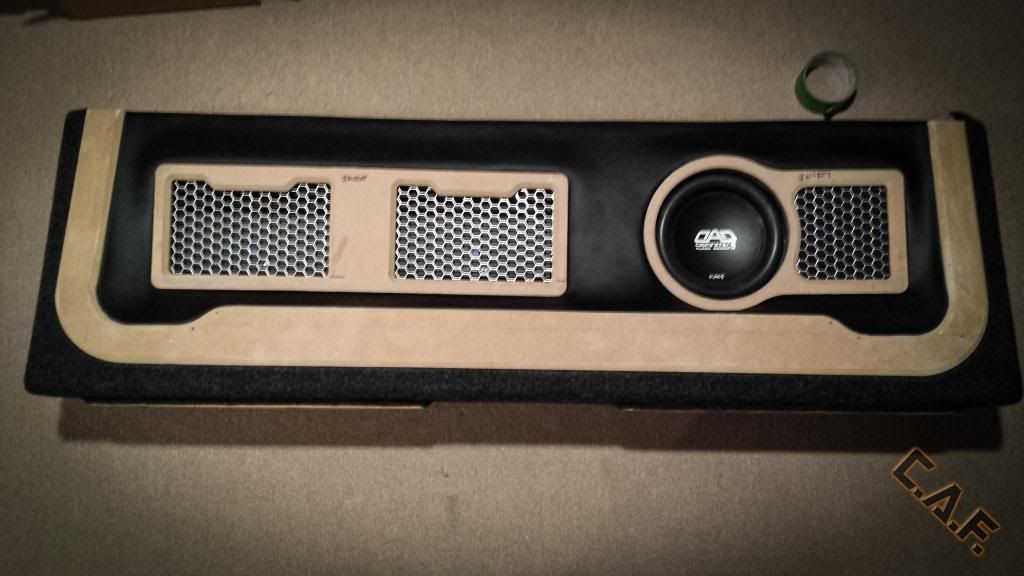
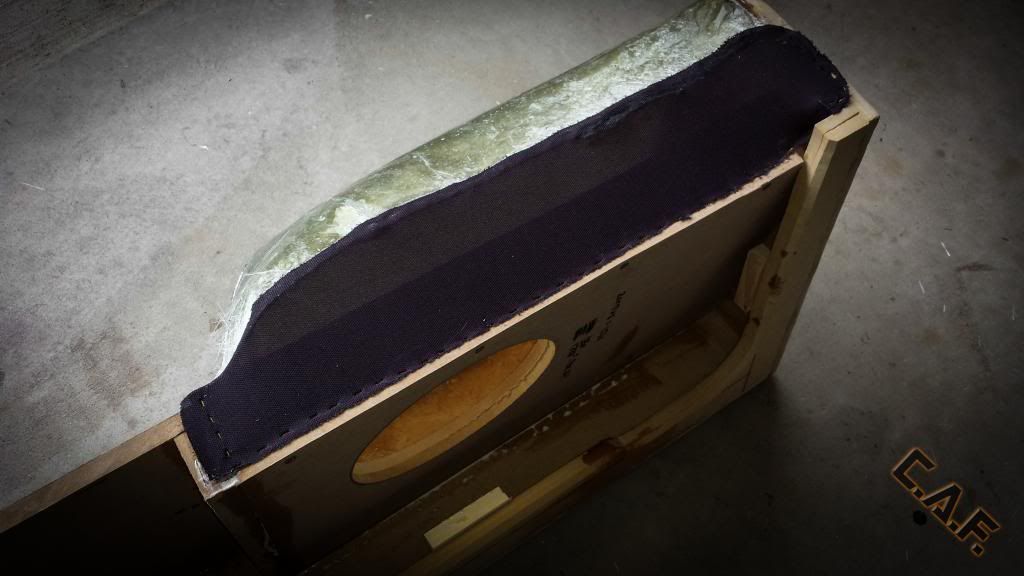
Now that all the surfaces are smooth and clean its time for some wrapping, I started with carpet and black suede in the insert areas:
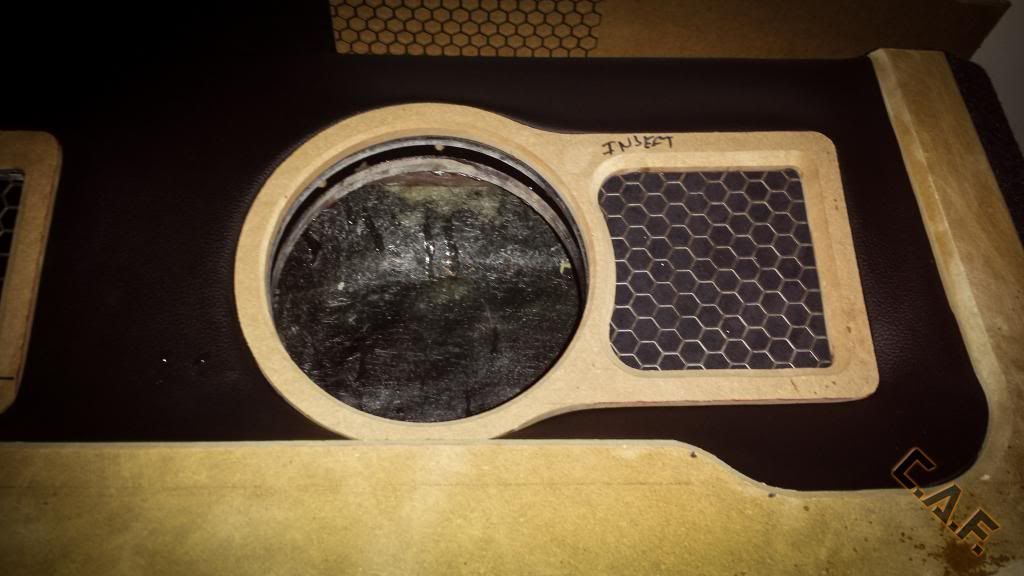
I also wrapped the top removable amp rack piece with black vinyl, then press fit all the inserts in temporarily as I was waiting to receive the cool grey vinyl I had ordered.
0 -
-
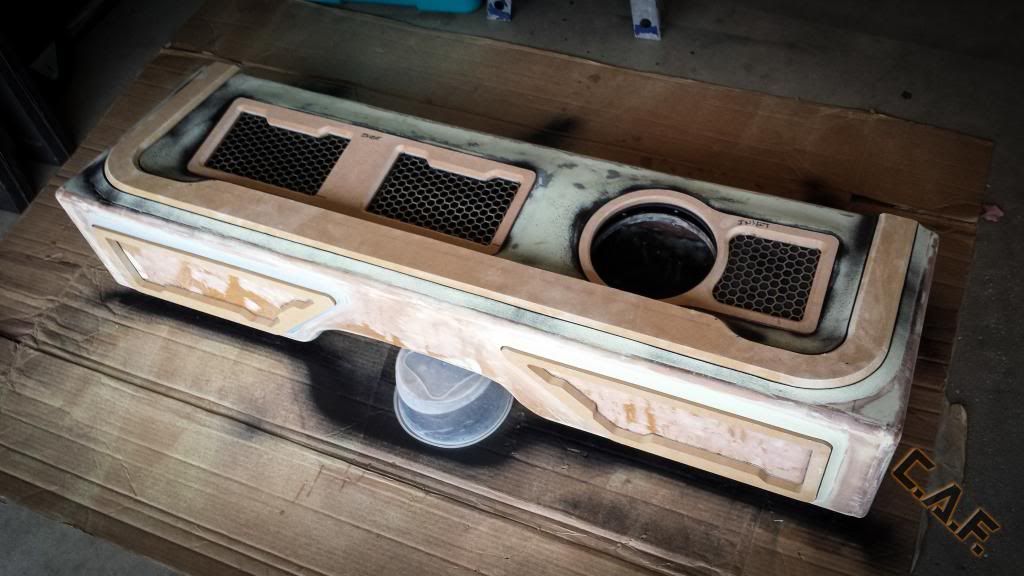
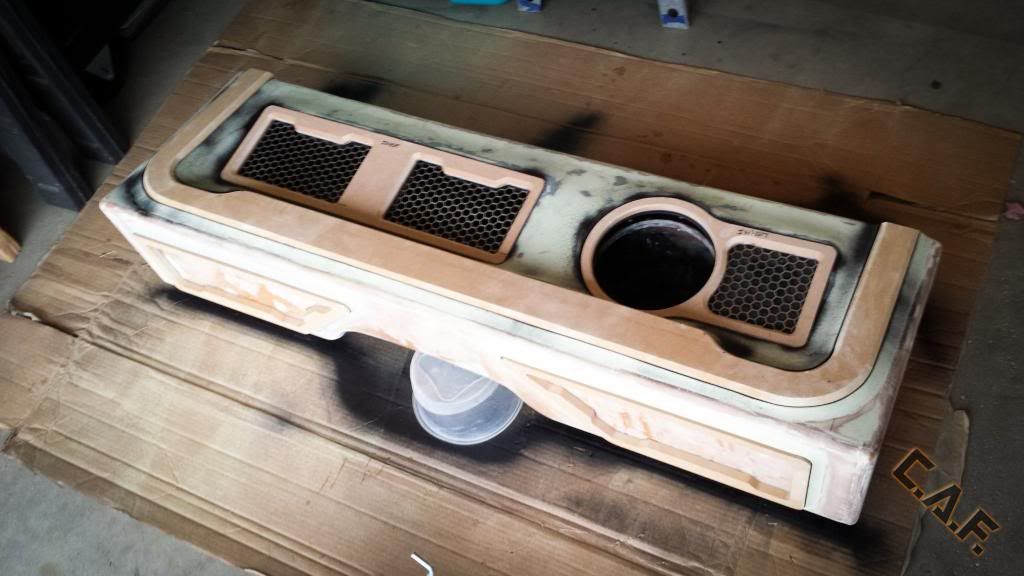
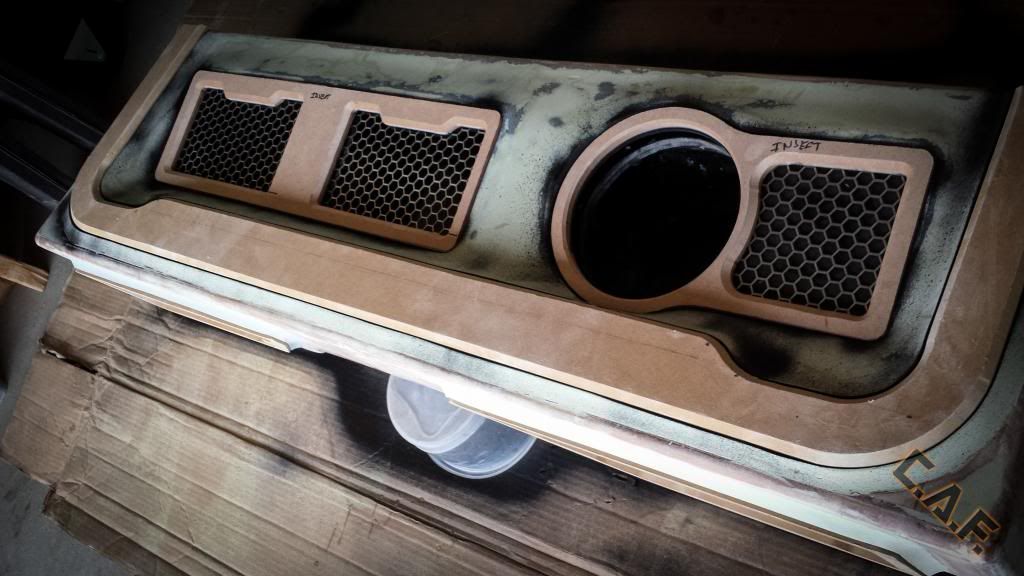
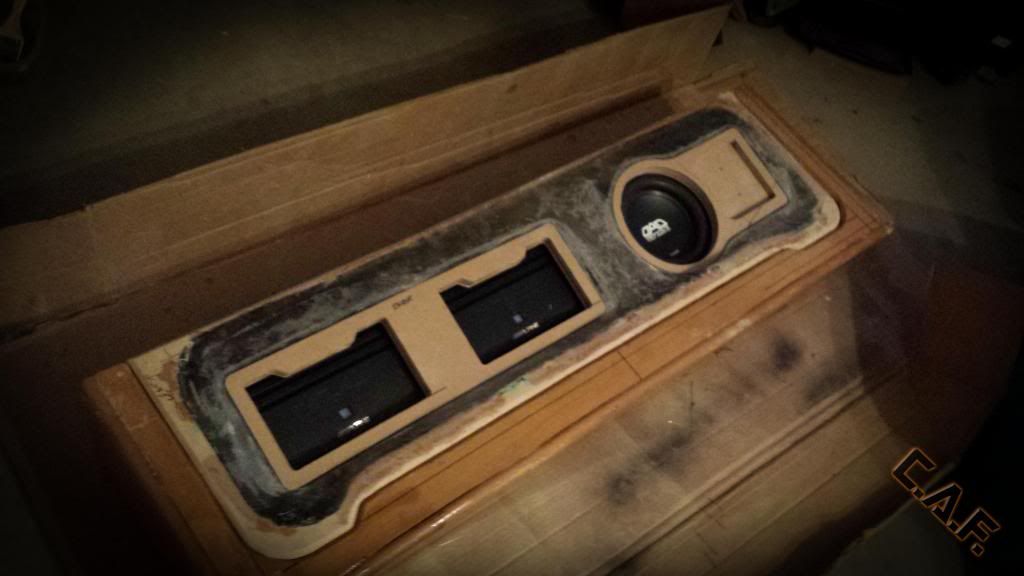
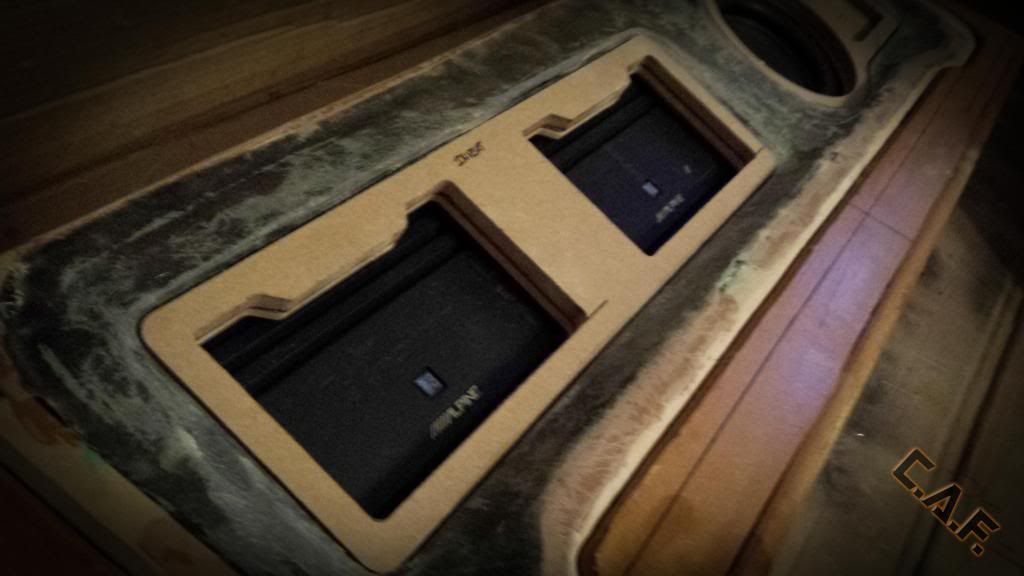
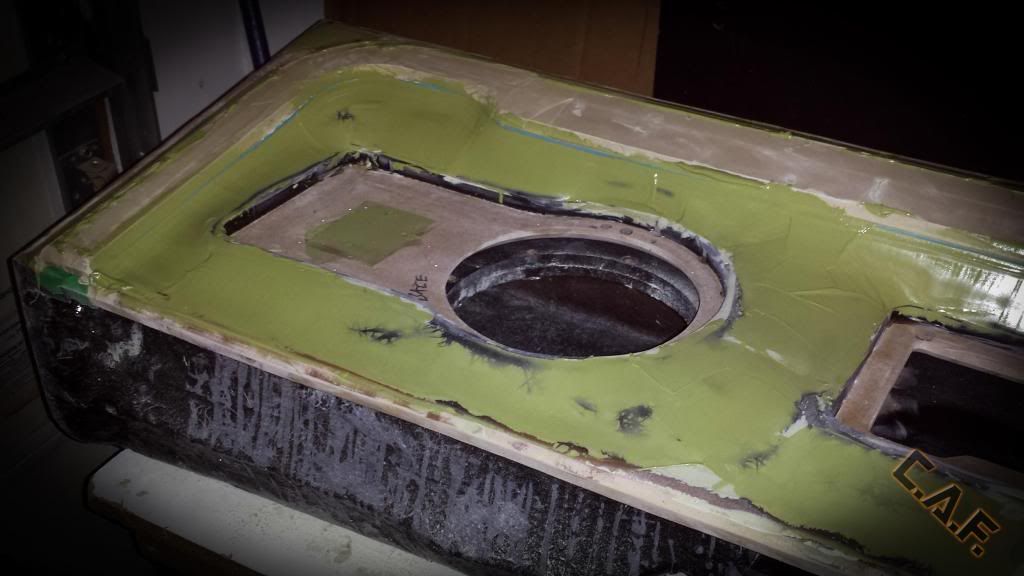
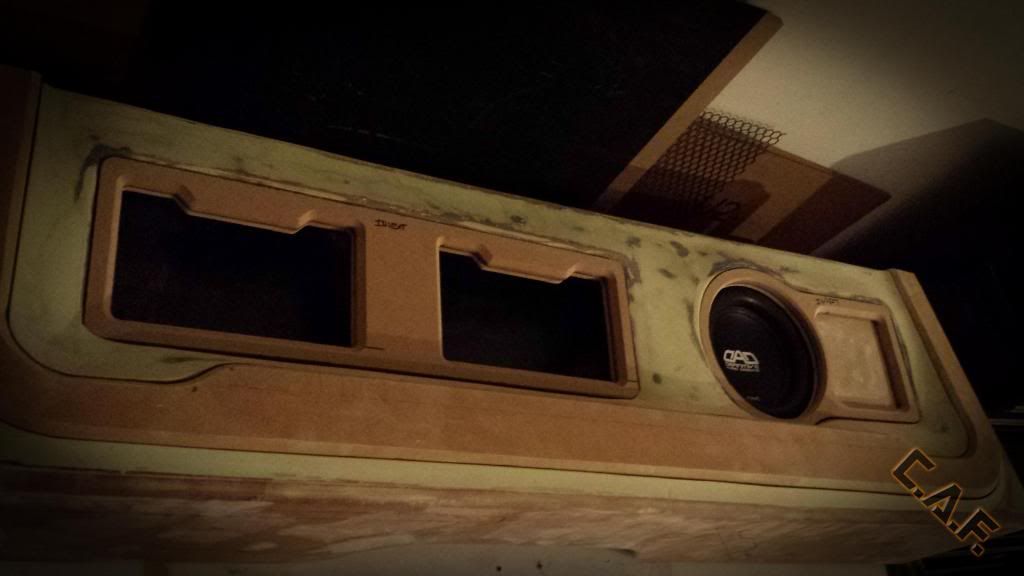
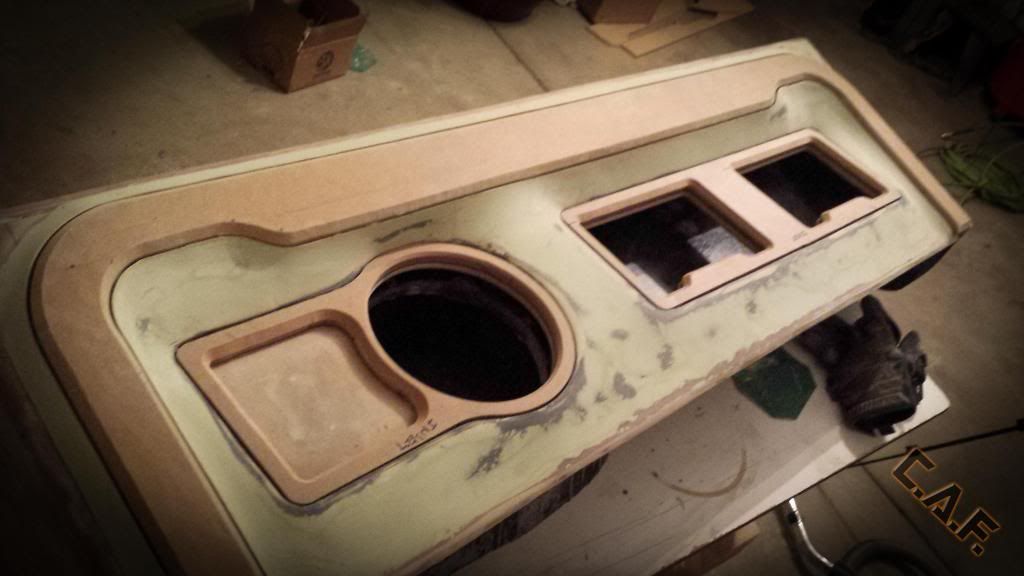
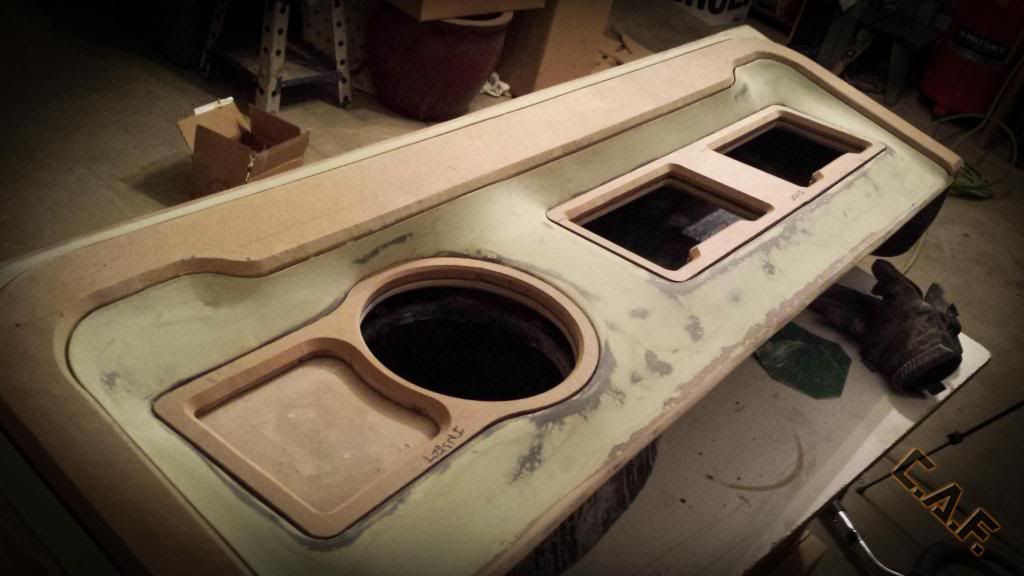
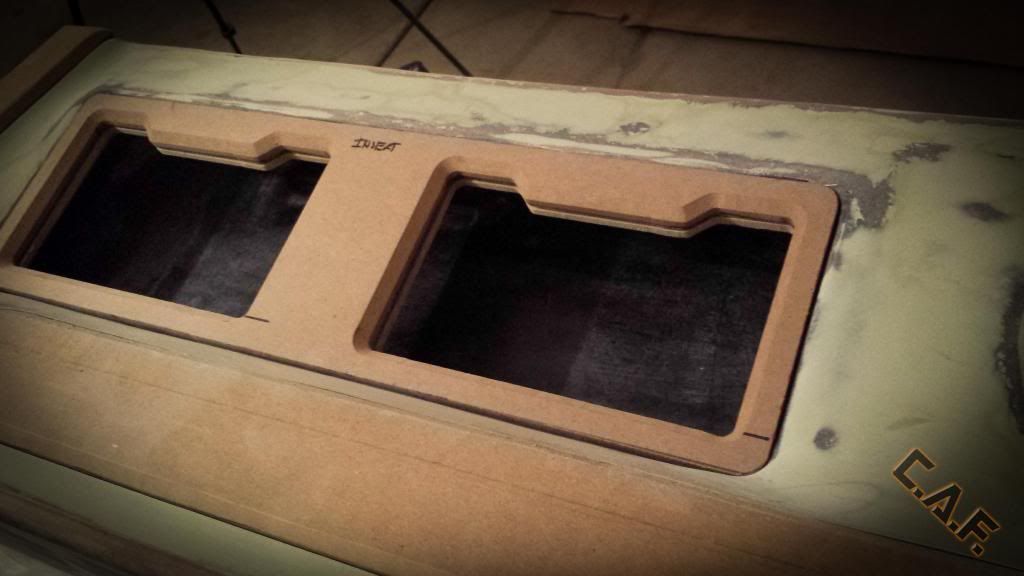
So I know have got the amp rack fibeglassed, smoothed and all ready for vinyl. Lets take a look at the steps:
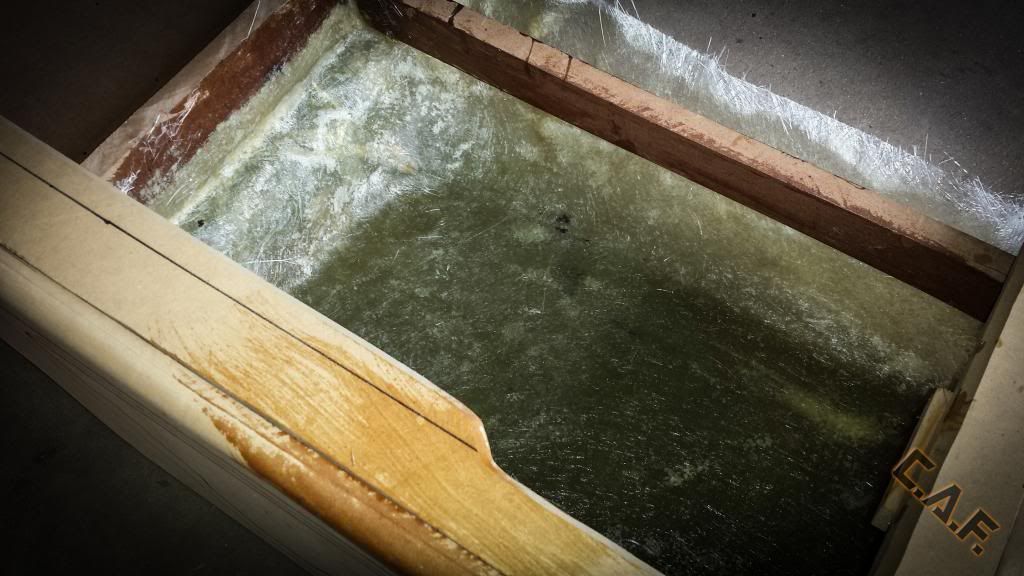
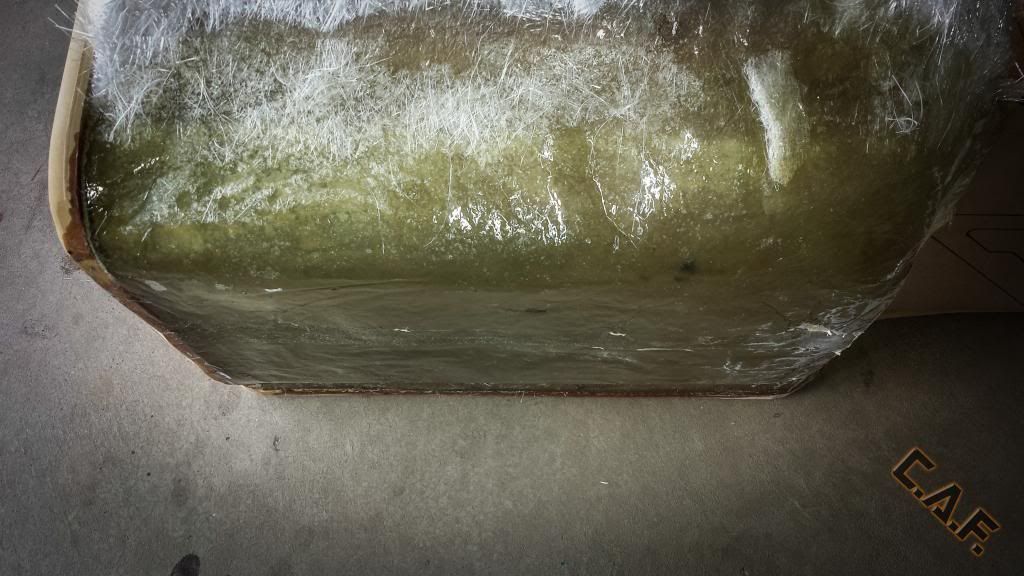
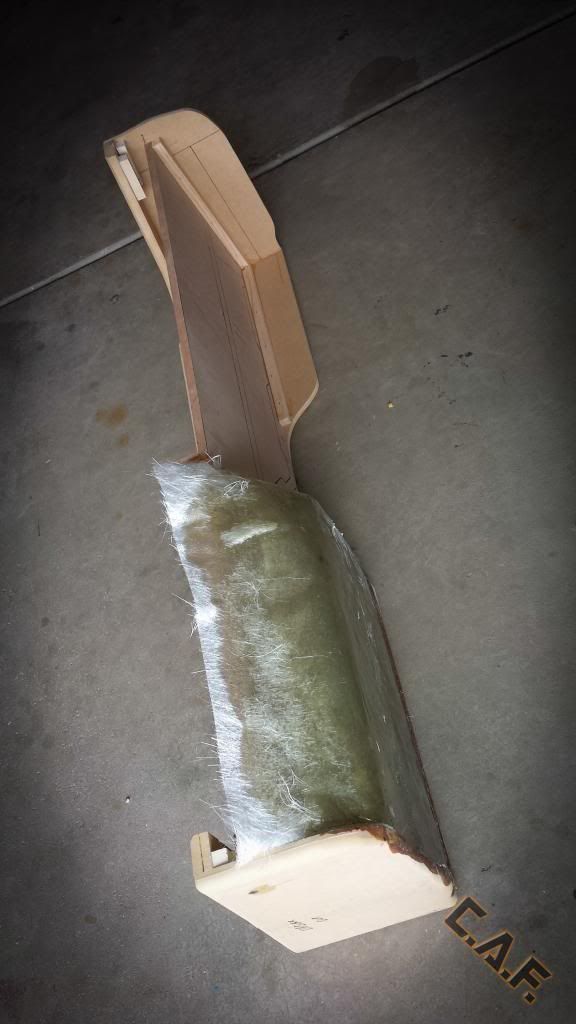
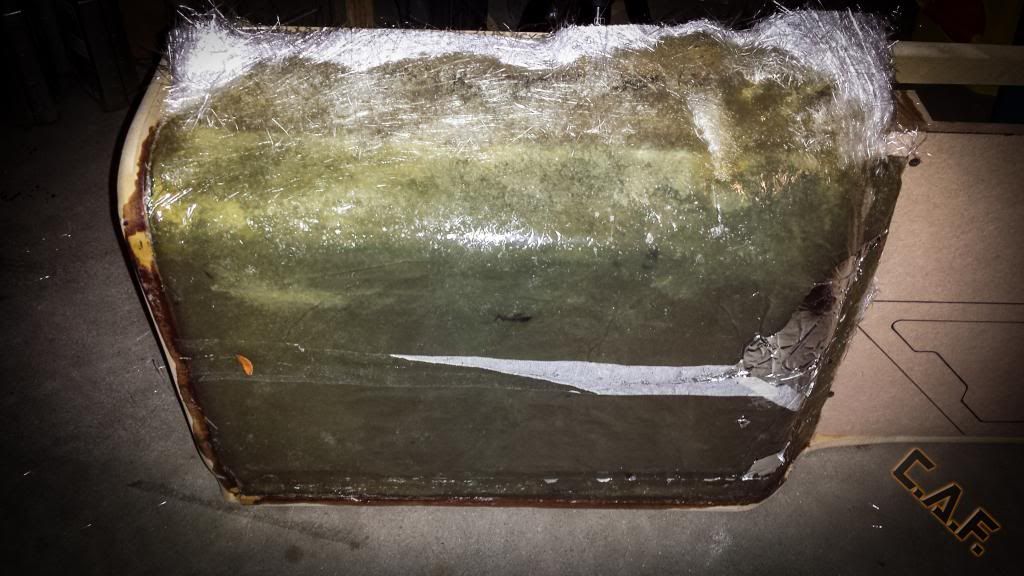
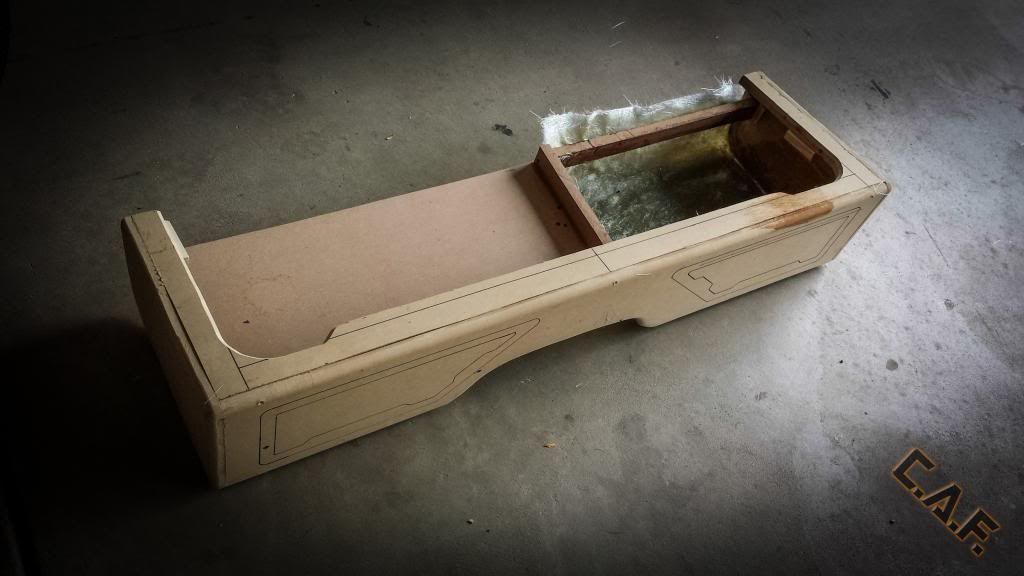
Started with some fiberglass:
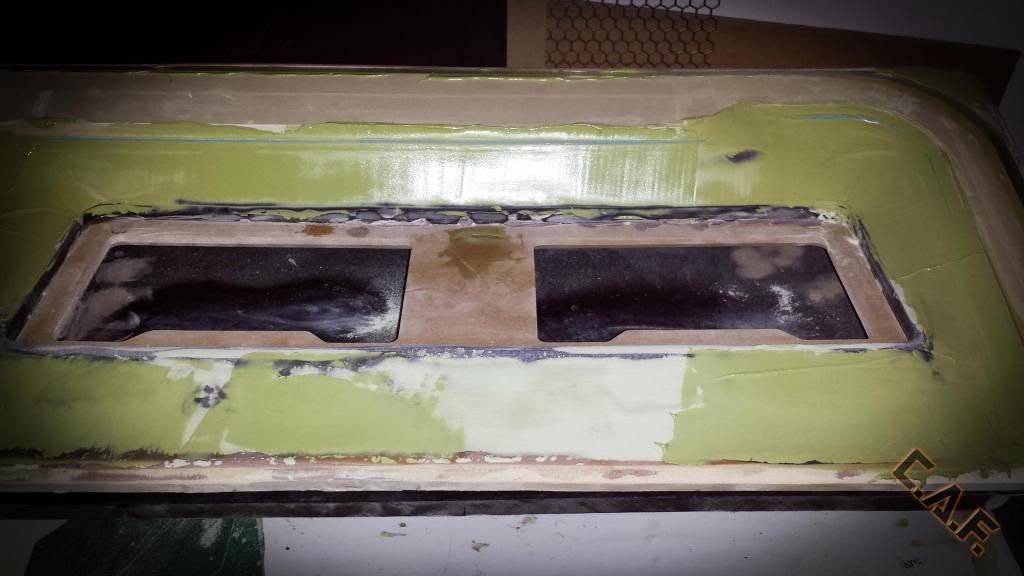
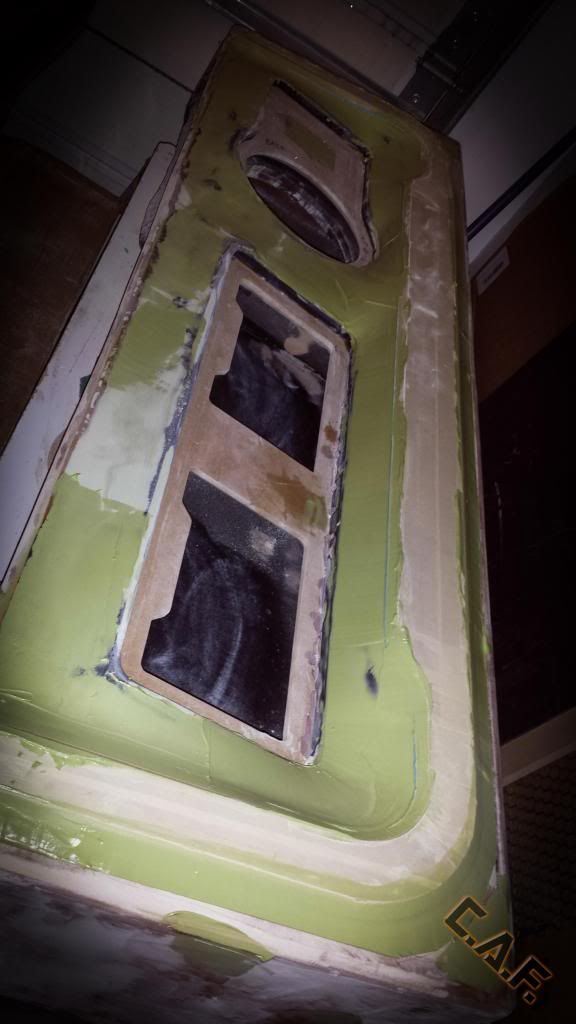
Started smoothing thins out with filler:
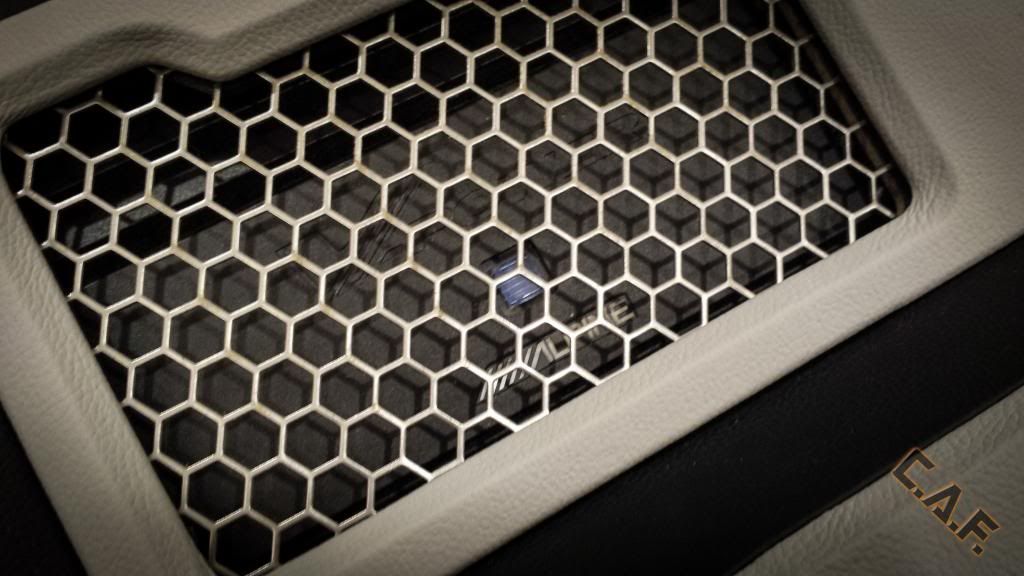
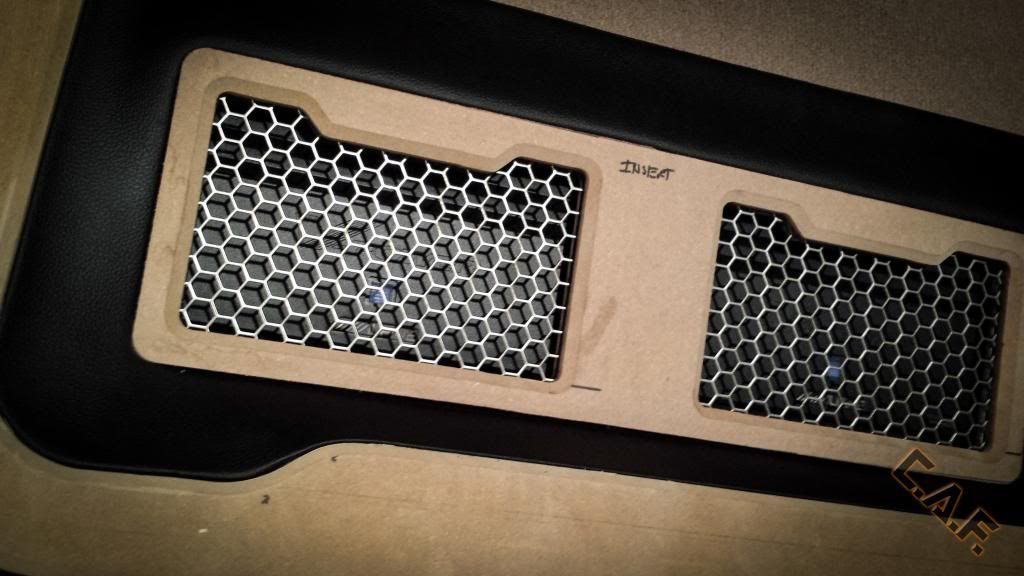
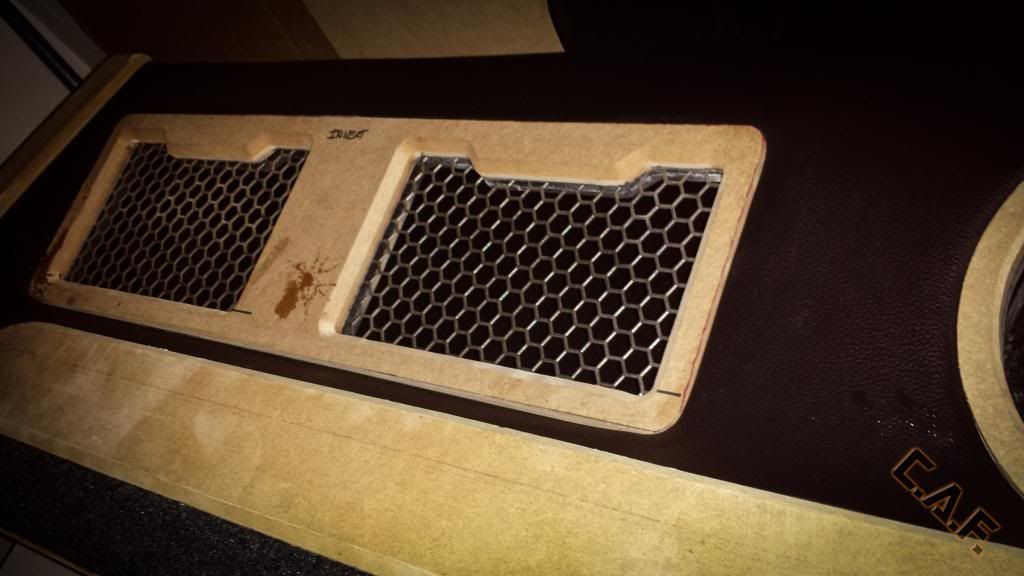
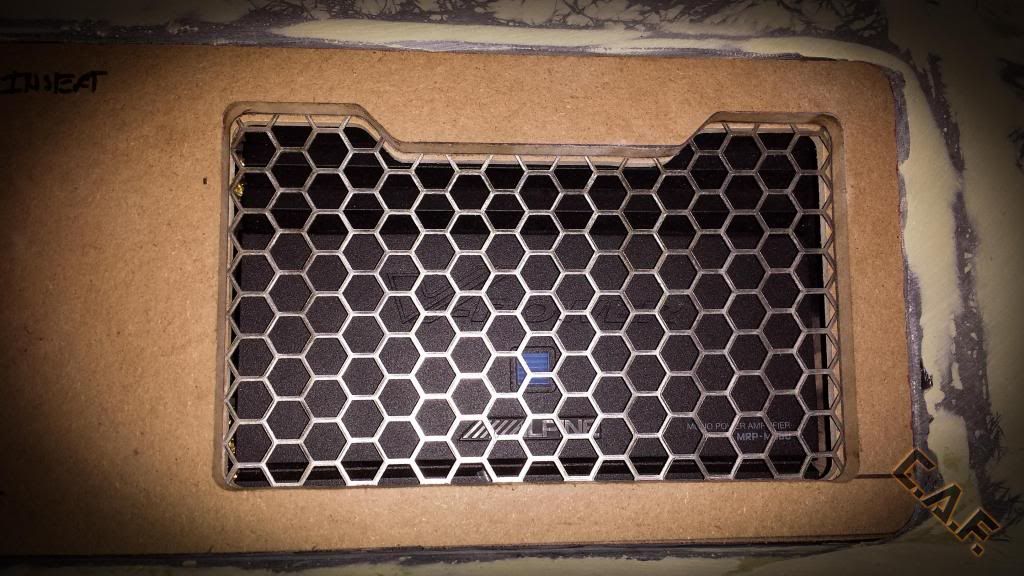
Heres how the mesh looks over the amps, still not sure if I will use it, or paint it. I need to see what it looks like after everything is wrapped.
Everything is smooth now!
You can see all the steps from this post in video with explanations here:
0 -
As many of you know Rage Gold is one of the best body fillers you can get. It has amazing sanding qualities that lead to a professional finish in a timely manner. But there is a bunch of hype about a new body filler on the market called "Matter" from Sonus Car Audio.
Can it stack up against Rage Gold? Lets find out:
1 -
-
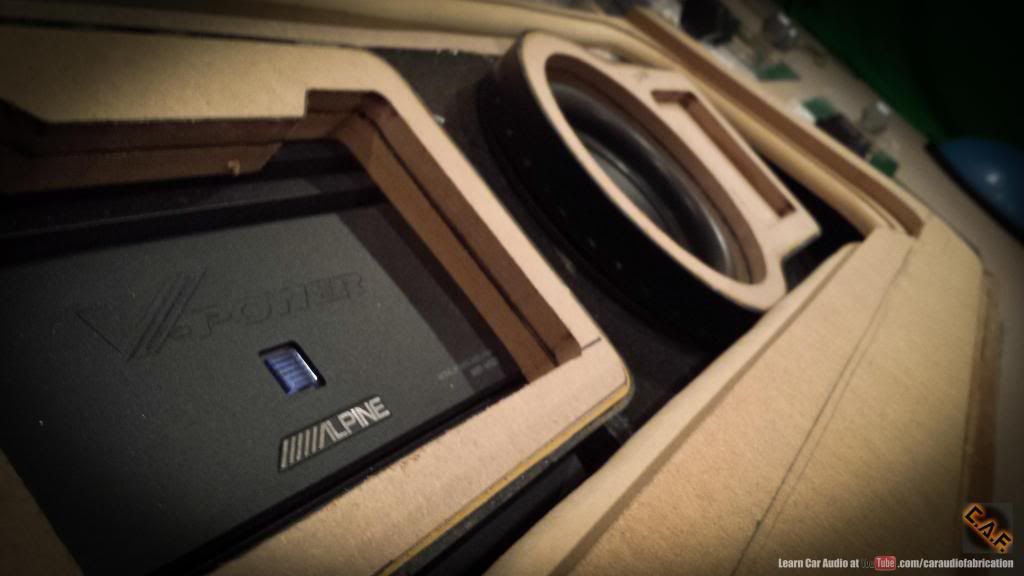
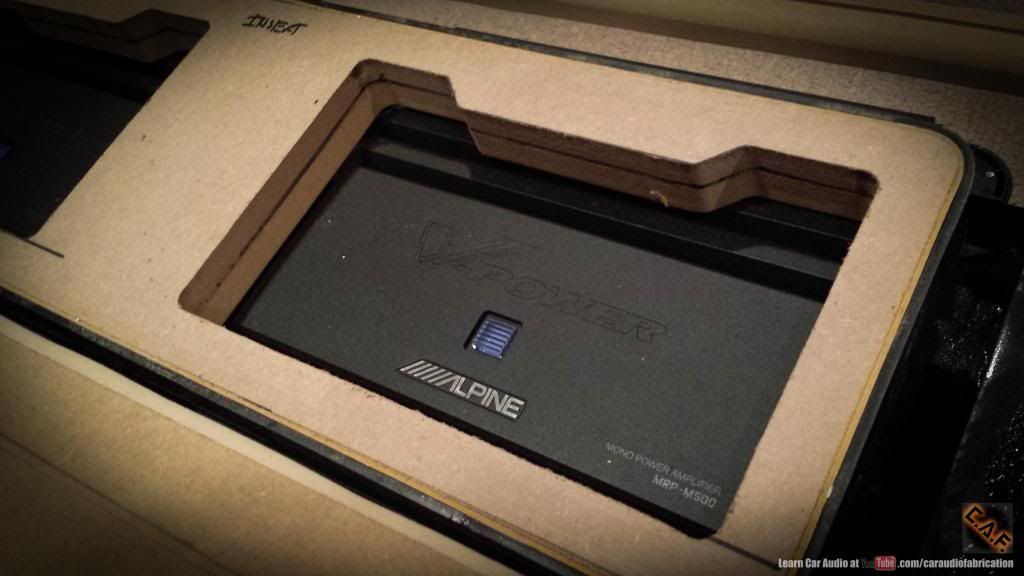 Messed around a little with this mesh, do you think I should use it?
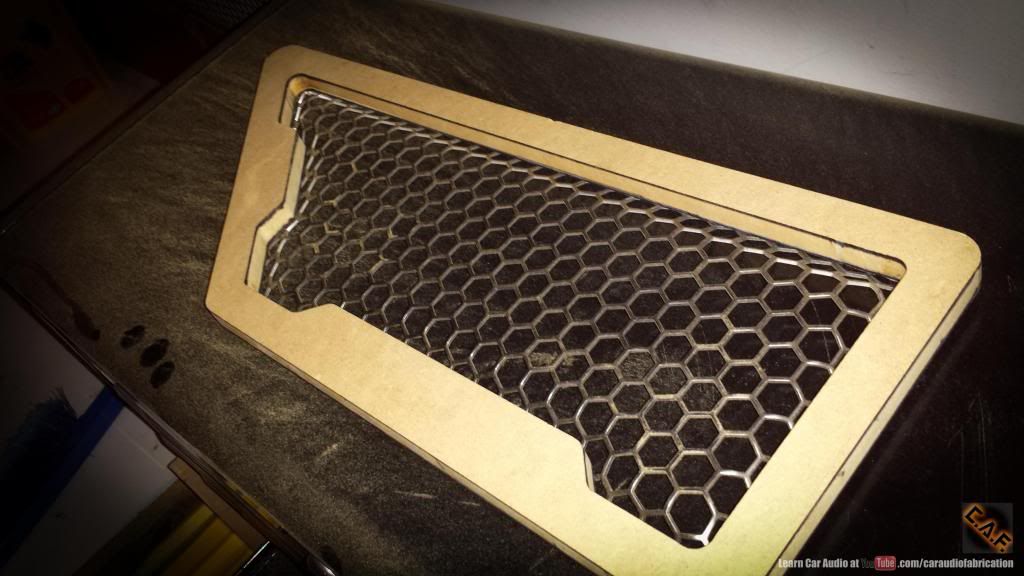 Man I need a dust collector! Any suggestions?
 Here are all the steps in video:0
 -
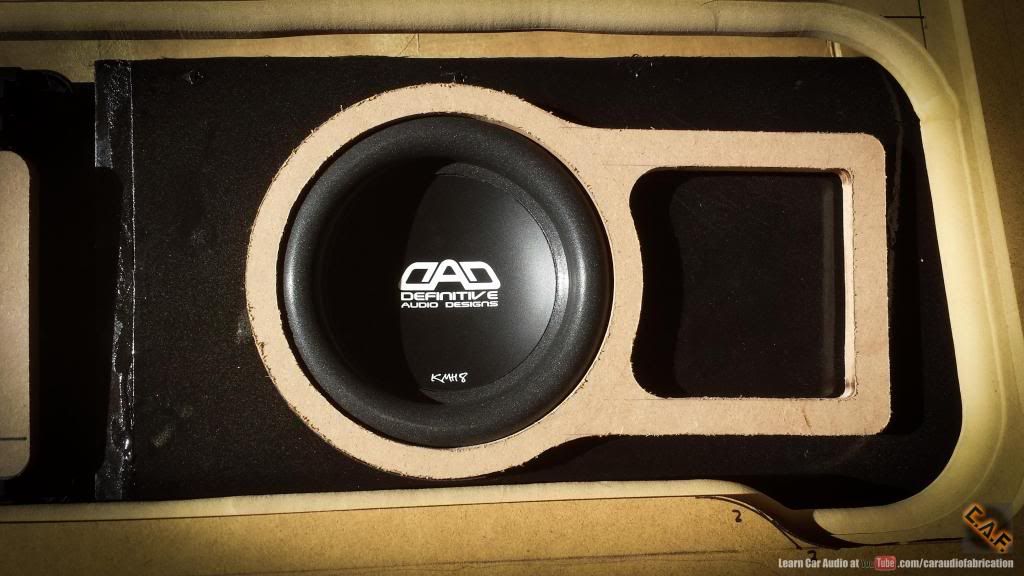
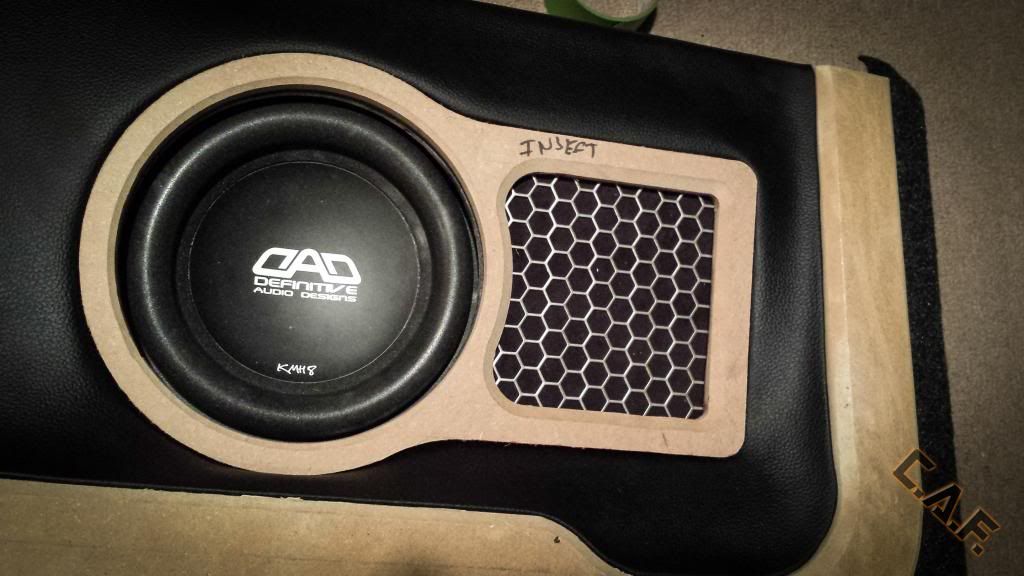
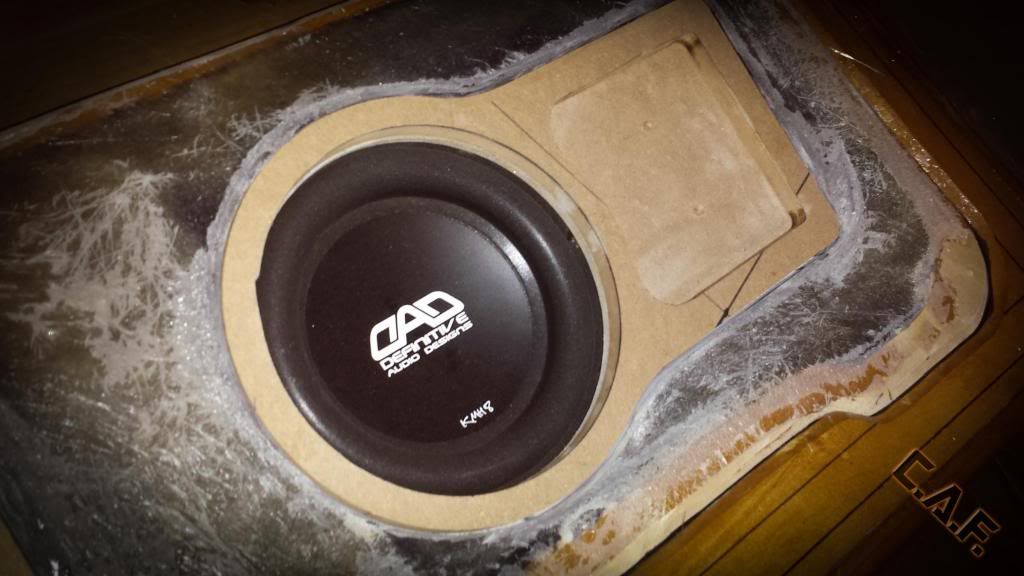
Who wants some pics?Started with a circle around the sub, didnt really like it so you will see but I do something a little different: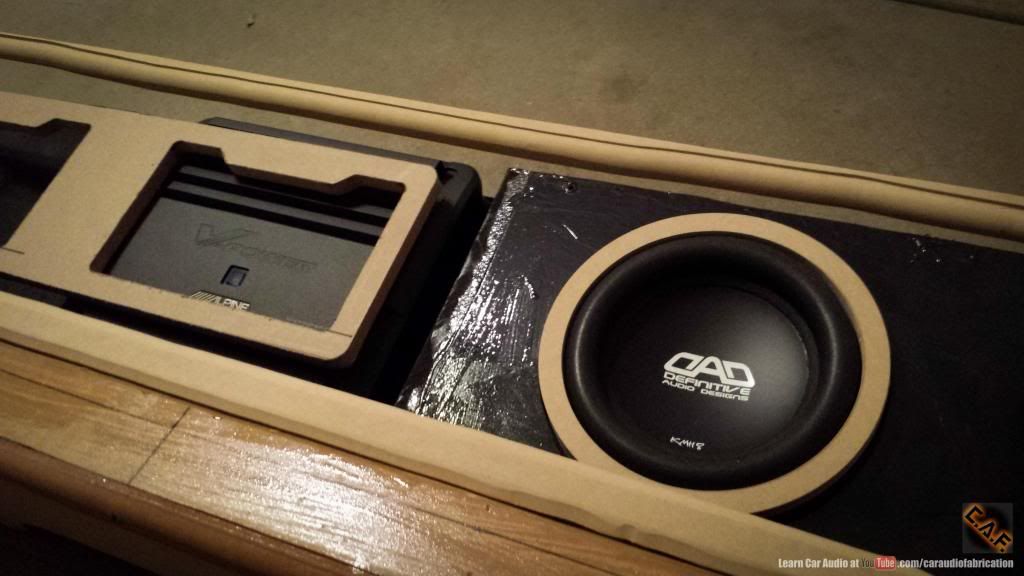
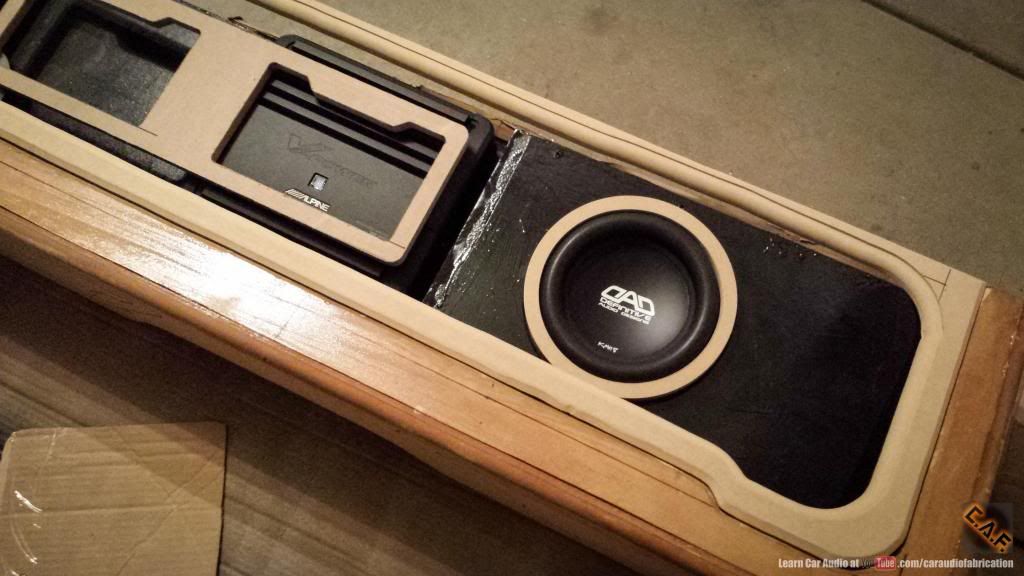 Finally got a new dust mask! i love this thing!
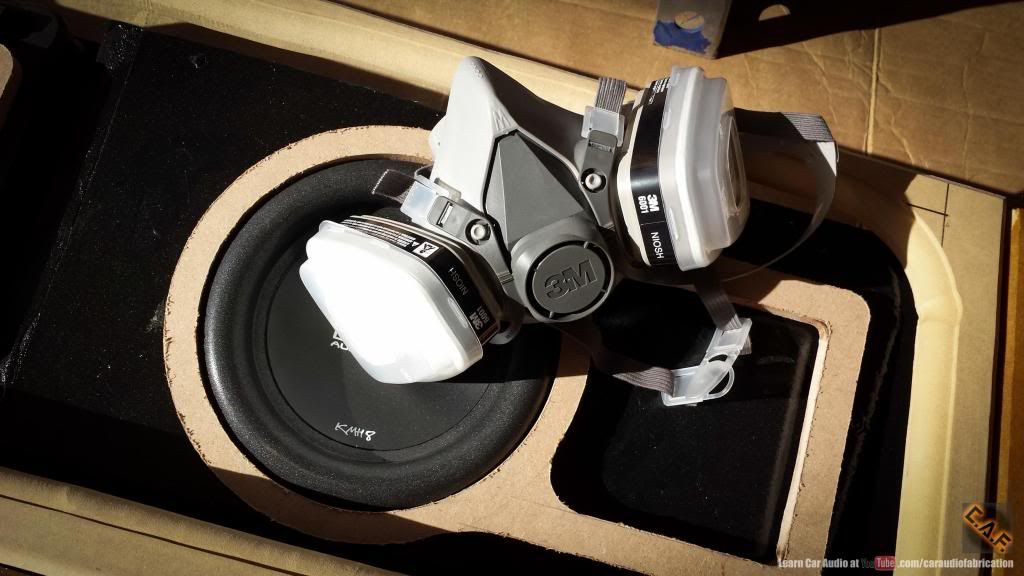 Like the new shape around the sub better?
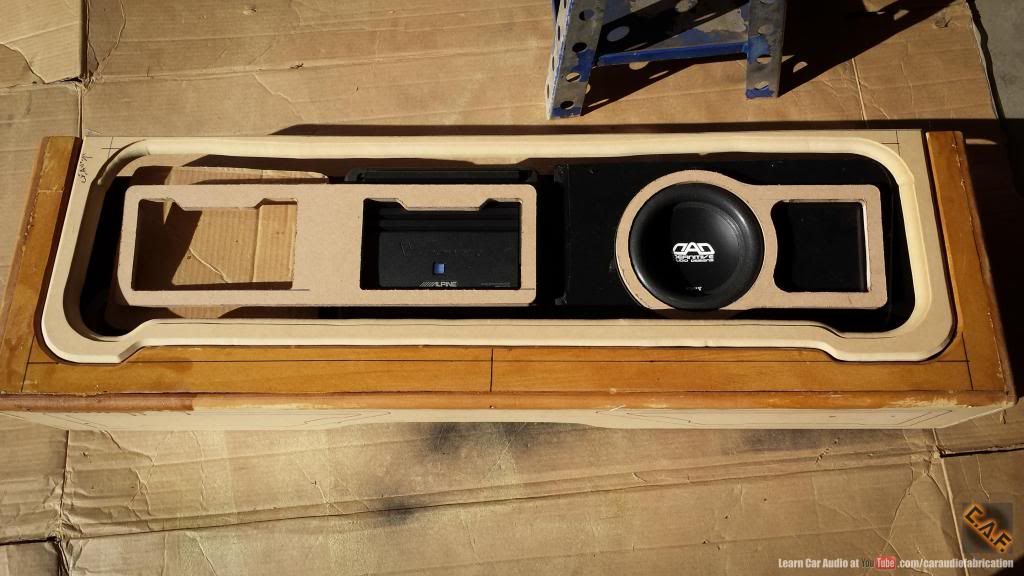
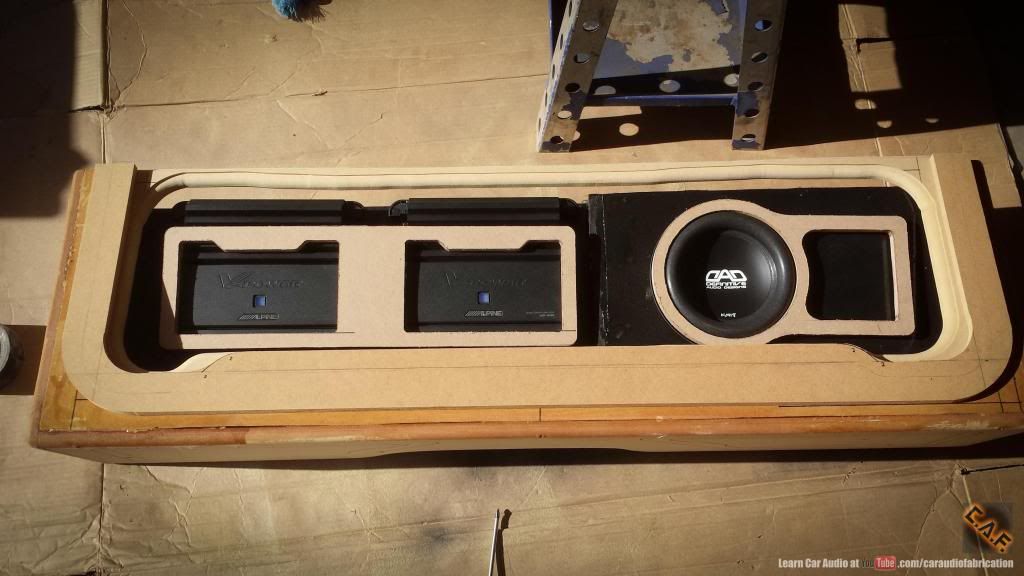
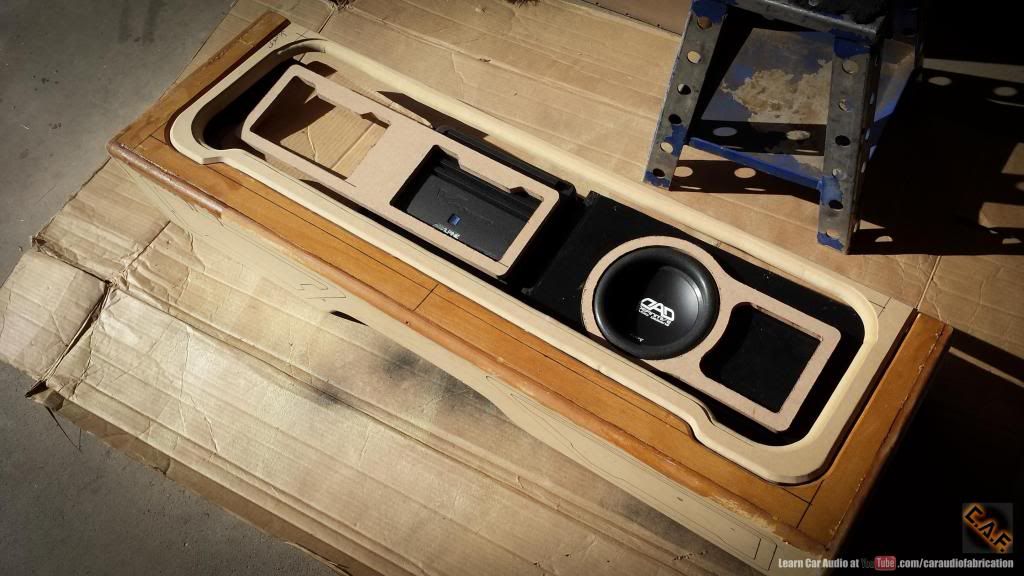
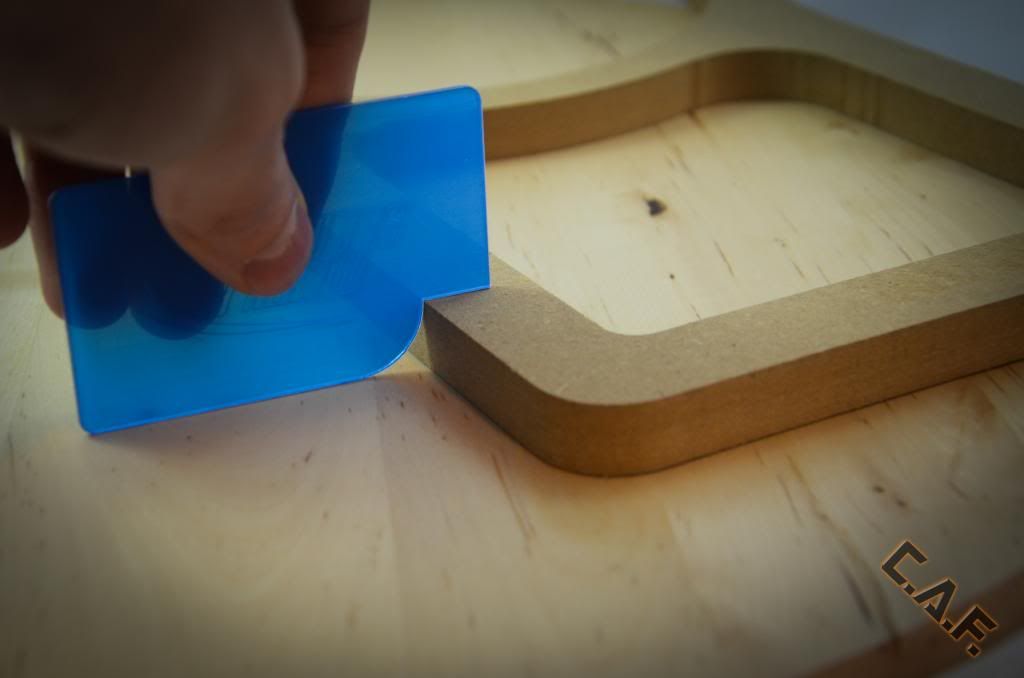
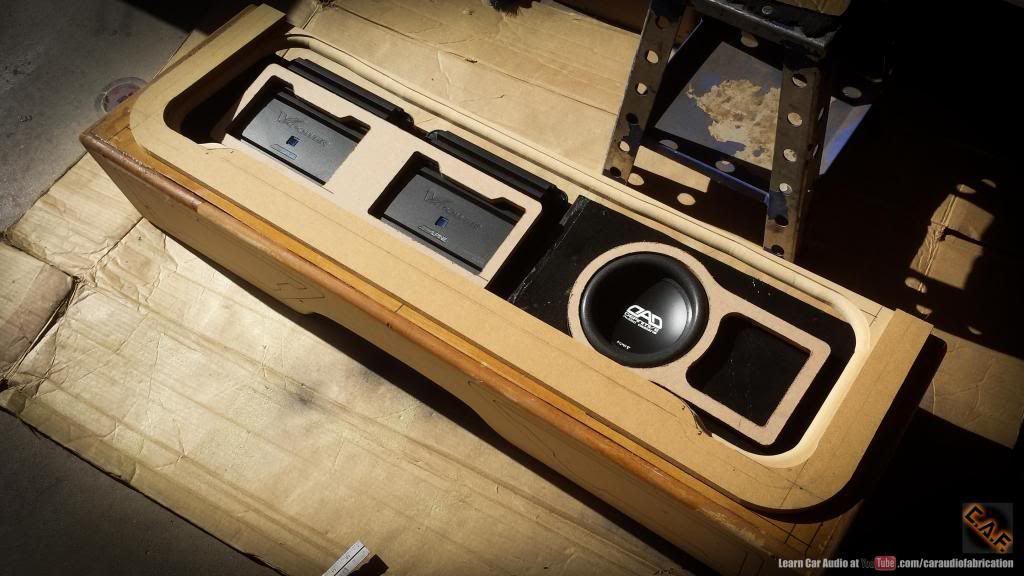 Amplifier cover templates:
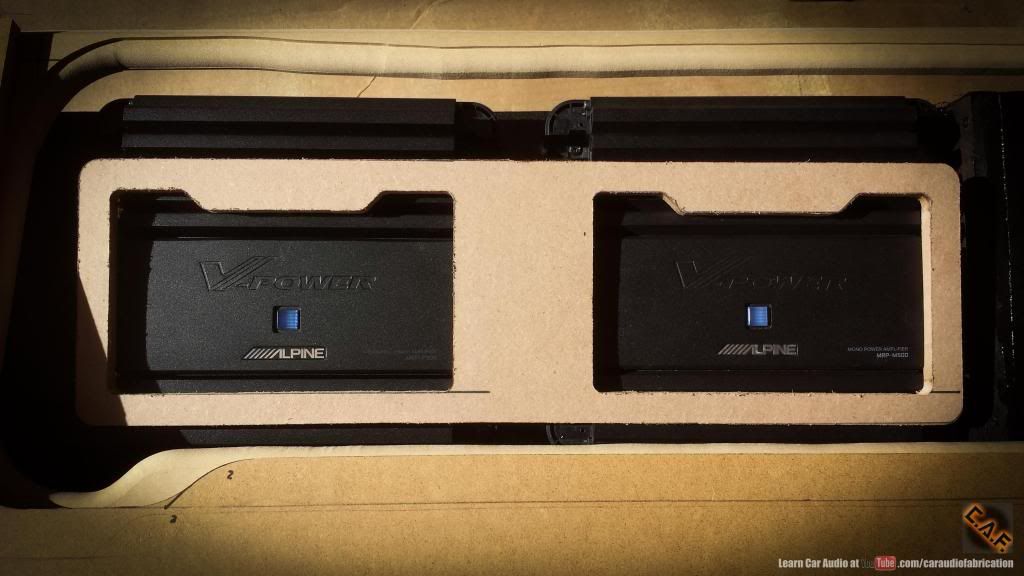
0 -
Very nice setup Sir !!!
Awesome Vids !!!
Thank you! I hope the videos help you learn a thing or two!
two thumbs up!
Thank you!
0 -
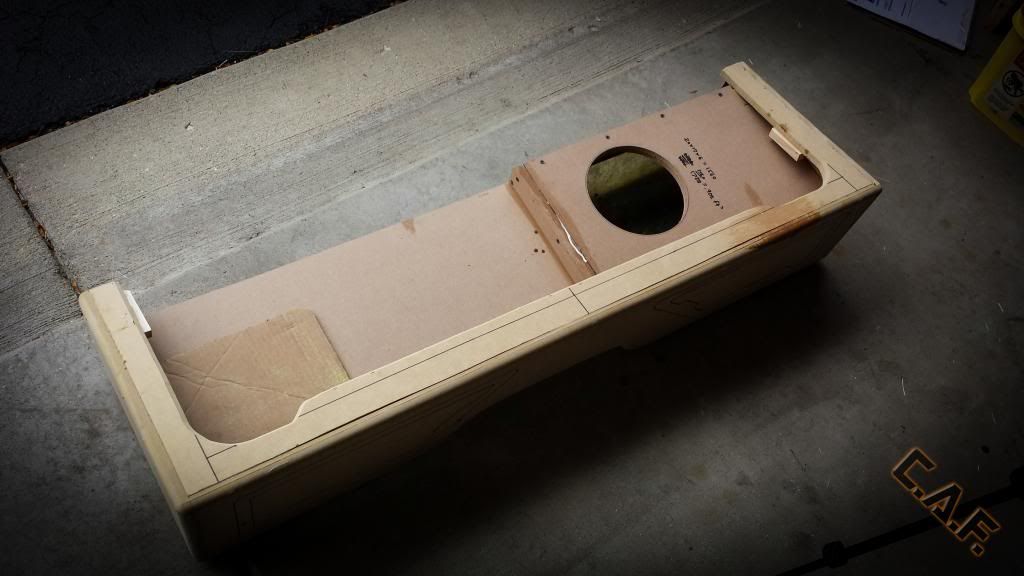
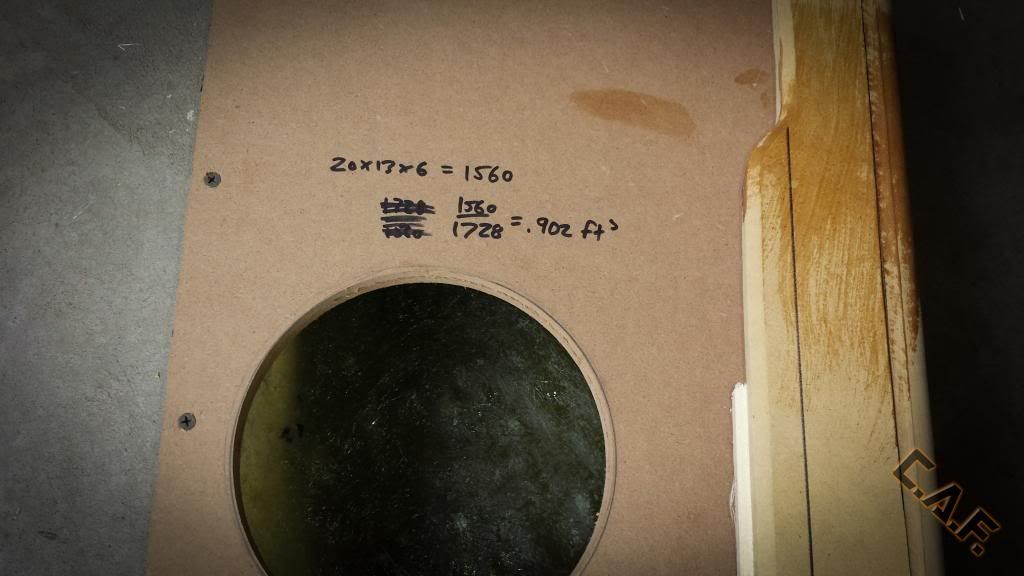
Pictures! All steps can be seen in the video in my previous post.
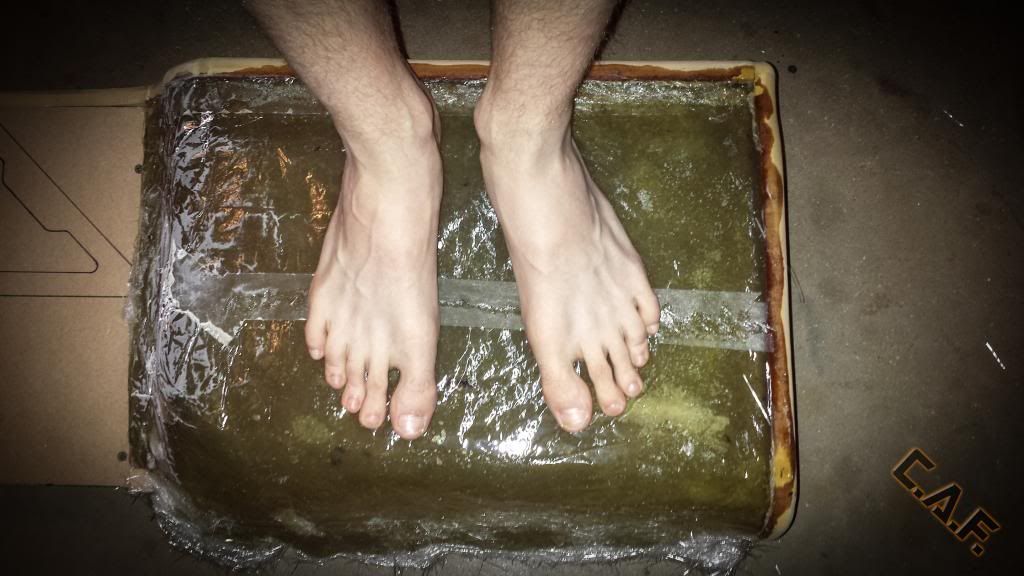
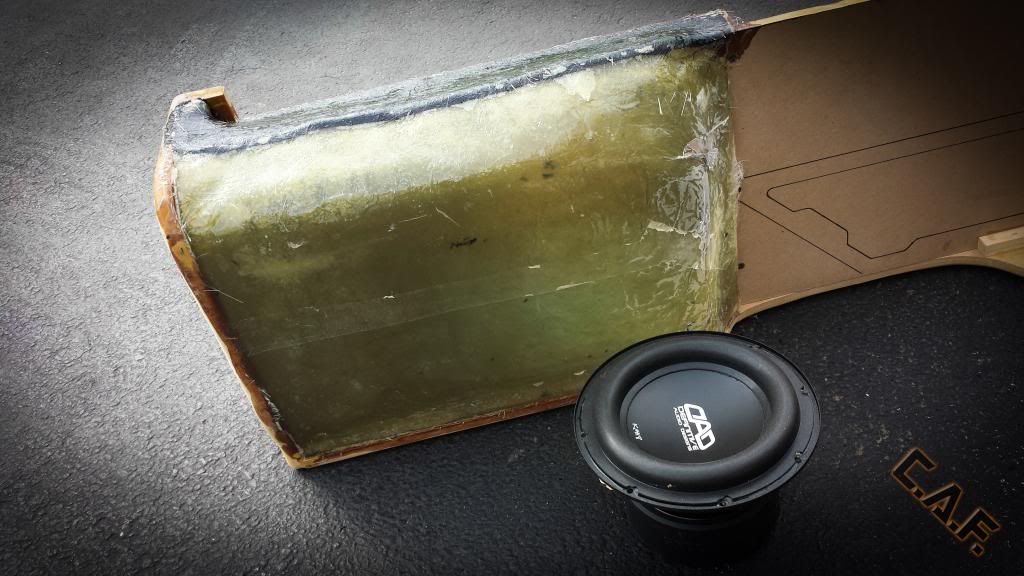
Molded the floor of the enclosure:
Have to be sure it is strong!
Added the top:
Had to fill up the large hole at the back of the enclosure where I wasnt able to just mold the floor:
One mistake I made is I went to heavy with the resin with the first coat, it ended up really glossy on the bottom of the enclosure, but still I was able to build several layers and it is STRONG. In the video I even bounce up and down on it with no issues!
0 -
Here is the next video, I have a bunch of pictures too, but I want to edit them before upload.This video will show how I mold the bottom of the enclosure with fiberglass.
0 -
Come on guys! Pretty lights!
0 -
I veiwed it- and watched the video...going to be pertty sweet.
Hmm it was strange, it said 0 views on the thread, weird. Glad you like it.
I veiwed it- and watched the video...going to be pertty sweet.
X2
Thanks
very cool.
Thank you.
Looked for a sec. I can't watch videos at work so I try to pay attention to threads with a lot of pics, not a lot of videos.
Gotcha, I have a ton of pics coming soon so pay attention damn it!
Haha
Fiberglass stage is complete. Editing the video tonight.
0 -
Thread says 0 views?
0 -
http://www.youtube.com/caraudiofabrication'>
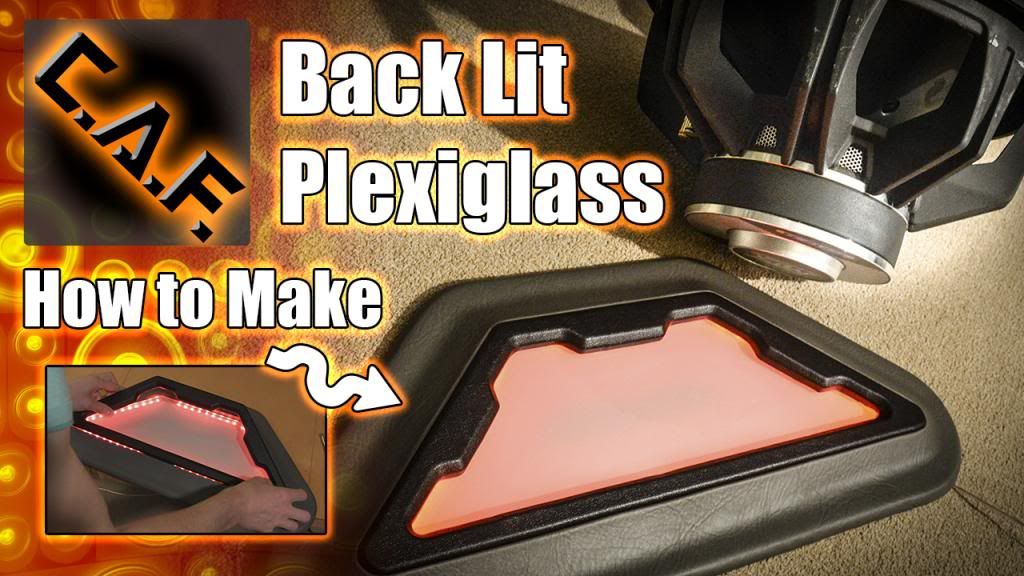
Something I have always enjoyed integrating into builds or seeing used is back lit plexiglass. You can use it to light up a sponsors logo, or your own, or just to simply highlight an area of your build. In this video tutorial I show you Step by Step how you can use plexiglass and other techniques to create an awesome panel.
The possibilities are endless, use it on an amp rack, use it on a sub box, use it on a console whatever!
And yes, there are other ways this can be done, I just have found this way to work quite effectively!
Lets learn how to make this:
http://www.youtube.com/caraudiofabrication'>
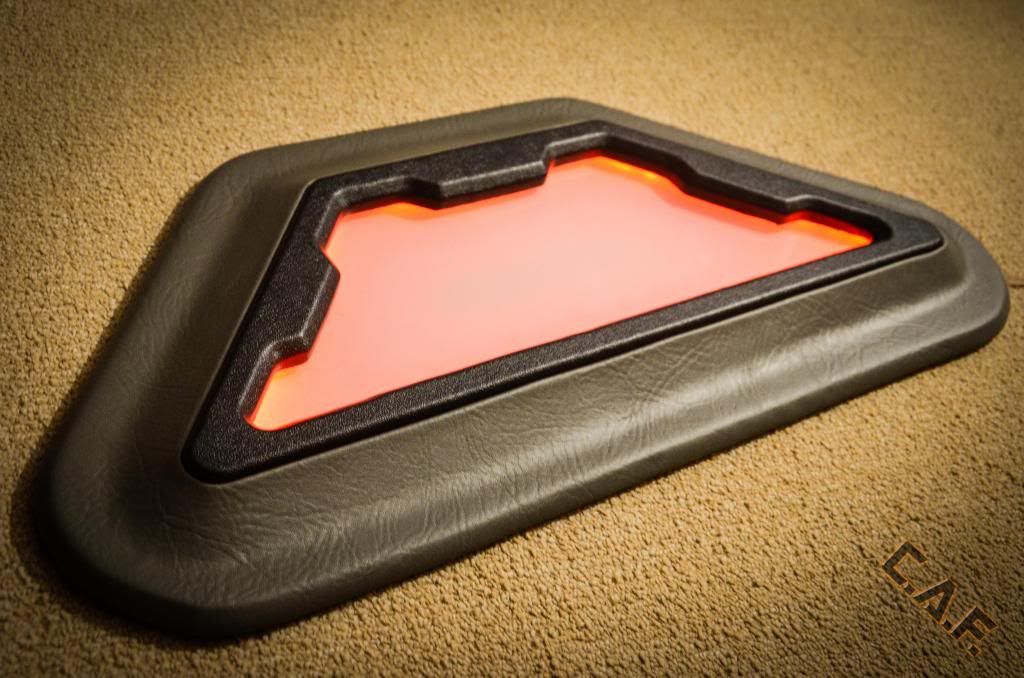
Enjoy, and please leave me a comment letting me know what you think or if you have something to add!
1 -
Excellent craftsmanship!! I've learned a bunch from you already. Thanks for taking all the time to create the videos.
I'm not sure I want to embarass myself with an amateur's build log now...doh!!
No problem, glad that you liked them
0 -
Hey all! Much like my previous threads I am starting another part of a build that will be completely documented through video. The support for the door pod series was awesome and I hope you guys enjoy this series just as much. Just like before I will be video taping every single step and editing all the information together to present to you. If you haven't seen my videos before I hope that you enjoy them and would love to hear what you think!
If you missed the seeing the door pods I mentioned above here is how they turned out:
http://www.youtube.com/caraudiofabrication'>
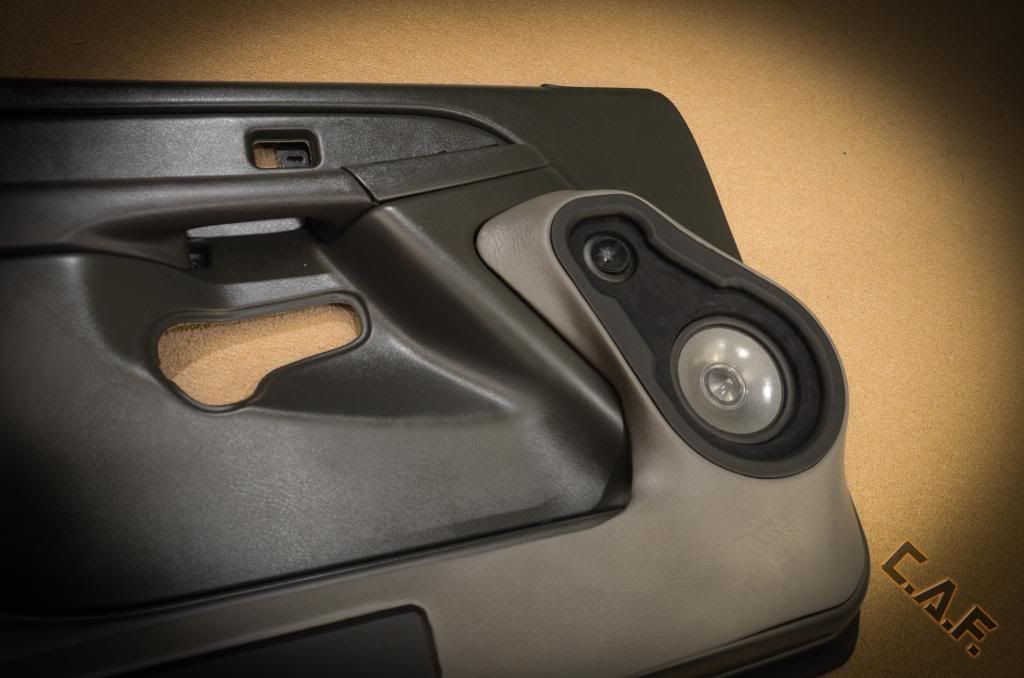
If you would like to see the in depth process of each step for how I made these door pods there is a conveniently organized playlist on YouTube at this link:
But enough about the door pods! Its time to get into our next project: The Fiberglass Under Seat Sub Box! Lets get started!
First a little about the system:
The Vehicle:
Chevy Duramax 2500 HD Extended Cab (Will add pics soon)
The Gear:
Alpine Type R's 6.5" Component Speakers
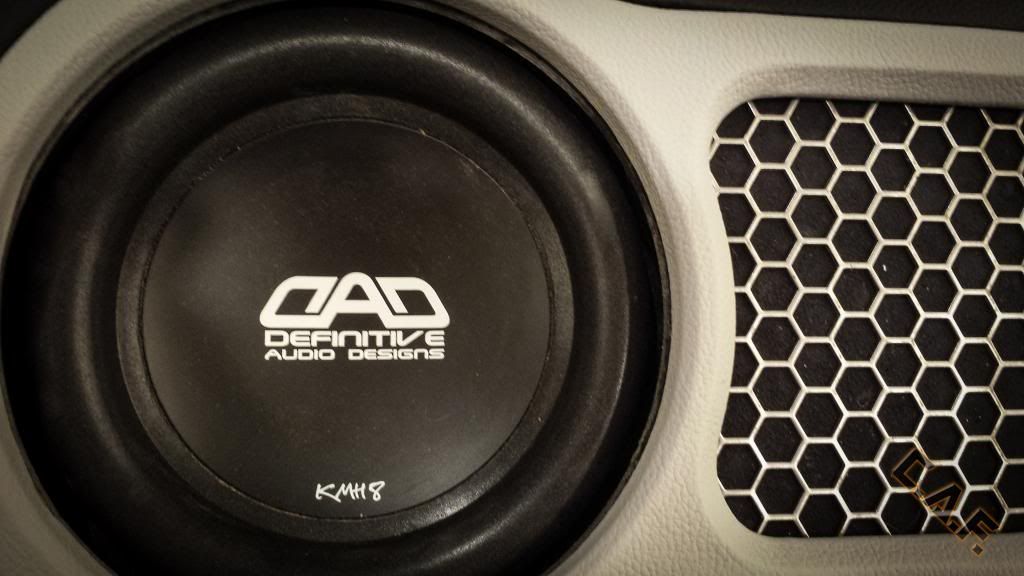
10" JL Audio W3 (Just kidding, I was planning on using this but have fallen in love with the DAD KMH-8, so we are using that instead)
Knukonceptz wiring
Wirecare.com wire protection products
Alpine MRP-M500
Alpine MRP-F300
If you are interested in a review for the KMH-8 or learning more, check this out:
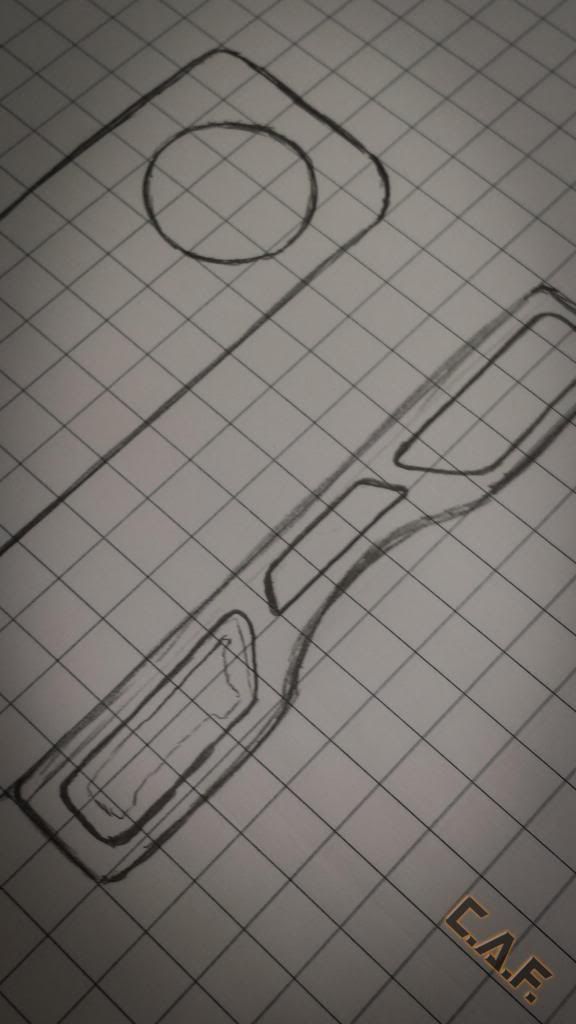
I started with a concept, I knew that I wanted to build a box that would house both the amplifiers for the system and hide the wiring, but at the same time I wanted quick and easy access to them. The plan for how I am going to do this is difficult to explain, but as the build progresses it will become clear.
The box will also feature several inserts, I have entertained the idea of doing light up plexi on parts of the box. But I am not sure I want too. What do you guys think?
Anyhow here is the initial idea, I like to get stuff out on paper first, really gets the creative juices flowing:
http://www.youtube.com/caraudiofabrication'>
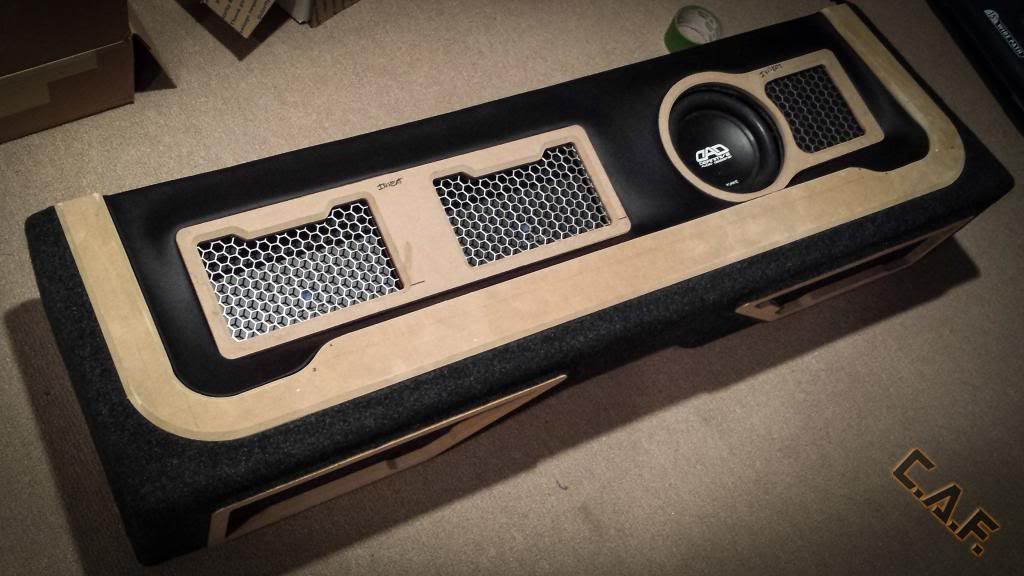
With the general idea framed out I started building. Pretty traditional stuff here but one of the coolest things I can teach you here is how I used a "Adjustable Curve" to get a perfect match with the floor contour of the vehicle. I also got the "Beauty Panel" frame trimmed out on the top of the box.
http://www.youtube.com/caraudiofabrication'>
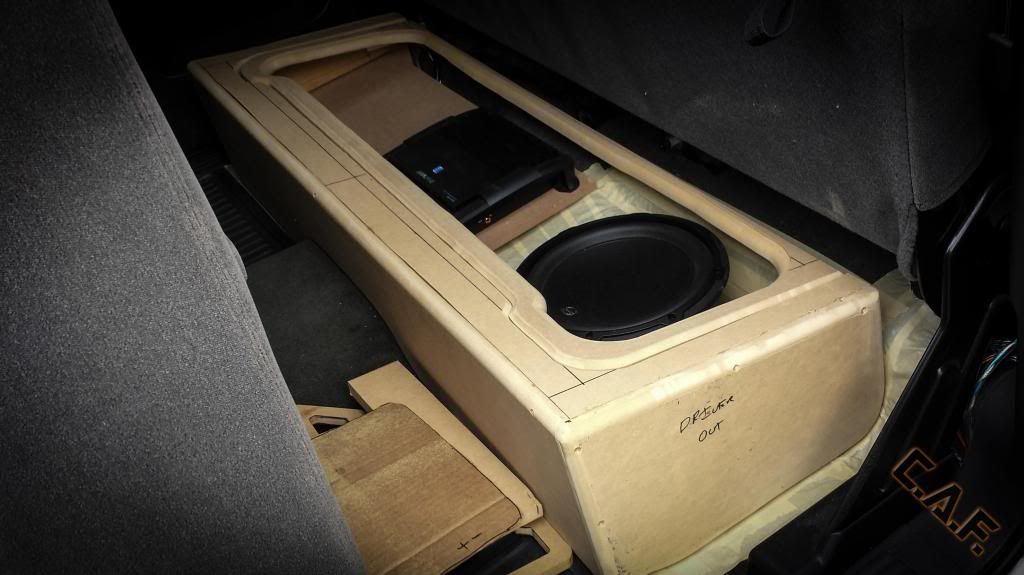
To see the steps that got me to this point check out the video below!
Well, thats it for now, off to a good start, I already have the bottom fiberglass molded, just need to edit the video, so you guys have to wait!
 Let me know what you guys think, wondering what direction you think I should go with the insert pieces, back lit, metal mesh, etc.0
 -
-
............................................................................................ Silence
0 -
Step 6: Finishing with Vinyl and SuedePainting is a whole other tutorial, in this case we will be using vinyl and suede to finalize things. Take your time here and use the skills shown in the video for some tricks to avoid wrinkles.Tools Needed:- Vinyl
- Suede
- Wax Paper
- Contact Glue
- Knife
- Heat Gun
- Sunshine
The panels are almost done!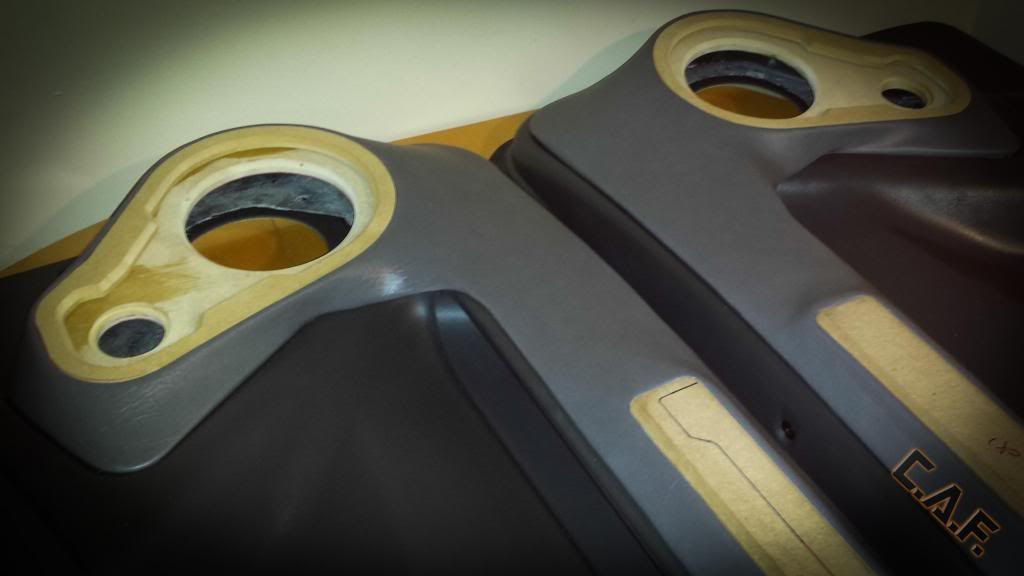 Completion:With the mounting of your speakers and securing the door pods to the door panels you are done! Enjoy these pictures!
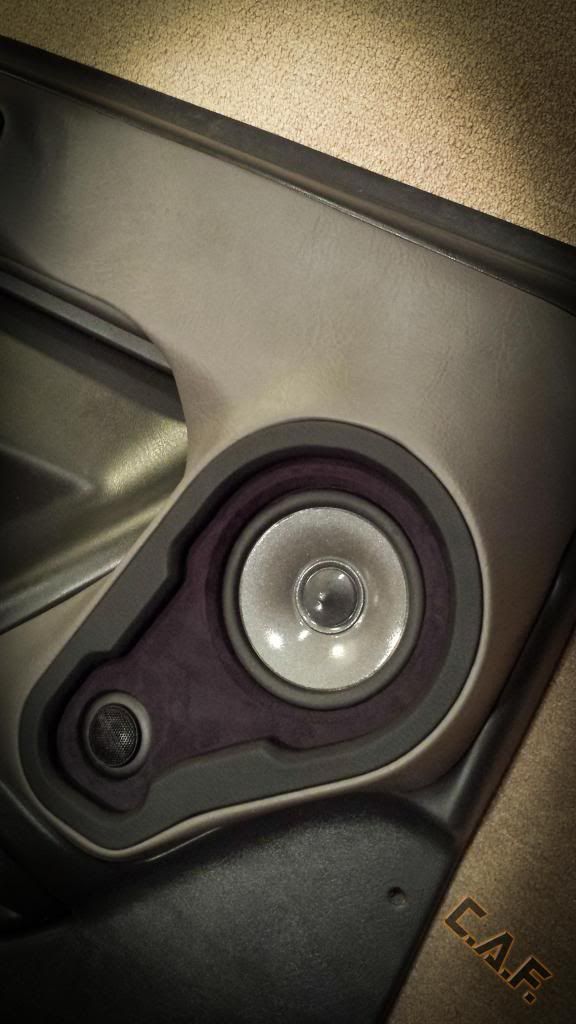
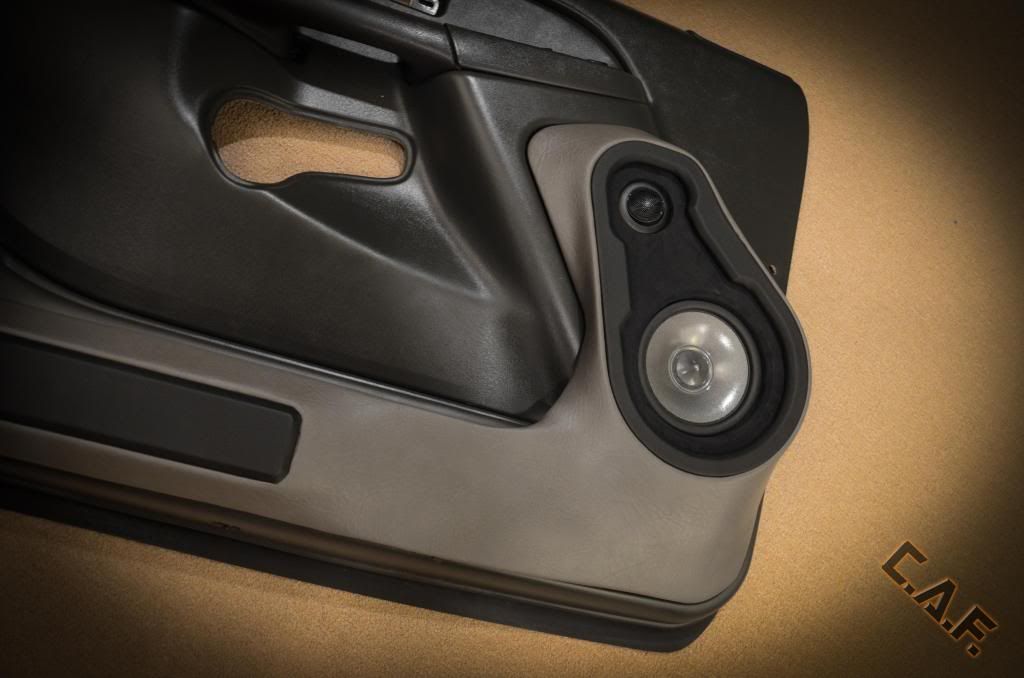
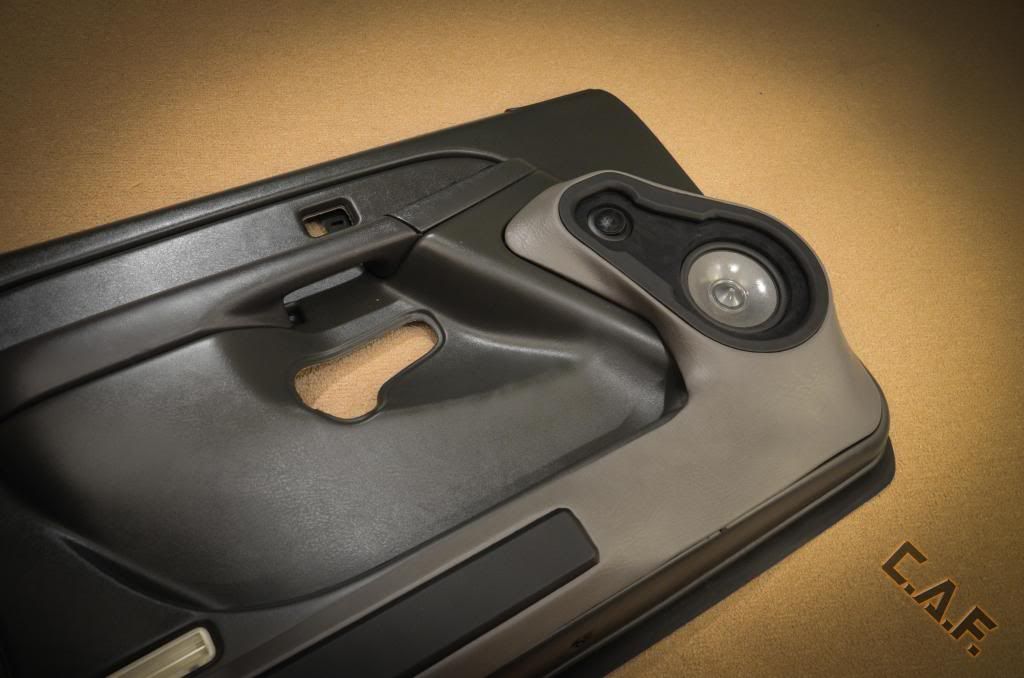
 I hope you all enjoyed this tutorial, I had a lot of fun making these videos and I hope they help you learn a thing or two! If you have a YouTube account I would love to have you as a subscriber so that as I continue to make videos you can see them! Thanks for reading!
 Mark
Mark
0 - Vinyl


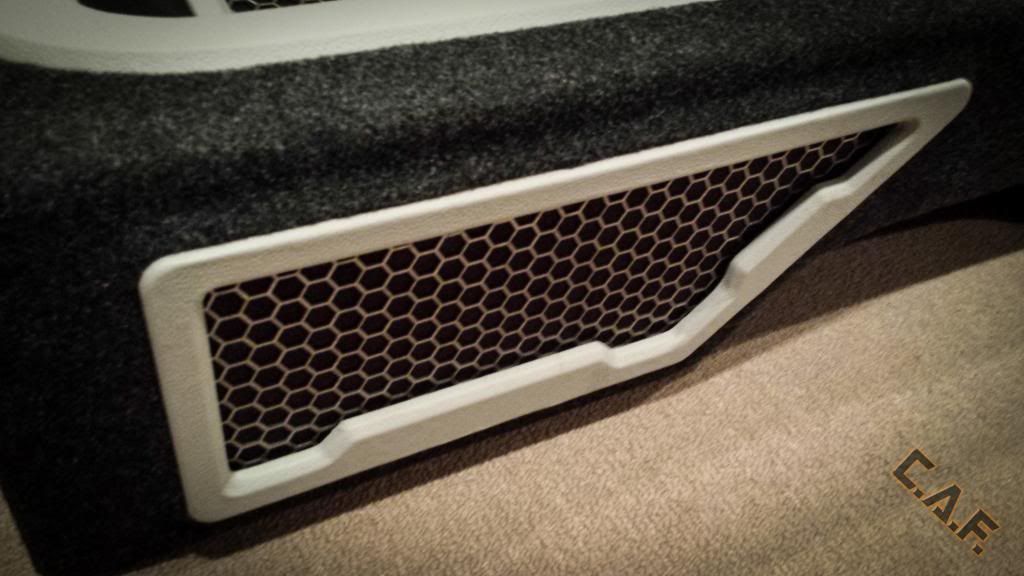
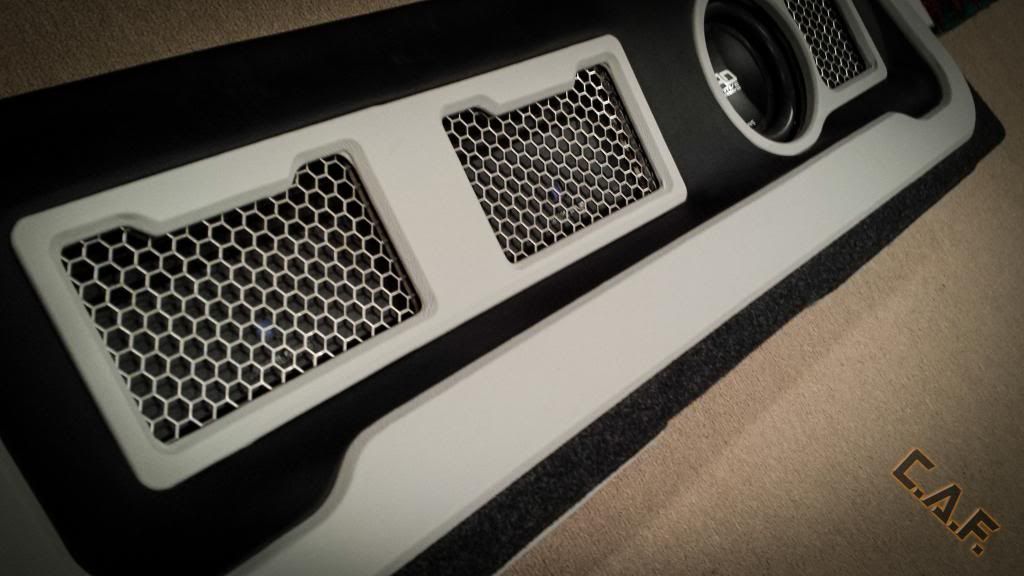
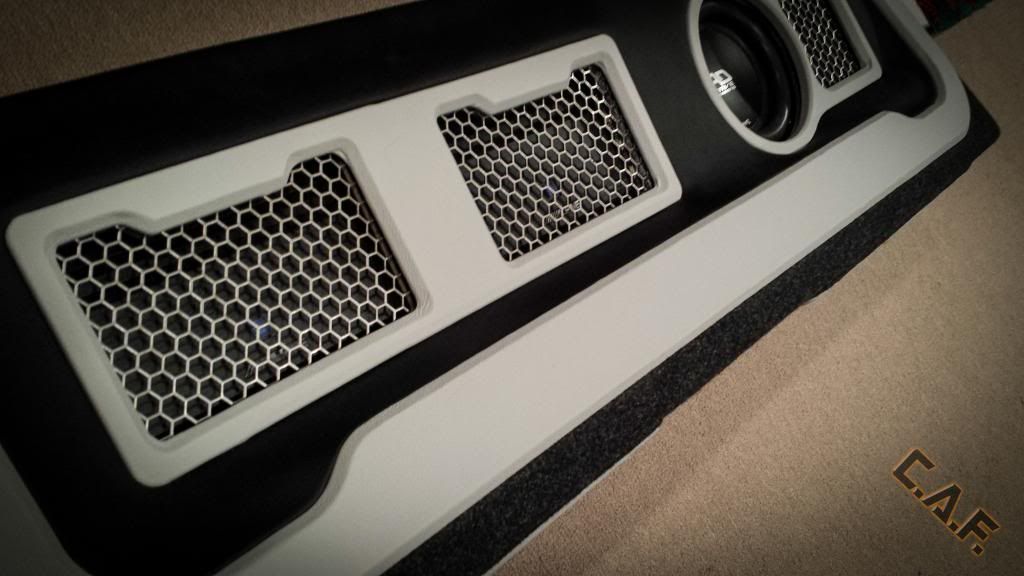
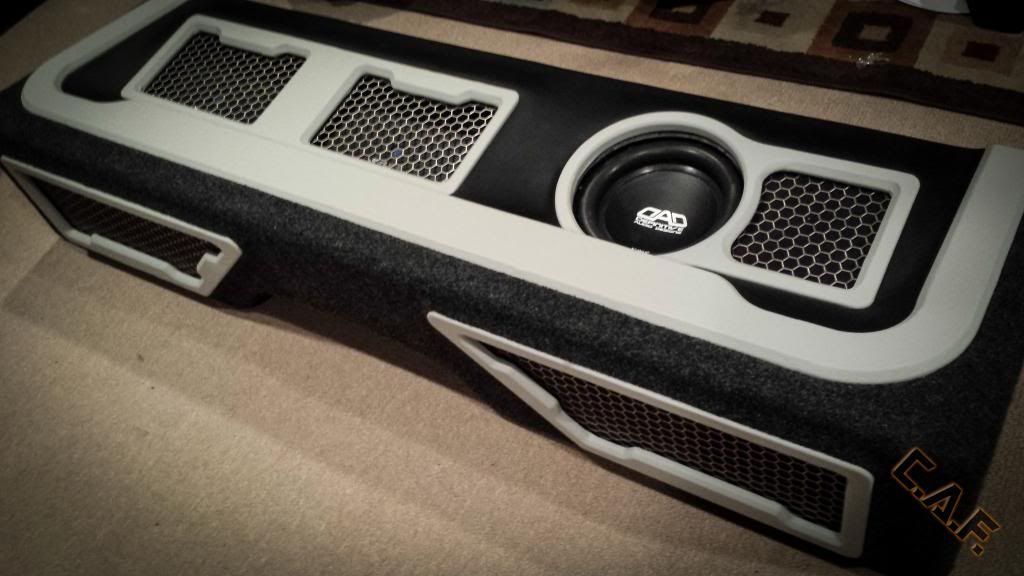
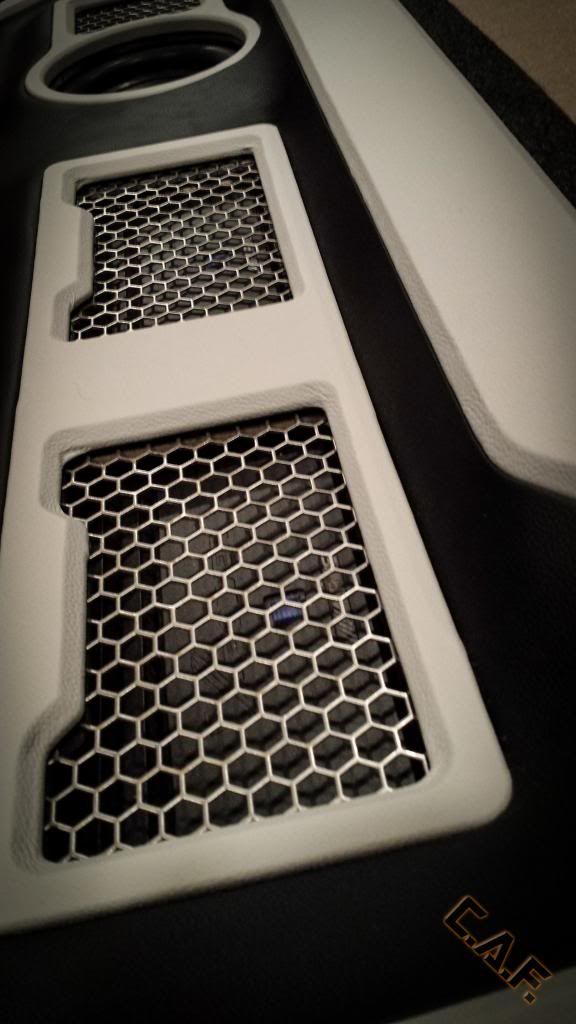
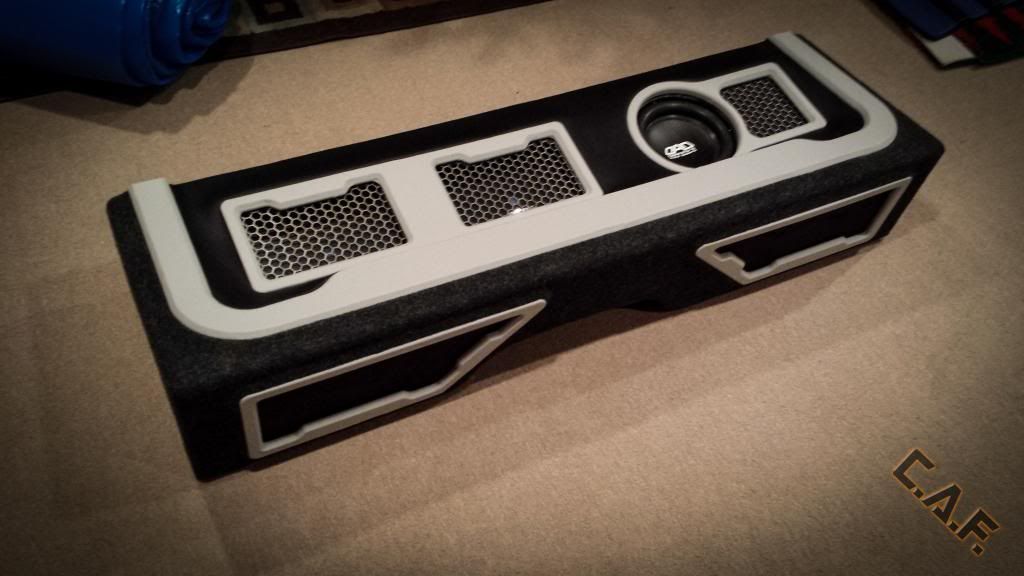
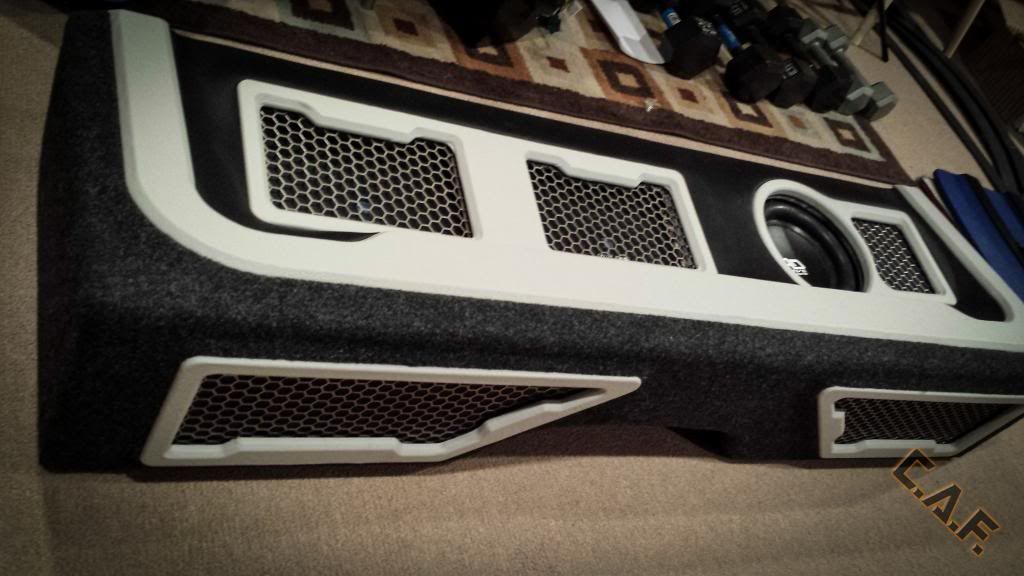
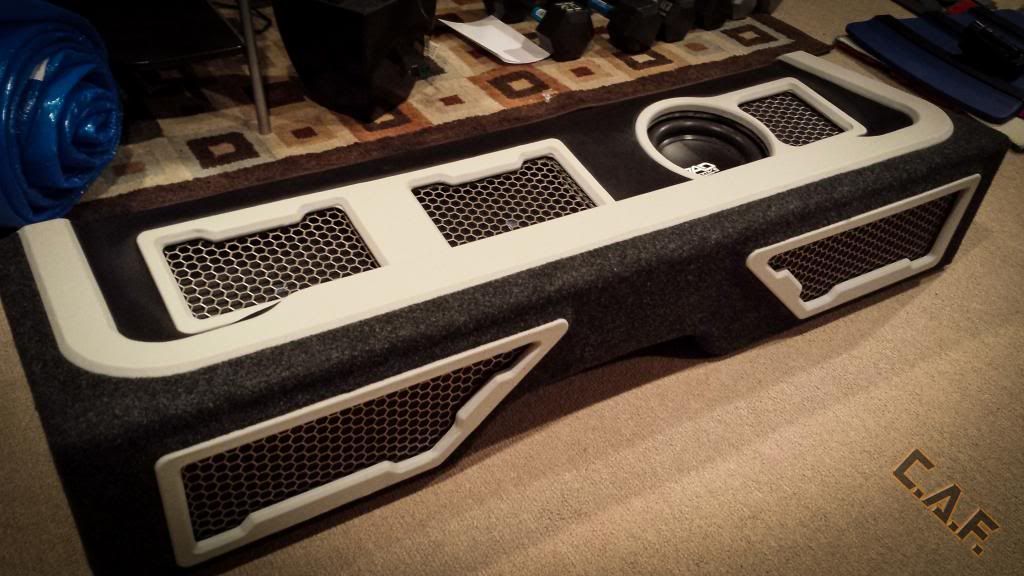
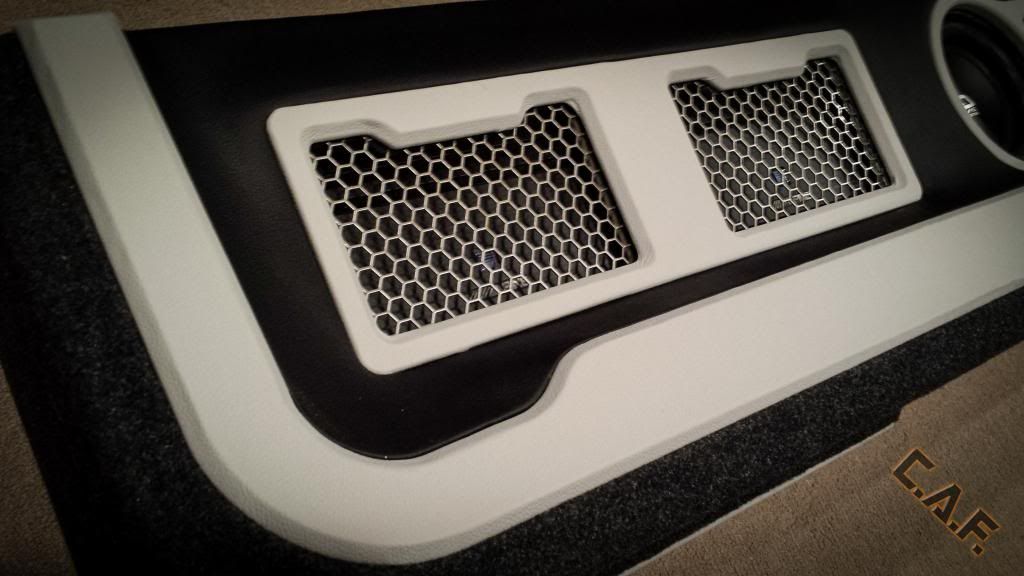
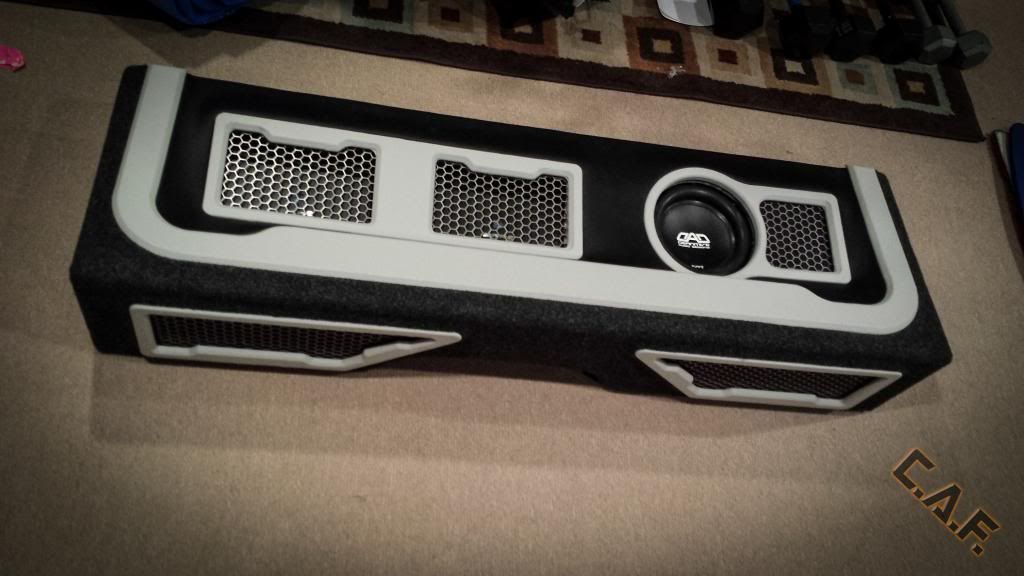


How to Build a Custom Subwoofer Box Tutorial
in SPL & SQ / Fabrication
Posted
Hello and welcome to my version of the “How to Build a Custom Subwoofer box Tutorial”. This tutorial aims to teach you not only how to create a subwoofer box but how to add additional styling and design to make it a one of kind masterpiece.
This is a four part tutorial series; a brief description of each part is given below and accompanied with a video and pictures. Enjoy!
Part 1: How to Build the Box
In this first video I cover the basics of a box design, incorporating bracing and 45’s and construction techniques.
Part 2: Customizing the Box
This video covers the design and production of custom template created insert shapes that mount to the front of the box and can be used to accent and tie to other parts of the install. These techniques can be used on other aspects of your install like custom door panels, and more.
Part 3: Molding the metal mesh
Molding metal grill mesh gives a very custom look to our box, you could use this technique to hide a port, or protect the speaker itself.
Part 4: Wrapping with Vinyl and Carpet
In this final video we finish the custom box by wrapping it with carpet and the template shapes with vinyl.
Thanks for watching and learning! Now that you have learned these new techniques what would you use them on?