Leaderboard


Popular Content
Showing content with the highest reputation on 02/11/2020 in all areas
-
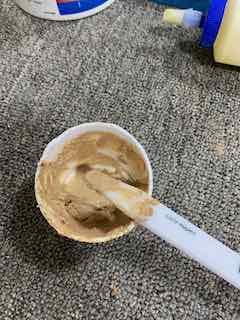
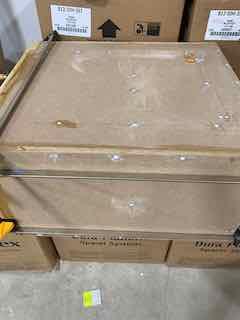
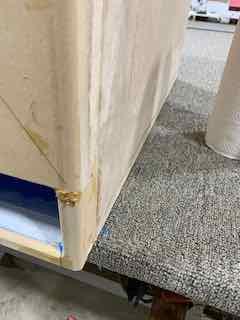
Well again there was not much progress today. I went to start sanding my repairs and the main one on the beauty plate had a bubble in it. So I had to refill it. Since I had to mix up more filler I mixed enough to fill all the screw holes. First tried to fill them all with glue, then caulk. Each time when it dried the filler shrank. Time to over fill with home made filler. Hopefully this will finally do it. I will have my work cut out for me tomorrow with some sandpaper.
 1 point
 -
1 pointThe cost of living is just too high to justify the move for that salary for me. Granted I'm also not keen on making a total switch from the southeast and warm to the northwest and cold unless the money is right. J1 point
-
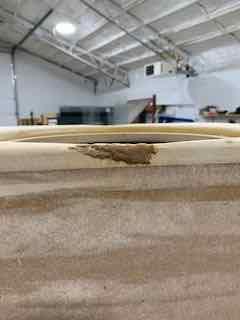
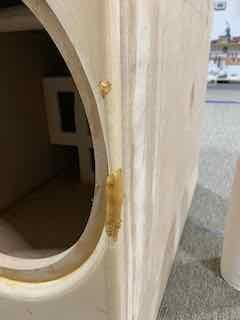
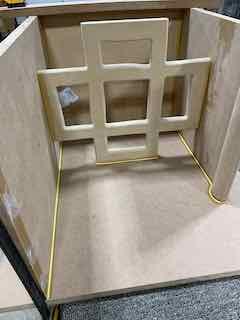
Then the edges were rounded over in preparation for the vinyl wrapping. For the most part this went really well....... until I tried to go over some of the edges again. Like an idiot I wasn't paying attention when I tried to redo the beauty plate. After a VERY long stream of VERY loud cursing I calmed down and started to figure out an easy fix. I mixed some glue and saw dust to make some home made filler. Then went about filling the F up and a few other places that could use some filler. Finally The end of the port was touched up with some more paint. So that gets you all up to date with where my box is at. Hope to be done on Tuesday or Wednesday.

 1 point
 -
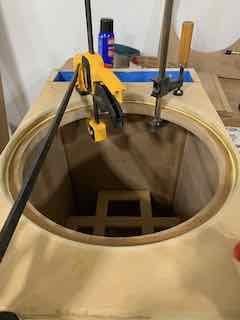
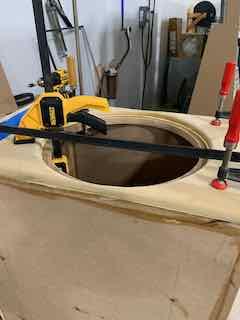
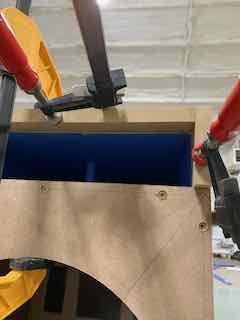
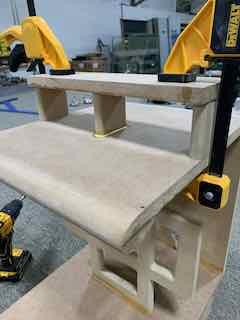
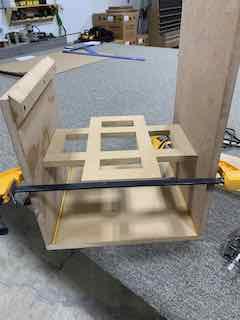
Sorry for the delay. I just have forgot to post my updates. Here we go. I glued the top beauty plate on the box. All glued up and clamped.

 1 point
 -
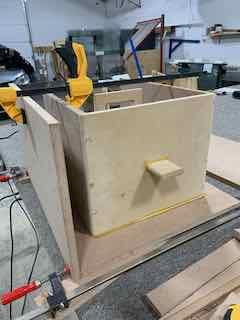
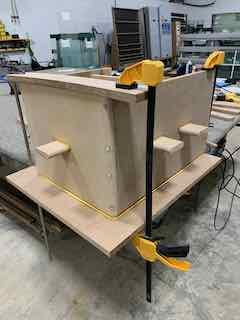
Today I attached the port cap. Then I painted the inside of the cap. Some of the screws on the box didn't all the way flush with the surface it was screwed into, so I removed a few of them and filled the holes with glue. I know not very exciting, but there it is. In the above picture you can see the port cap up close. Nothing else to report today. I'll be back tomorrow.

 1 point
 -
Not enough happened yesterday to really warrant an up date. So today I will combine the two updates in one. Yesterday the first baffle was attached to the box. See I told you not much happened yesterday. Oh, I also glued together the pieces that will be the cap to the port. I forgot to take a pic of it. Oops. I am using the cap to make to end of the port even with the baffle and beauty plate.

 1 point
 -
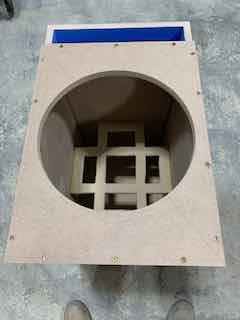
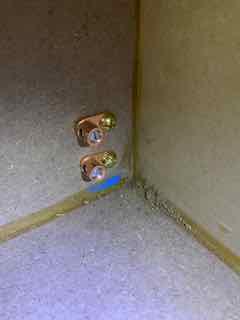
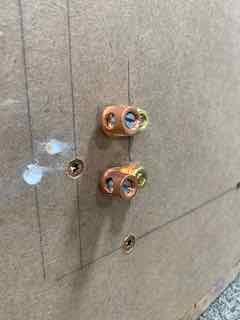
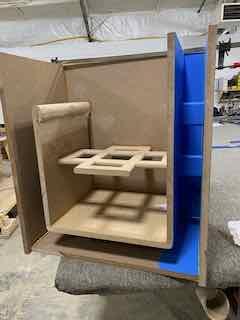
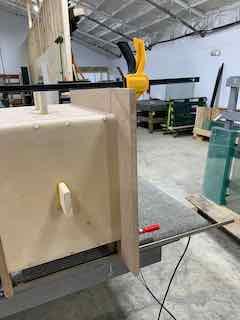
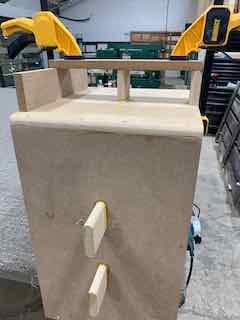
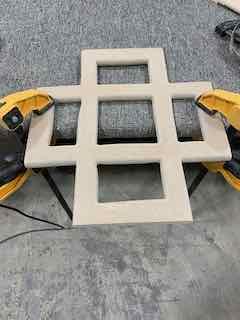
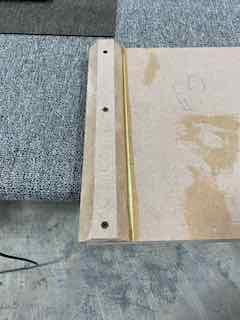
Some home made speaker terminals was also added. They are made from brass screws, brass nuts, and some copper lugs. I picked it all up at Home Depot. The first pic is the inside. The bottom of the box is on the right. The second pic is the outside. Should work very well I think. Here is a pic of the baffle and beauty panel sitting on top of the box. Well that is all for now. I will post another up date tomorrow.
 1 point
 -
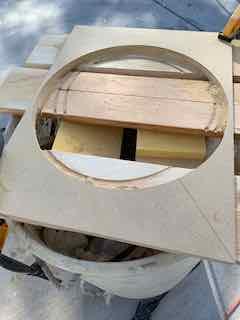
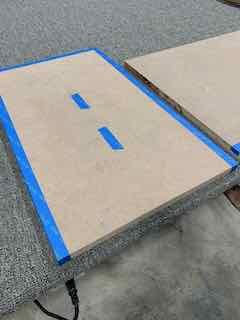
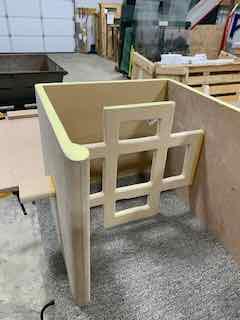
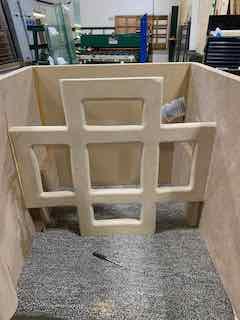
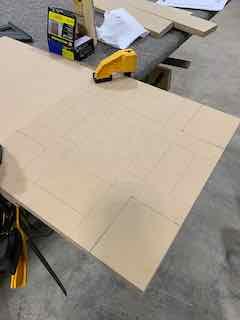
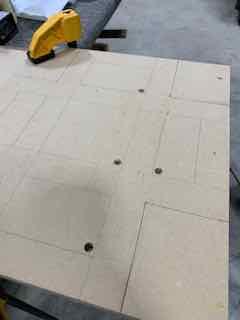
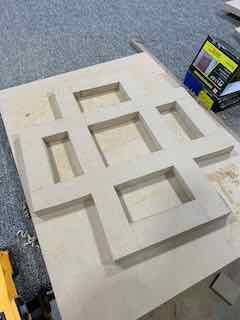
Time for another update. I work on this during lunch hour at work. That being said there was not a whole lot of progress today. Today the beauty panel was cut out an d the edges were rounded over. Turned out pretty well.
 1 point
 -
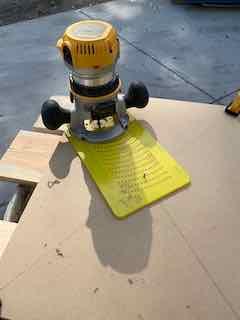
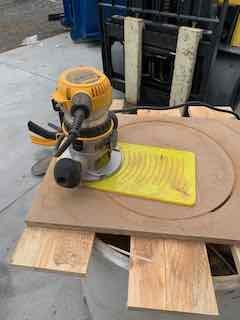
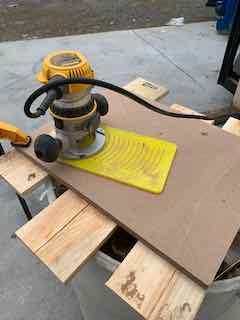
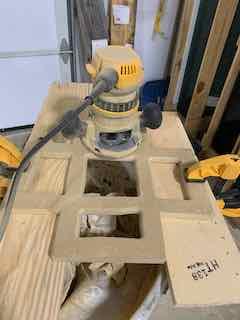
Here are some almost action shots of the baffles getting the sub hole cut. I was about to cut out the beauty panel that will trim out the speaker, but as I was finishing the second baffle the router started to cut weird. Well when I lifted the router up the bit had snapped. This was the first and only time I used this bit. WTF? Thankfully when I took the bit back to Home Depot for an exchange, there was no hassle. Bring the new bit, show the broken one and the receipt. Bingo all good have a nice day.
 1 point
 -
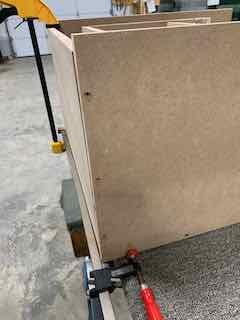
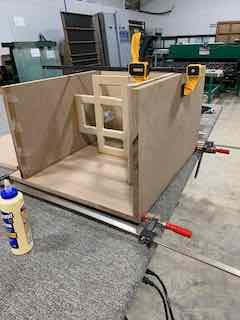
Here are some more non-action shots of the box doing nothing in particular with the last side added. Well except looking good. Almost a box. They grow up so fast don't they?
 1 point
 -
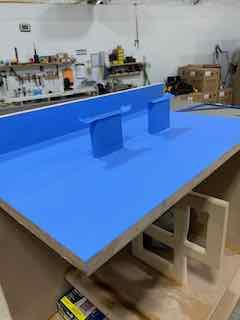
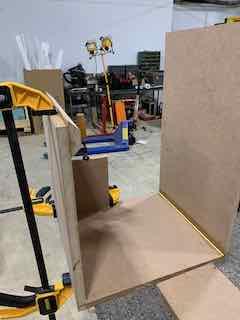
Now that the paint is dry, I added the other side and bottom. Nothing really to show. Holes predrilled, glue applied, clamped, and screwed together. Love that blue.

 1 point
 -
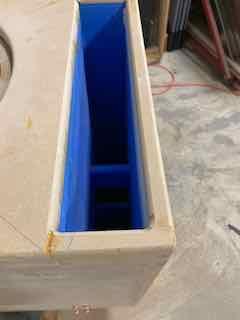
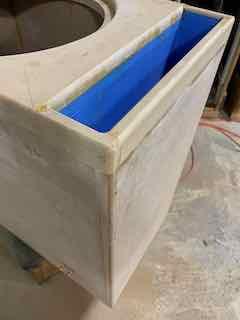
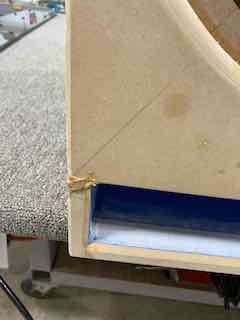
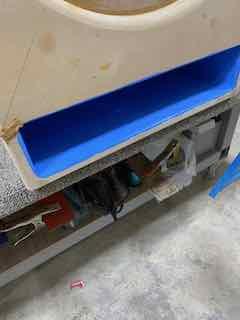
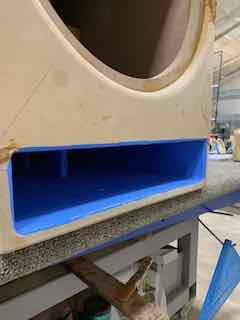
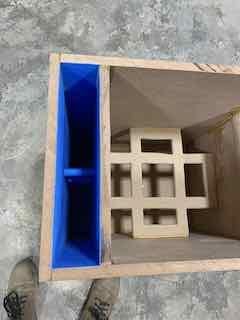
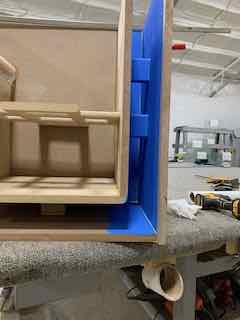
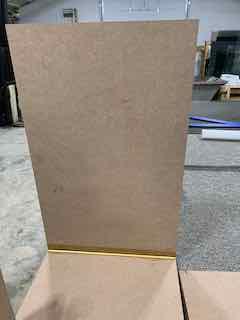
Let's address the inside of the port opening shall we? I wanted to do something a little different with the color, not the same old boring black port. Not to mention I plan to wrap the box in black vinyl. My interior is tan, the truck is dark green. Both colors were considered. Tan? No too close to the color of the wood and ...........boring. Dark green? No not enough contrast with black. So I went with the color of my favorite college basketball team. Carolina Blue. Go Tar Heels!! Should look cool. First I prepped the panels with tape where they would be glued to ensure a great bond. And painted. Looking Good!

 1 point
 -
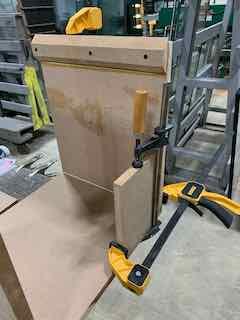
Now to add the front panel. Glue all set. At this point I started to add the screws to all panels before attaching them. That way I could have the screws poke out a little to help line up the walls much easier. Through out the whole build I have been using a heat gun to help start the drying process for the glue. Also I made sure there was a nice bead of glue on all seams. This was then smoothed out to help ensure a good strong bond and a good seal on all seams.

 1 point
 -
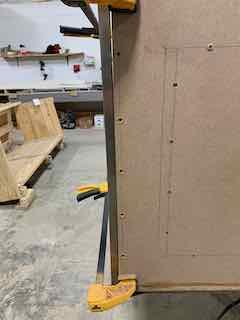
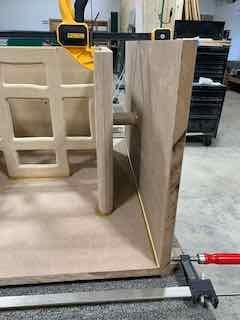
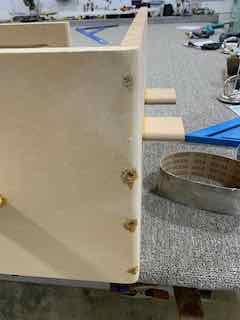
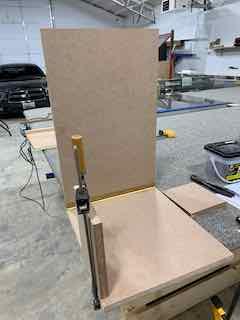
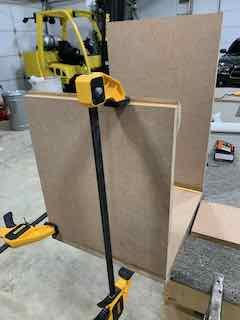
Time to start adding the outside walls. First I got the side all lined up and then drew where the port sides were. All the screw holes were then drilled. Time for the glue. Then all clamped up for the screws.

 1 point
 -
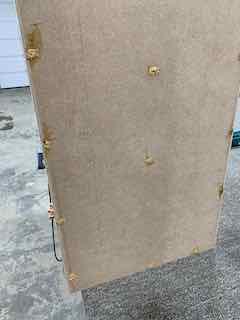
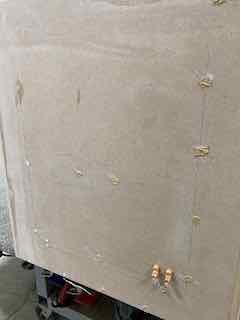
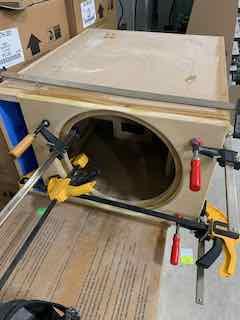
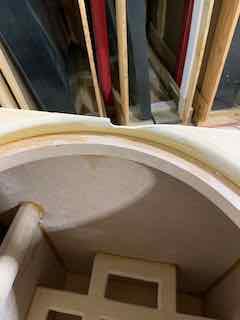
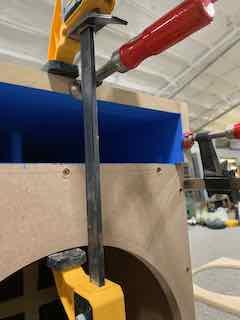
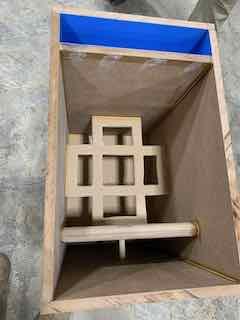
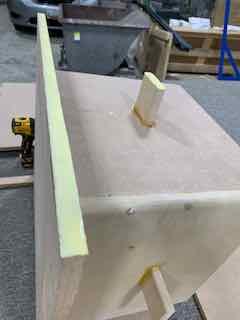
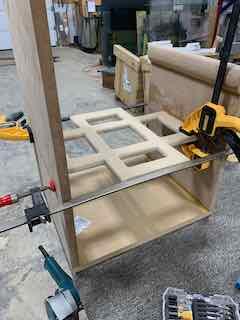
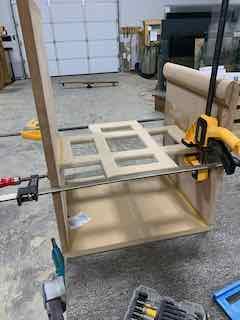
Next up I added the small braces that will be inside the port itself. They are only three inches wide so they won't effect the port. I did the same thing in my current box and they seem to really help make to box much more solid. Time for some creative clamping to get them attached. In this picture you can see how I rounded over the end of the port. There are two braces on the long port wall and one each on the bottom and third port wall. The bottom two corners of the port were rounded over. I had to remove the screws in order to use the router. Using some saw dust and wood glue to make some filler I filled the up screw holes. After some dry time and more sanding it is like the holes were never there.

 1 point
 -
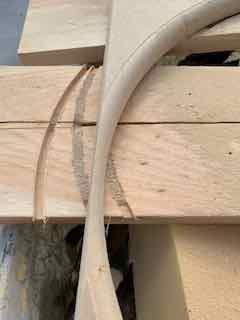
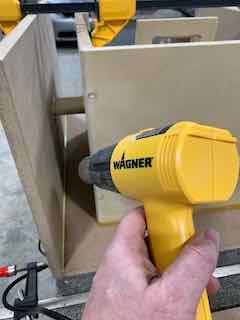
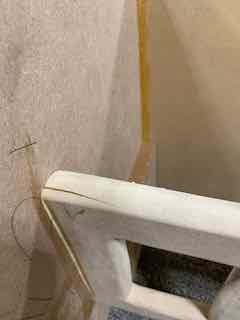
Then it was on to attaching the port brace to the port. When I screwed the brace in there was a small split, even though I was predrilling all the screw holes. From this point on I used my next larger drill bit to avoid splitting any more wood. Well I pushed some glue in the crack and clamped it. Whew. Disaster averted. Lol.
 1 point
 -
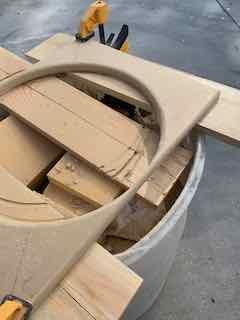
Once the port was assembled I began to get the port brace cut out. After drawing it out on the wood I drilled holes for the jig saw. Then did some cutting. Now that all the cuts are done it's time for a quick test fit. Since I was happy with the test fit I switched over to the router so I could round over all the edges. Then it was time to do a bunch of sanding for smoother air flow. The router left a small bump in the middle of the round over that needed some elbow grease to smooth over. Nice and smooth.
 1 point
 -
I then started glueing and screwing the port pieces together. I used that small piece of wood to help keep the port pieces square.
 1 point
 -
I won't bore you all with the pics of the wood being cut or the pile of cut pieces. I know that is something we have all seen and it's nothing special. I started the assembly by adding a piece to the inside end of the port to later be rounded over.

 1 point